
Garage door sensors are vital safety features designed to prevent an accidental closing if an obstacle is detected in the door’s path.
However, there may be situations where you need to override these sensors, such as when conducting maintenance or experiencing sensor malfunctions.
In this comprehensive guide, we’ll walk you through the process of safely overriding your garage door sensors, ensuring you understand both the steps and the critical safety considerations.
Whether you’re a seasoned DIYer or a homeowner looking to take control of your garage door functionality, this post is for you. So, keep on reading this article about how to override garage door sensors.
Understanding Garage Door Sensors
Garage door sensors, often referred to as ‘photo eyes,’ are pairs of devices located on either side of the garage door, and they communicate to ensure the door closes only when the path is clear. There are two primary types of sensors:
- Infrared (IR) Sensors: These are the most common type of sensors, using invisible beams to detect obstructions.
- Ultrasonic Sensors: Less common, these use sound waves to achieve the same result.
The sensors must align perfectly to enable correct function. Misalignment, dirt, or any other obstructions might lead to incorrect readings and a non-functioning garage door.
When to Override Garage Door Sensors
Knowing when to override your garage door sensors is crucial. Here are common scenarios:
Conducting Maintenance
If you need to work on your garage door, say for repairing or painting it, you want the door’s full control. Therefore, overriding the sensors is necessary.
Malfunctioning Sensors
Over time, dust and debris might accumulate in sensors’ lenses, reducing their sensitivity. In this case, you’ll get a false obstruction warning that stops your door’s operation even when the path is clear.
Power Outage
A power outage can also lead to sensor malfunctions, requiring you to override them temporarily until the power is restored.
Emergency Situations
In case of an emergency, such as a fire or medical situation, you may need to open your garage door immediately. Overriding the sensors allows for quick access without having to wait for them to detect any obstructions.
Adjusting Sensor Alignment
If you’ve recently installed a new garage door or replaced the sensors, you might need to adjust their alignment. Overriding the sensors enables you to test and fine-tune their position for accurate readings.
How to Override Garage Door Sensors: Steps to Override Garage Door Sensors
Now that you understand when you might need to override your garage door sensors, let’s take a look at the steps involved in the process.
Step 1: Identify the Problem
Begin by identifying why you need to override the sensors. Check for the following:
- Are there any visible obstructions in the sensor’s sightline?
- Is one or both sensors not illuminated?
- Are the sensors adequately aligned?
Step 2: Prepare for Override
Before moving on disabling the sensors, you must prepare:
- Read your garage door manual for specific sensor locations and instructions.
- Ensure the area is well-lit and free of debris to allow for accurate installation or maintenance if needed.
- Gather necessary tools if any adjustments need to be made, such as a screwdriver for alignment.
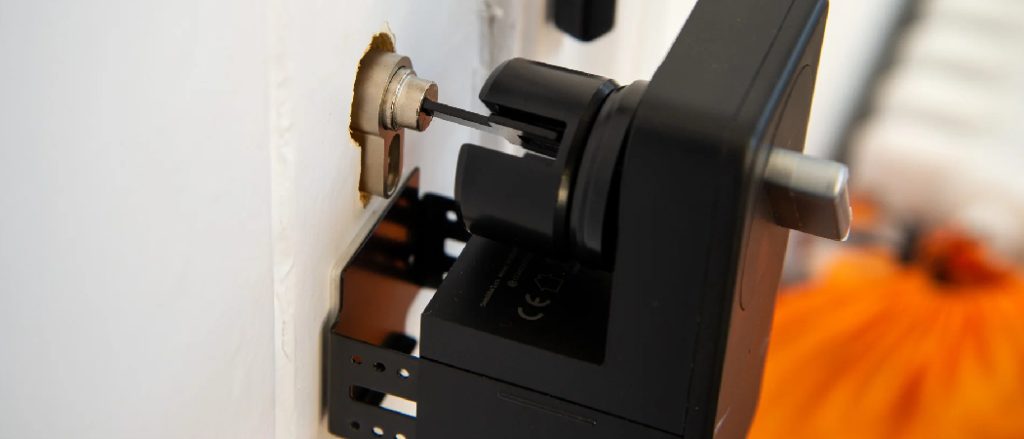
Step 3: Disable the Sensors
Now that you’re ready, follow these steps to disable the sensors:
- Turn off the power to your garage door opener to prevent accidental activation.
- Locate the sensors and loosen the wing nut that holds the sensor in place. This will allow you to move the sensor freely.
- Once the sensor is loose, adjust the position as needed to allow the door to close without obstruction.
- Remember to tighten the wing nut securely once the sensor is correctly adjusted.
Step 4: Test the Garage Door
This step is essential to ensure that your override has been successful:
- Turn the power back on to the garage door opener.
- Carefully test the door to ensure it closes properly without stopping.
- If the door stops or reverses, re-adjust the sensor until the door can close without issue.
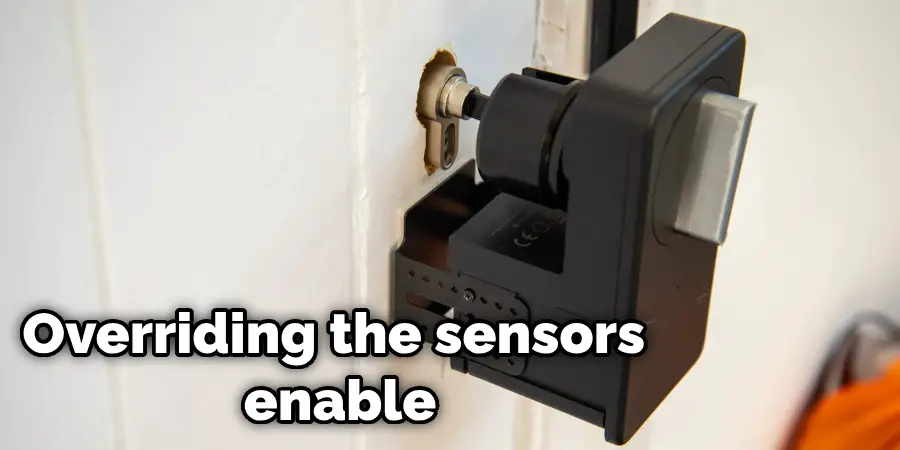
Step 5: Restoring Sensor Functionality
After you’ve completed whatever task required the sensor override, it’s important to re-enable the sensors:
- Turn off the power to the garage door opener.
- Loosen the wing nut on the sensor and return it to its original position, ensuring proper alignment.
- Tighten the wing nut securely.
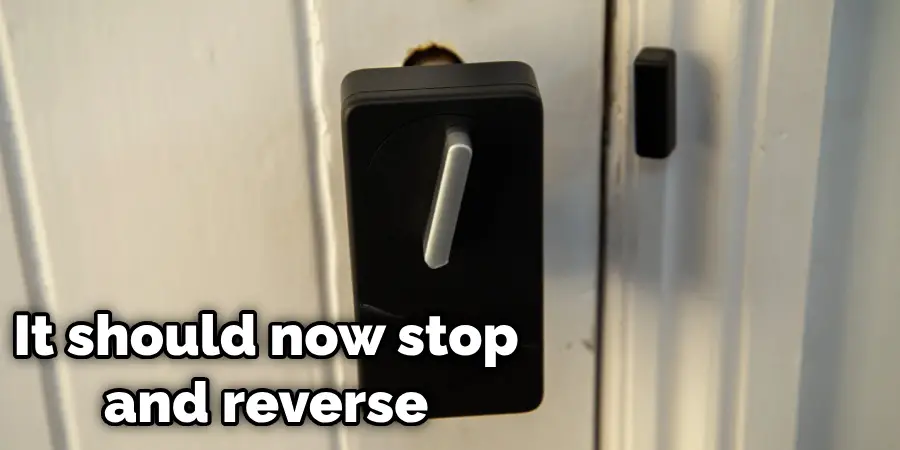
- Restore power to the opener and test the door again. It should now stop and reverse as designed if it detects an obstruction.
By following these steps, you can safely get success on how to override garage door sensors override your garage door sensors and restore their functionality when needed. Remember always to prioritize safety and consult a professional if you are unsure or uncomfortable with performing the override process yourself.
Troubleshooting Tips While Overriding Garage Door Sensors
Sometimes, overriding the garage door sensors may go differently than expected. Here are some troubleshooting tips to help you out in such situations:
Clean the Sensors
If your sensors are not functioning correctly, cleaning them might solve the issue. Use a clean cloth to wipe away any dirt or debris on both sensor lenses.
Check for Loose Connections
Ensure all connections between the sensor and garage door opener are secure and free of corrosion.
Adjust Sensor Alignment
If the sensors are still not working after cleaning and checking connections, try adjusting their alignment. Use a level to ensure they are perfectly aligned, and tighten any loose screws or bolts.
Replace Faulty Sensors
If all else fails, it’s possible that one or both sensors may have malfunctioned and require replacement. Contact a professional garage door technician for assistance in selecting and installing new sensors.
Tips on Regular Maintenance for Garage Door Sensors
Keep the Lenses Clean
Regularly clean the sensor lenses to prevent dust and debris from affecting their functionality.
Check for Misalignment
Periodically check the alignment of your sensors and make adjustments if necessary. This will ensure they continue to function accurately.
Test Sensor Sensitivity
Test your sensor’s sensitivity by placing a small object in its path and closing the garage door. If the door does not stop or reverse, the sensor may require adjustment or replacement.
Inspect for Damage
Check your sensors for any physical damage, such as cracks or breaks. If you notice any, contact a professional to have them repaired or replaced.
Schedule Professional Maintenance
Regularly scheduled maintenance by a professional can help prevent sensor malfunctions and ensure your garage door operates safely and efficiently.
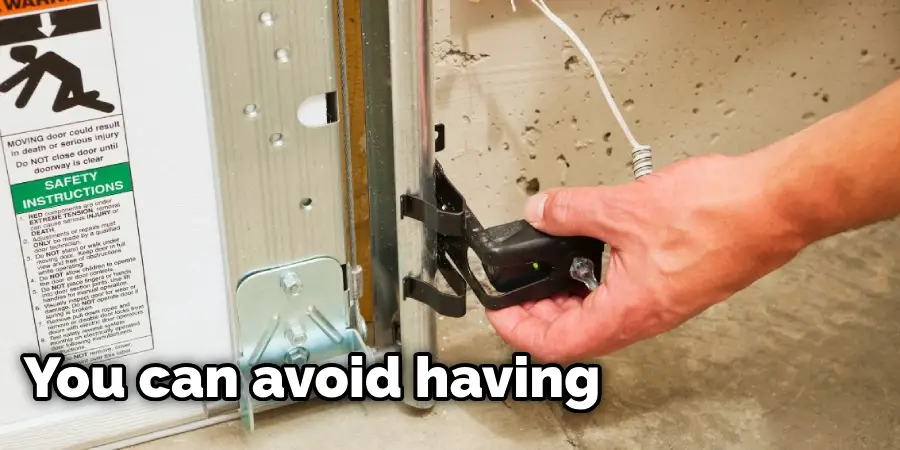
With proper care and maintenance, you can avoid having to override your garage door sensors frequently and keep them functioning correctly for years to come.
Safety Precautions to Keep in Mind when Overriding Garage Door Sensors
Always Turn off the Power
Before attempting to override your sensors, always turn off the power to your garage door opener to prevent any accidents.
Be Mindful of Obstructions
When testing and adjusting the sensor alignment, be aware of any potential obstructions in the door’s path. This will prevent damage or injury.
Use Caution with Tools
If you need to use tools for adjustments, handle them with caution and ensure they are appropriate for the task to avoid accidents.
Seek Professional Help if Needed
If you are unsure or uncomfortable with overriding your garage door sensors, always seek the help of a professional technician. Safety should always be the top priority.
Advancements in Technology for Garage Door Sensors
Battery-Powered Sensors
Newer garage door sensors may be battery-powered, eliminating the need for wiring and making installation easier.
Smartphone Compatibility
Some sensors now have the ability to connect to your smartphone through an app, allowing you to monitor and control your garage door remotely.
Laser Technology
Advanced laser technology is being used in some sensors to provide more precise detection of obstructions, reducing the risk of accidental closures.
Improved Durability
With advancements in materials and design, garage door sensors are becoming more durable and reliable, requiring less frequent maintenance and replacement.
As technology continues to evolve, we can expect even more improvements in garage door sensor functionality and safety. Stay updated on the latest advancements to ensure your garage door remains safe and secure for you and your family.
Ensuring the Winter Safety of Your Garage Door Sensors: Effective Cleaning and Storage Techniques
Clean and Lubricate Regularly
Harsh winter weather can cause a buildup of dirt and debris on your garage door sensors. Regularly clean them with a soft cloth and lubricate moving parts to prevent freezing.
Protect from Snow and Ice
Consider installing covers or shields to protect your sensors from heavy snow or ice buildup, which can affect their functionality.
Store Sensors Properly
If you live in an area with extreme winter conditions, consider removing and storing your sensors during the coldest months to prevent damage. Follow manufacturer instructions for proper storage techniques.
Check for Damage after Winter
Once the winter season is over, check your sensors for any cracks or other damage caused by extreme temperatures. Replace or repair them as necessary before using them again.

By following these tips and precautions, you can ensure the winter safety of your garage door sensors and prevent any malfunctions or damage. Remember always to prioritize safety and consult a professional for any concerns or assistance with your garage door sensors.
How to Test the Sensitivity of Your Garage Door Sensors
Step 1: Prepare for the Test
Ensure that the garage door is closed and there are no obstructions in its path. Also, make sure the sensors are properly aligned.
Step 2: Place an Object in the Door’s Path
Place a small object, such as a roll of duct tape or a cardboard box, in front of one of the sensors. This will simulate an obstruction.
Step 3: Attempt to Close the Door
Using your garage door opener, attempt to close the door. The door should not close if the sensors are functioning correctly.
Step 4: Test the Other Sensor
Next, repeat step 3 with the other sensor. The door should still not close if both sensors are working properly.
Step 5: Adjust Sensitivity if Necessary
If the door does not stop or reverse when an object is placed in its path, adjust the sensitivity settings on your sensors according to the manufacturer’s instructions. Repeat the test until the sensors are functioning correctly.
By regularly testing and adjusting the sensitivity of your garage door sensors, you can ensure they are accurately detecting obstructions and keeping you, your family, and your belongings safe.
Conclusion
Learning how to override garage door sensors can come in handy when needed, but it is important to maintain and test them regularly to prevent malfunctions. By following safety precautions and staying updated on advancements in technology, you can ensure the safety and efficiency of your garage door sensors throughout the year.
Remember always to prioritize safety and consult a professional for any concerns or assistance with your garage door sensors. So, be proactive and take care of your garage door sensors to avoid any potential problems. So, be proactive and take care of your garage door sensors to prevent any potential issues. Have a safe and smoothly operating garage door!