
Ah, the adjustable bed—a beloved oasis that offers a personalized experience for your sleep. But when you’re ready to change bedrooms or relocate, how do you move such an intricate piece of furniture? It’s not as difficult as it may seem; by taking simple and careful steps—plus some additional tips from pros in the biz—you can easily dismantle and reassemble your adjustable base with no stress!
That’s why we wanted to provide you with this guide on how to move an adjustable bed base so that one less migraine is put into motion during your relocation journey.
What Are the Benefits of an Adjustable Bed Base?
Before we dive into the nitty-gritty of how to move your adjustable bed base, let’s first review why it’s worth the effort. Adjustable bed bases are designed to give you more control over the positioning of your mattress for optimal comfort and support. They offer a range of benefits that can improve your overall sleep quality, such as:

Relieving Pressure Points:
By adjusting the angle of your bed, you can take pressure off certain areas of your body and reduce pain.
Improving Circulation:
Elevating your legs or upper body can improve blood flow and reduce swelling in your extremities.
Aiding Digestion:
By elevating your head, you can better align your digestive organs and reduce acid reflux.
Reducing Snoring:
Adjustable bases that offer an anti-snore position can help alleviate snoring and improve breathing while asleep.
Customized Comfort:
With a remote control, you can easily adjust your bed to find the perfect position for sleeping, reading, or watching TV.
Needed Tools and Materials
To successfully move your adjustable bed base, you will need the following tools and materials:
- Screwdriver
- Allen Wrench
- Zip Ties or Twist Ties
- Plastic Wrap or Stretch Wrap
11 Step-by-step Guidelines on How to Move an Adjustable Bed Base
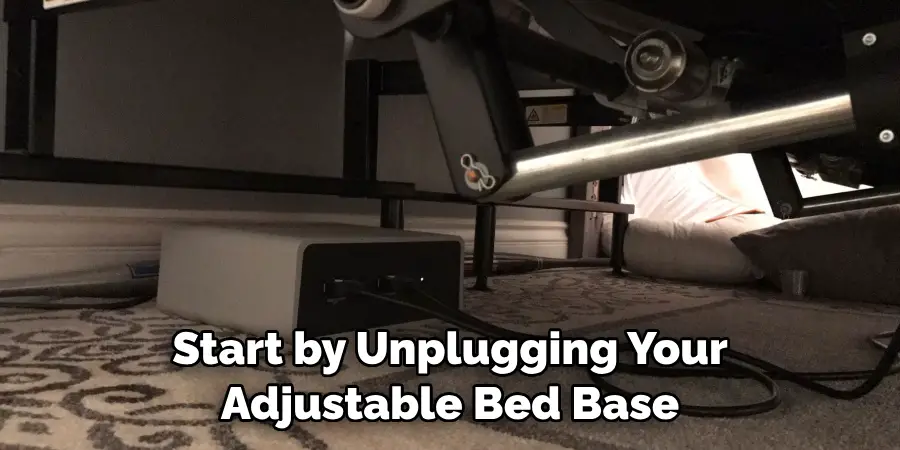
Step 1: Prepare the Bed for Moving
Start by unplugging your adjustable bed base from the power source and removing any bedding or accessories. If you have a headboard attached, detach it as well. But before you begin to disassemble the bed, take a photo of it with your phone. This will make it easier to reassemble later on. You can also take a video, which may be helpful for more complex bases.
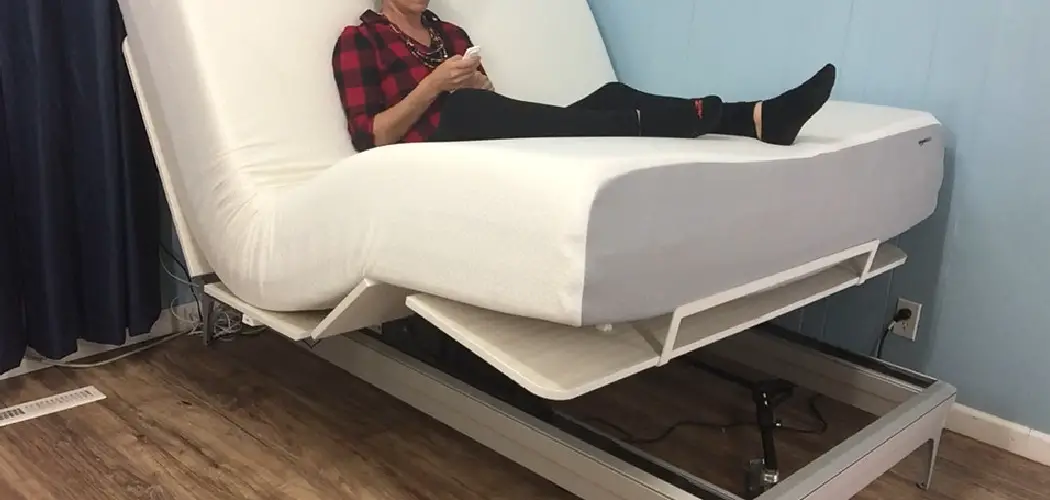
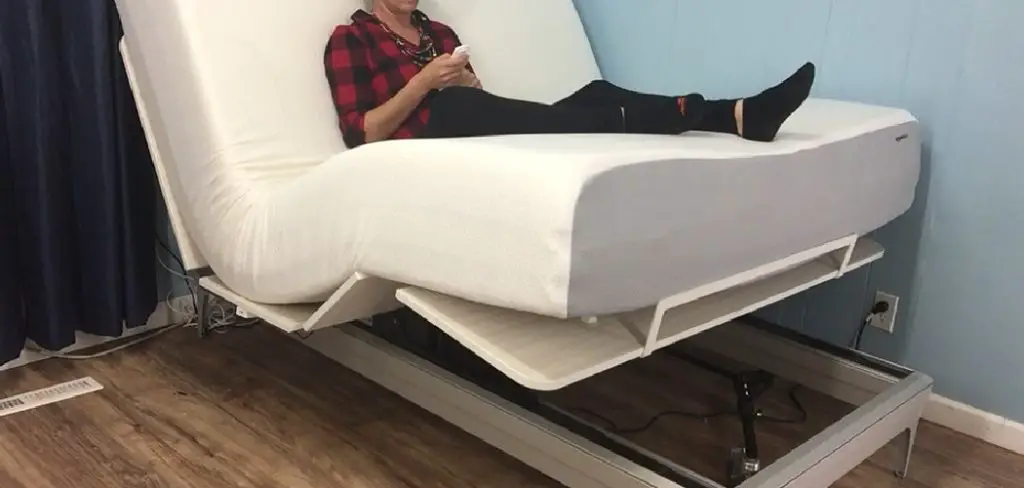
Step 2: Raise the Bed to its Highest Position
Before you start taking apart the bed frame, raise it to its highest position. This will make it easier to access all the components and remove them without any strain on your back. It may also help to have someone assist you during this process. You can also use a furniture dolly or sliders to move the bed around if necessary.
Step 3: Remove the Head and Foot Boards
Next, you’ll need to remove the head and footboards of your adjustable base. This may involve unscrewing bolts or using an Allen wrench, depending on how they’re attached. Again, take photos as needed for reference during reassembly. It’s also a good idea to label each piece or take note of the order in which you remove them.
Step 4: Unscrew the Retainer Brackets
Once the head and footboards are removed, you should have access to the retainer brackets (metal bars that hold the mattress in place). Unscrew these brackets and set them aside. Make sure to keep all screws and bolts together in a safe place. But don’t worry if you lose one; most hardware stores carry replacements. It’s always better to have extras on hand!
Step 5: Detach the Mattress Retainer Bar
With the brackets removed, you can now detach the mattress retainer bar by gently lifting and pulling it out. This will allow you to remove your mattress and set it aside for transport. You can wrap it in plastic or use a mattress bag for added protection. It’s also a good idea to place the mattress on its side rather than flat to avoid damage.
Step 6: Remove the Adjustable Base from its Frame
Next, you’ll need to remove the adjustable base from its frame. Depending on the model, this may involve unscrewing bolts or detaching legs. Again, refer to your photos and labels for guidance. It’s also a good idea to have someone help you as these bases can be heavy and awkward to maneuver. However, if you’re unable to find a helper, furniture sliders can come in handy.

Step 7: Secure the Adjustable Base for Transport
Once the base is removed from the frame, secure any loose parts with zip ties or twist ties. This will prevent them from shifting around during transport and potentially causing damage. You can also wrap the base in plastic or stretch wrap for extra protection. You may also want to consider using furniture blankets or pads to prevent any scratches or dings.
Step 8: Move the Mattress and Base Separately
While it may be tempting to transport your mattress and adjustable base together, it’s best to move them separately. This will prevent any damage that may occur during transit due to shifting or bumps in the road. It’s also safer and more manageable to maneuver each item individually. It may take more time, but it will be worth it in the end. You can also consider hiring professional movers for added convenience.
Step 9: Reassemble the Adjustable Base
Once you have safely transported your adjustable base to its new location, it’s time to reassemble it. Start by setting up the frame and attaching any detached legs or screws. The retainer brackets should also be reattached at this point. Then, carefully place the base back on top of the frame and secure it with any necessary screws or bolts.
Step 10: Reattach the Head and Foot Boards
Now that your adjustable base is assembled, you can reattach the head and footboards using the photos and labels you took before disassembly. It’s important to make sure everything is aligned and securely attached before moving on to the final step. You can also use a level to ensure the base is even and properly adjusted.
Step 11: Test the Bed and Make Any Necessary Adjustments
Once your bed is fully assembled, test it out by adjusting it to different positions. This will ensure that everything is working correctly before putting your mattress back on. If you notice any issues or need to make adjustments, refer to your manual for guidance. And when everything is back in working order, you can enjoy a well-deserved rest on your perfectly moved adjustable bed base! Overall, moving an adjustable bed base may seem like a daunting task, but with the right tools and careful planning, it can be done smoothly and safely. Just remember to take your time and stay organized throughout the process.
Following these step-by-step guidelines on how to move an adjustable bed base can help make your move a success and ensure that your adjustable bed base arrives at its destination in the same condition it left. So, if you’re planning on moving anytime soon, make sure to add these steps to your moving checklist. Happy moving! Additionally, it’s important to note that while adjustable bed bases can be heavy and awkward to maneuver, they also offer many benefits for sleepers.
They allow for customizable comfort and support levels, making them a popular choice among those with back pain or other health concerns. So, don’t let the moving process discourage you from enjoying a good night’s sleep on your adjustable bed base. With these tips and precautions in mind, you can safely and successfully move your bed to its new home.
Do You Need to Consider Hiring Professionals?
If you’re feeling overwhelmed or unsure about moving your adjustable bed base on your own, consider hiring professional movers. They have the necessary equipment and experience to safely move heavy and bulky items like an adjustable bed base. You can also ask for recommendations from friends or family who may have recently moved. Investing in professional help can save you time and stress, and potentially prevent any damage to your bed base during the move. Ultimately, the decision to hire professionals will depend on your own comfort level and budget. But if you want to ensure a seamless and stress-free moving experience, it may be worth considering.

Conclusion
To conclude, moving an adjustable bed base is not as a difficult task as it may seem. Having the right tools and following the required steps, can ensure that everything goes smoothly and efficiently. Ensure you have all of the necessary equipment to carry out the job properly before starting, as this will save time and effort in trying to fish out tools along the way. Take your time and coordinate with any other party who might assist in relocating the adjustable bed.
Make sure you take safety precautions with any heavy lifting involved during the move process. Finally, don’t forget that setting up your new space with an adjustable bed can bring added comfort and convenience to your home. The effort you put in now will mean better nights of restful sleep for years to come. For help or more information on how to move an adjustable bed base, reach out to us today!