
Moisture is a silent adversary in homes, often leading to unsightly ceiling damage, mold growth, and costly repairs. Protecting your home’s integrity, especially in high-humidity areas like bathrooms, kitchens, and basements, begins with a strong ceiling defense. Ignoring these vulnerabilities can compromise both structural integrity and indoor air quality.
Choosing the right waterproof ceiling solution is crucial for both aesthetic appeal and long-term structural health. The ideal choice balances durability, ease of installation, and compatibility with your home’s existing design. This decision safeguards your investment and enhances your living environment.
This comprehensive guide will explore 13 effective strategies, from creative materials to smart technologies, ensuring your home remains beautiful and protected against moisture intrusion for years to come. We’ll cover options suitable for every budget, design preference, and specific environmental challenge.
13 Smart Solutions for a Durable Waterproof Ceiling
1. Mold-Resistant Gypsum Board
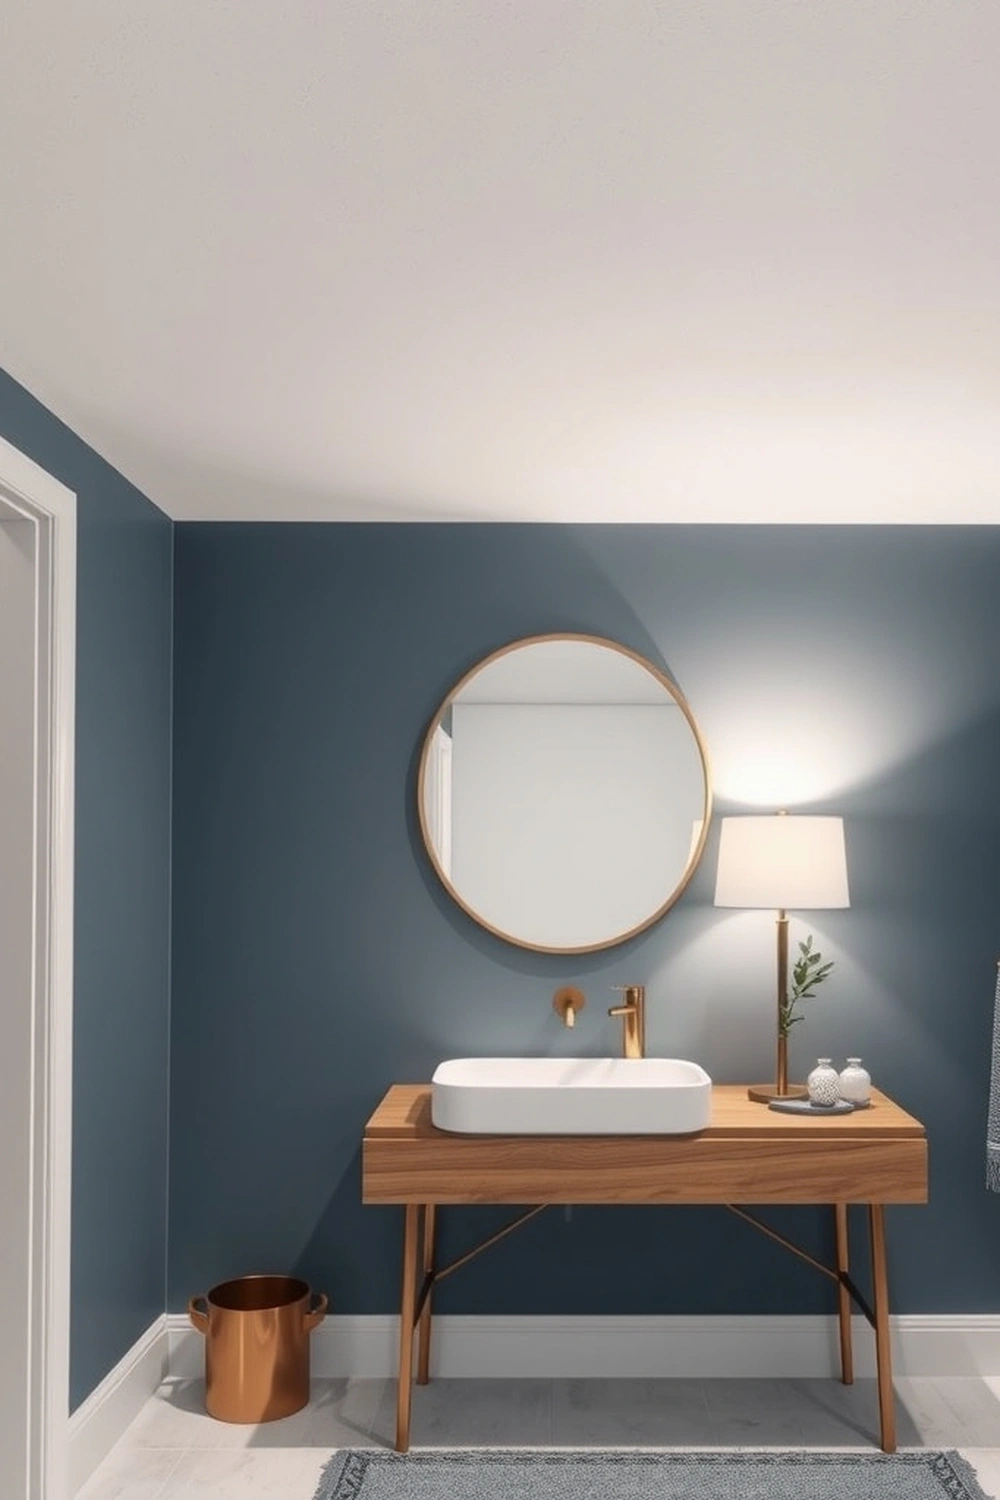
Mold-resistant gypsum board, often referred to as “green board” or “purple board,” is an excellent foundation for moisture-prone areas. Brands like Georgia-Pacific DensShield and National Gypsum PermaBase offer enhanced protection against moisture and mold growth compared to standard drywall. These boards feature a water-resistant core and often a fiberglass mat facing.
Installation is similar to traditional drywall but requires specific moisture-resistant joint compound and fiberglass mesh tape. A standard 4×8 foot sheet of DensShield typically costs around $25-$35, and a professional installation for a 100 sq ft bathroom ceiling could range from $300-$500, including finishing.
Pro Tip: Always prime mold-resistant gypsum board with a high-quality, mold-inhibiting primer before painting. This creates an additional barrier and ensures paint adhesion.
Checklist:
- Use fiberglass mesh tape, not paper tape.
- Apply moisture-resistant joint compound.
- Prime with a mold-inhibiting primer.
- Ensure proper ventilation during installation.
2. PVC Ceiling Panels
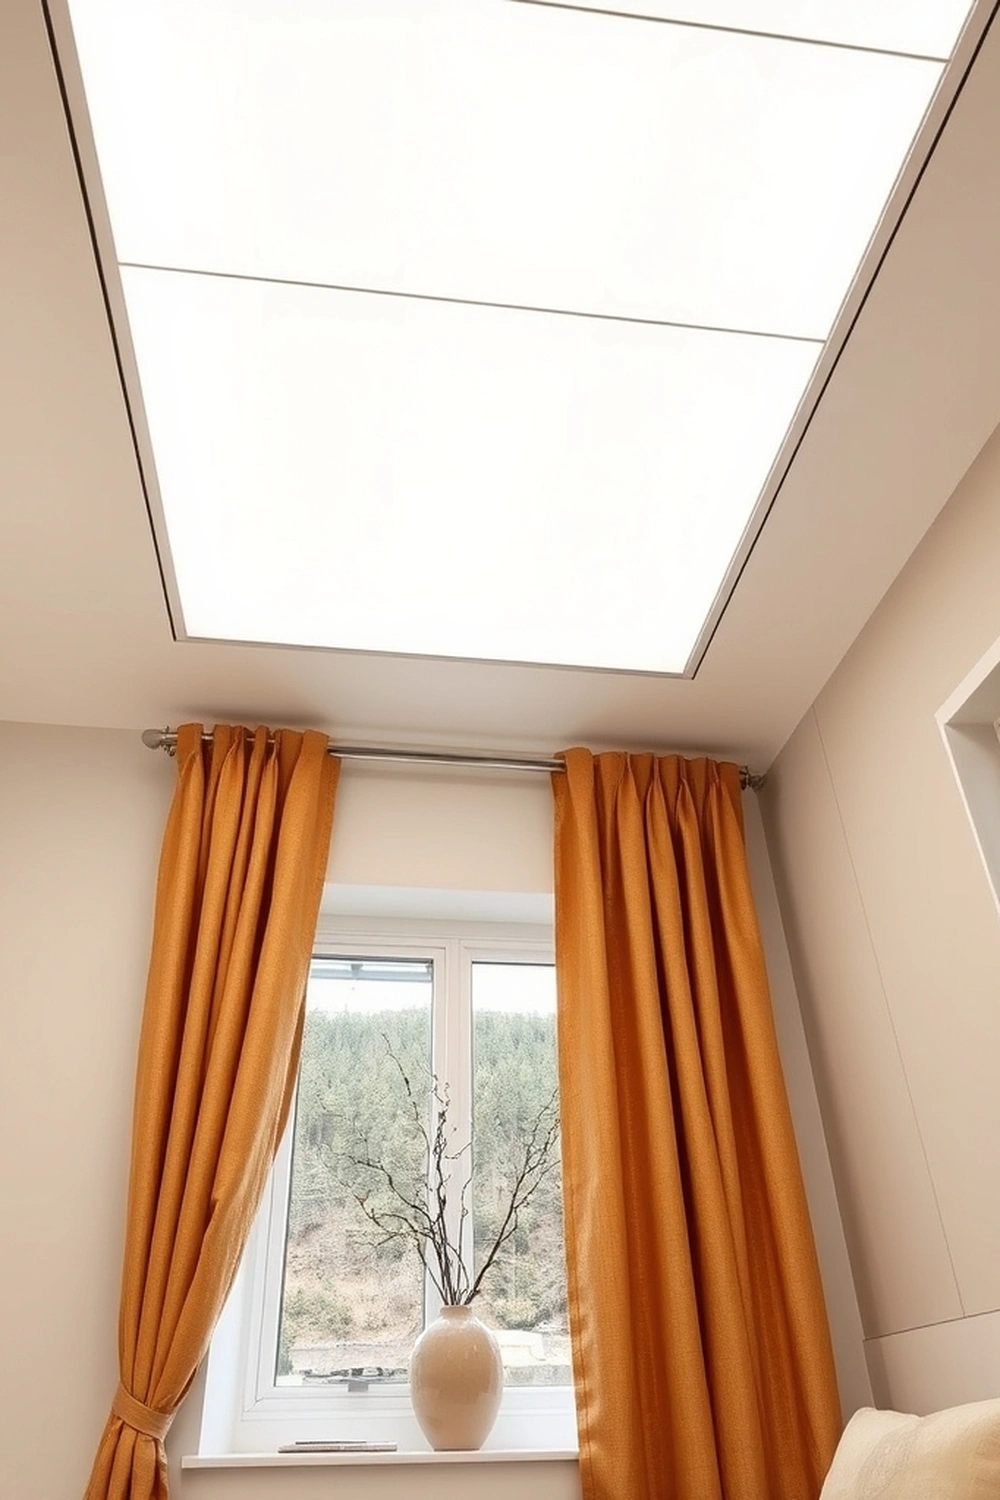
PVC ceiling panels offer a lightweight, durable, and completely waterproof solution, ideal for high-humidity environments like showers, laundries, and basements. Products like Palram Palight PVC Panels or Dumaplast PVC panels snap together quickly, forming a smooth, non-porous surface. They come in various finishes, including matte white, high gloss, and wood-grain effects.
These panels are typically sold in planks measuring 10 feet long by 10 inches wide, with prices around $4-$8 per linear foot. A DIY installation for a 10×10 foot room can be completed in about 4-6 hours using basic tools like a utility knife and adhesive. Their smooth surface makes cleaning effortless.
Budget Level: These panels are a mid-range option, costing approximately $400-$800 for a 100 sq ft ceiling, making them more affordable than traditional tiling but higher than just painting.
Example: For a basement laundry room prone to humidity, installing white high-gloss PVC panels (such as Dumaplast Classic White panels) creates a bright, reflective surface that is impervious to moisture and simple to wipe clean. This prevents moisture accumulation that can damage traditional drywall.
3. Water-Resistant Acrylic Paint
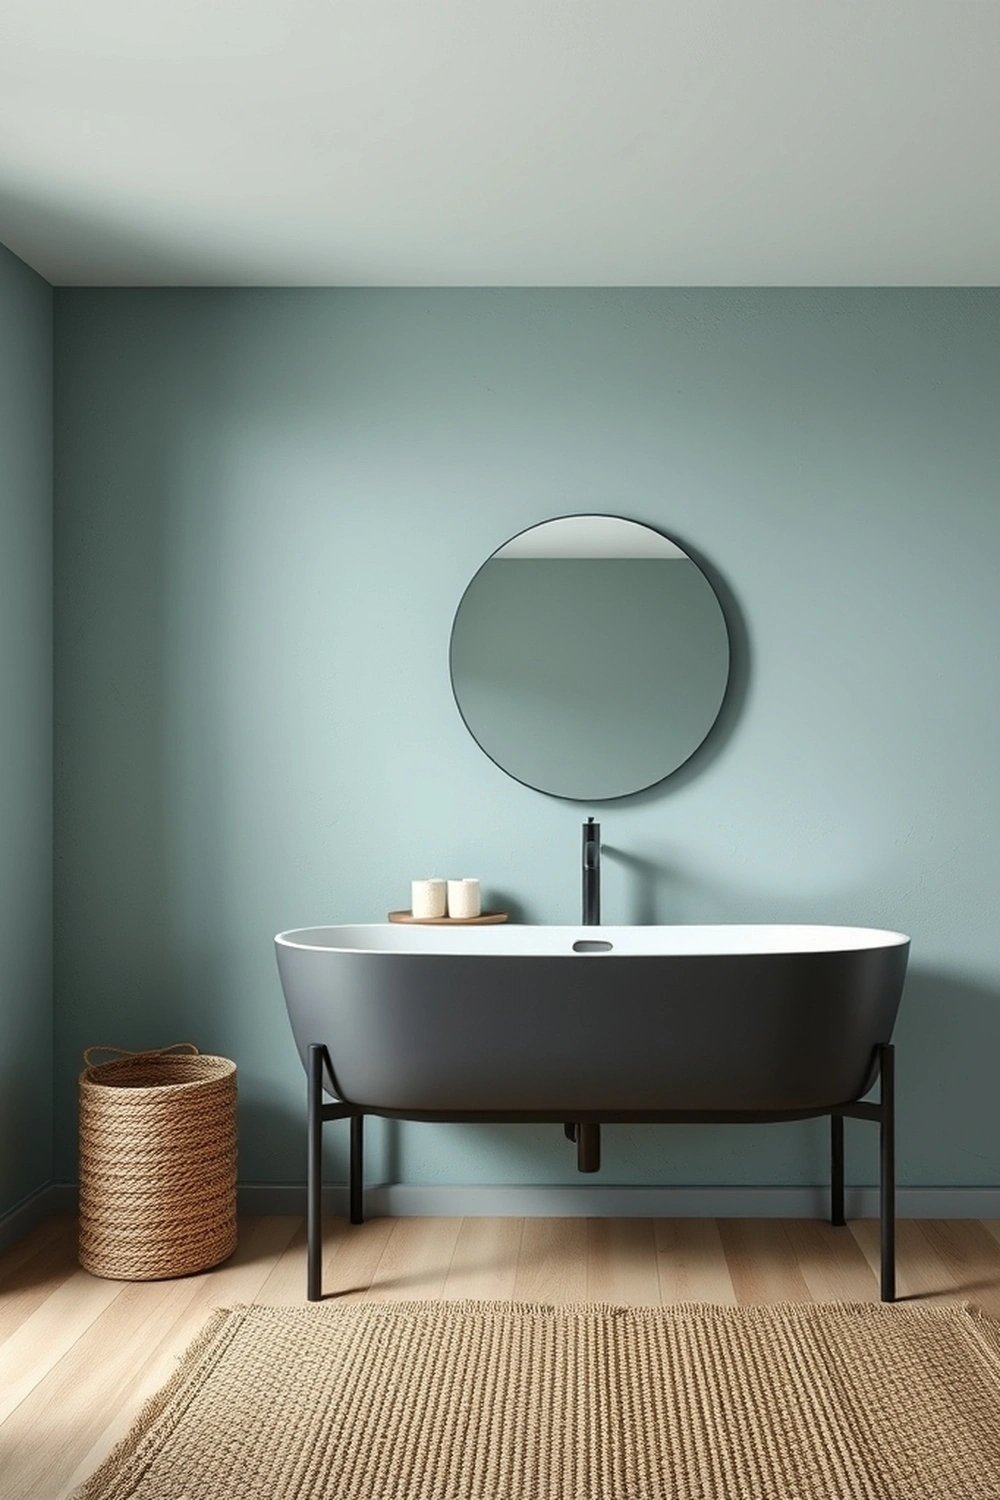
For an effective and budget-friendly defense against moisture, specialized water-resistant acrylic paints are an excellent choice. Products like Zinsser Perma-White Mold & Mildew-Proof Interior Paint or Behr Premium Plus Interior Paint & Primer offer superior moisture resistance and often contain agents that inhibit mold and mildew growth. These paints are crucial in protecting gypsum board or plaster.
Apply two coats for optimal protection, allowing recommended drying time, usually 2-4 hours between coats. A gallon of high-quality water-resistant paint typically costs $40-$70 and covers approximately 300-400 square feet with one coat. Ensure the ceiling surface is clean, dry, and primed before application for best results.
Pros & Cons:
- Pros: Affordable, wide color selection, easy DIY application, inhibits mold growth.
- Cons: Not a primary waterproof barrier for severe leaks, requires reapplication every 3-5 years.
DIY Difficulty: Easy. Requires basic painting skills, a roller, brushes, and painter’s tape.
4. Moisture-Resistant Acoustic Ceiling Tiles
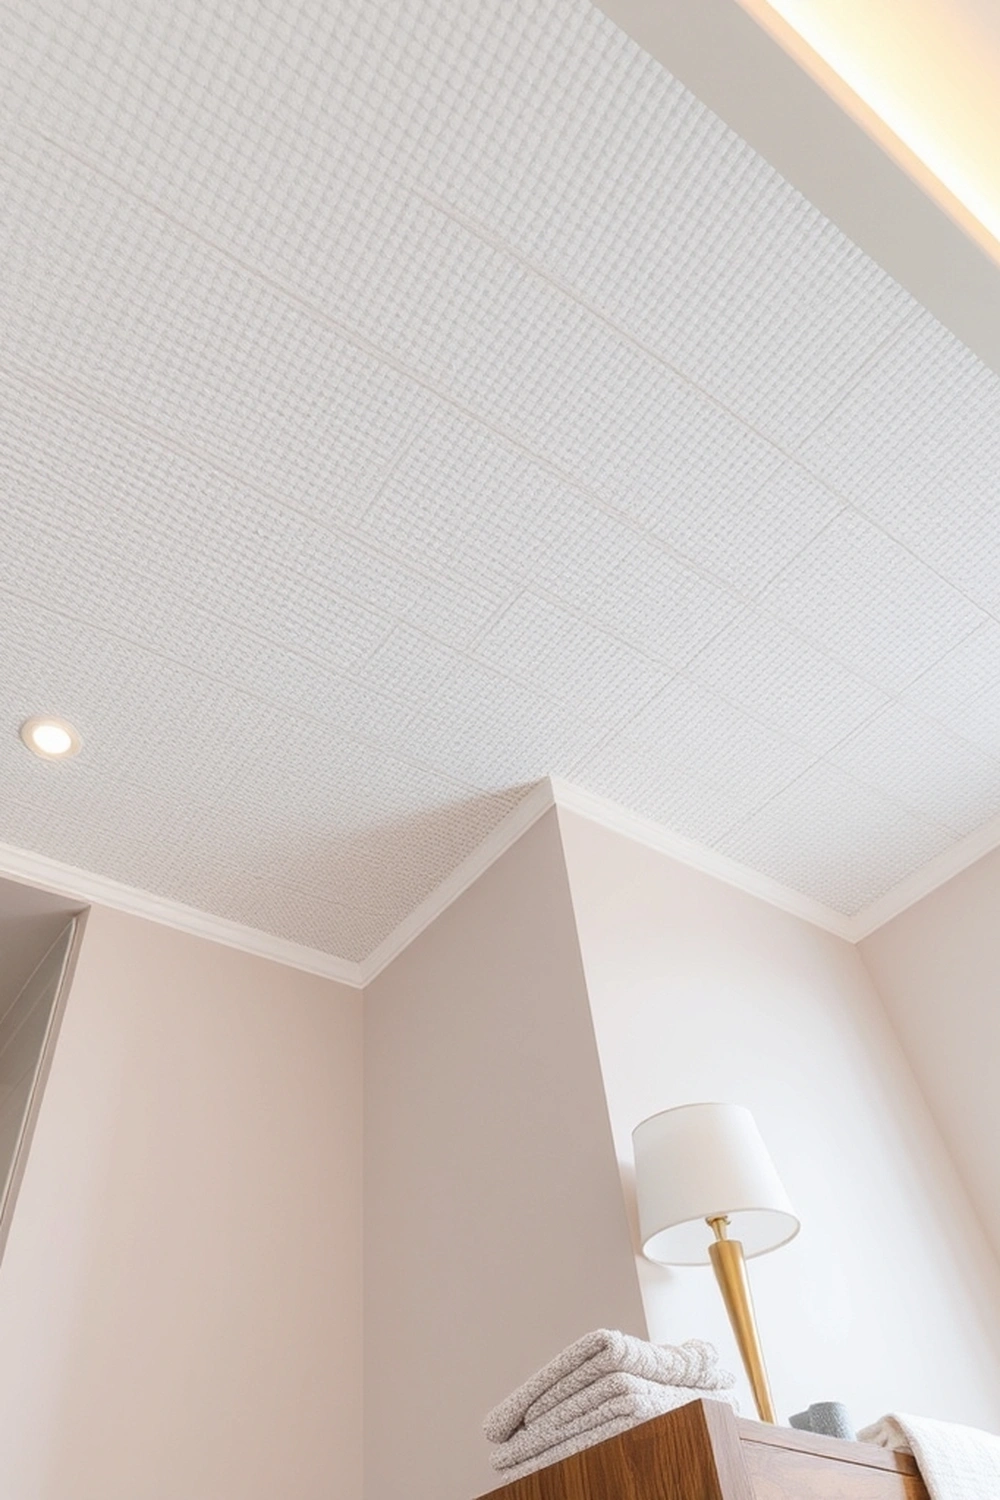
Moisture-resistant acoustic ceiling tiles provide dual benefits: sound dampening and enhanced protection against humidity. These tiles are often made from mineral fiber or fiberglass with a specialized coating that resists sagging and mold growth in damp conditions. Brands like Armstrong Ceilings’ Dune or USG’s Halcyon are designed for high-humidity areas.
Standard 2×2 foot tiles cost $2-$5 per square foot and are installed in a suspended grid system, making them ideal for basements or utility rooms where access to plumbing or wiring is necessary. A 10×10 foot ceiling could cost $200-$500 for materials, plus grid system components, offering an R-value of around 2.0 to 4.0 depending on thickness.
What to Avoid: Do not use standard, non-moisture-resistant acoustic tiles in bathrooms or other high-humidity zones. They will sag, warp, and likely develop mold rapidly.
Pro Tip: When installing, use rust-resistant galvanized steel grids and hangers to ensure the entire system withstands moisture without corrosion. This prolongs the life of your suspended ceiling.
5. Fiberglass Reinforced Plastic (FRP) Panels
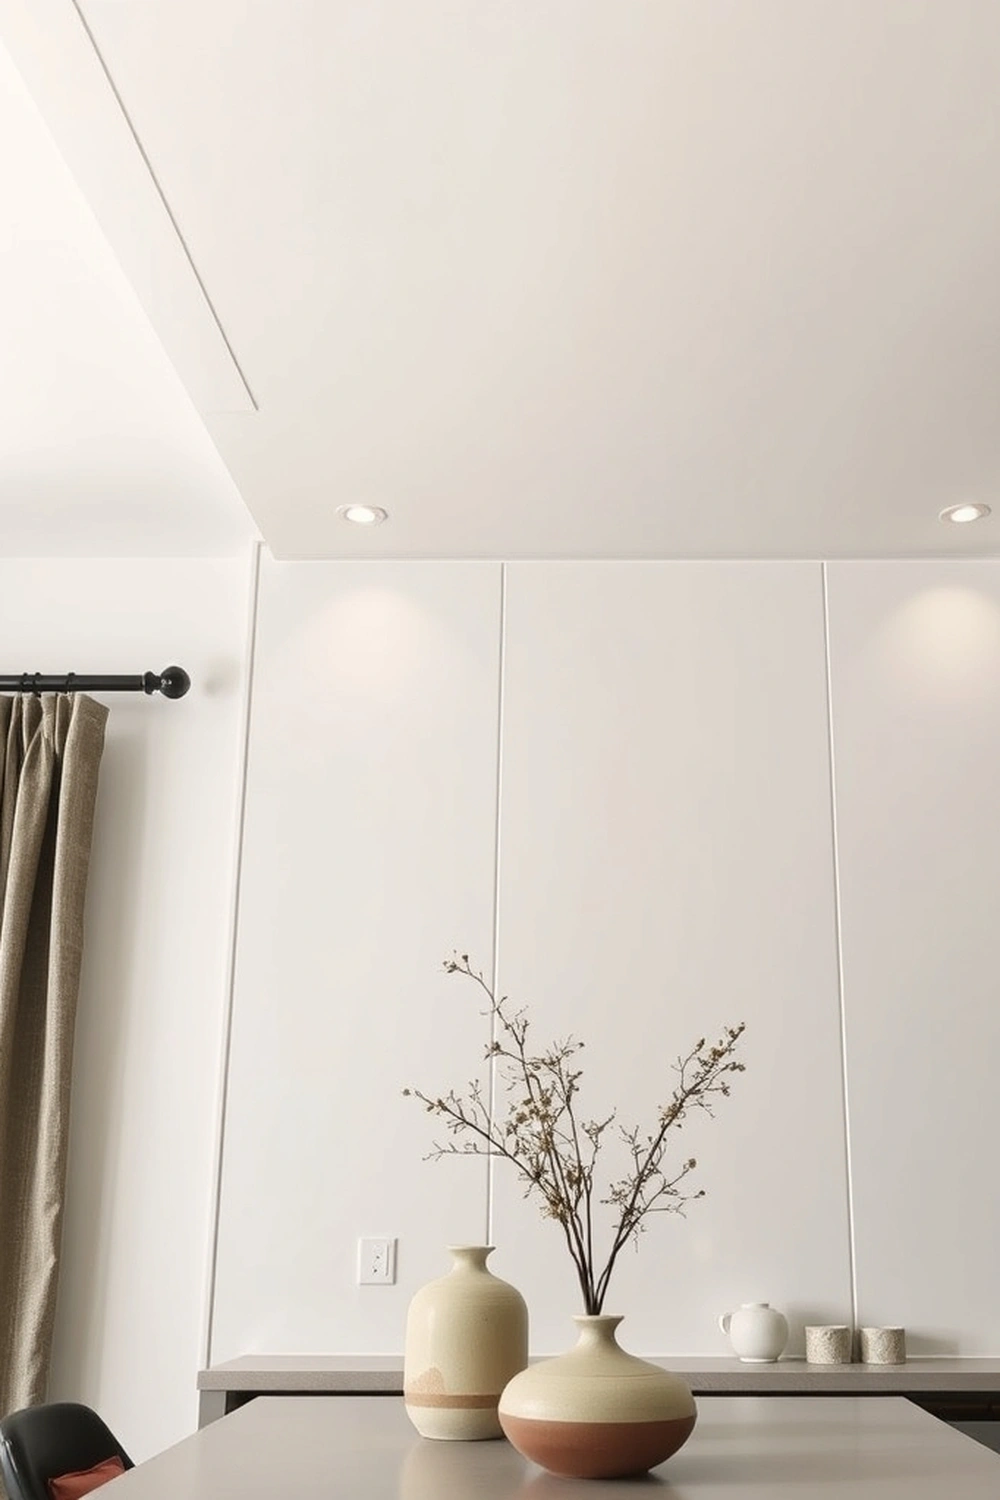
Fiberglass Reinforced Plastic (FRP) panels offer an incredibly durable, impact-resistant, and completely waterproof surface, making them excellent for demanding environments like commercial kitchens, laundry rooms, or utility spaces. Products from Marlite or Glasliner are specifically engineered to withstand harsh cleaning agents and high moisture. They are often used in areas requiring frequent sanitization.
These panels typically come in 4×8 foot sheets, costing $30-$50 per sheet. Installation usually involves a troweled-on adhesive and matching plastic rivets or trim, requiring some skill to achieve a smooth, flush finish. A professional installation for a 10×10 foot area might cost $600-$1000, ensuring a completely sealed surface.
Checklist:
- Ensure the substrate is clean and dry before adhesion.
- Use a full-coverage adhesive application.
- Seal all seams with a silicone caulk designed for FRP.
- Allow adequate cure time for adhesive before exposure to moisture.
Budget Level: FRP panels represent a higher upfront investment compared to paint or basic PVC, but their extreme durability and longevity often justify the cost in demanding applications. They are built to last decades.
6. Cork Ceiling Tiles
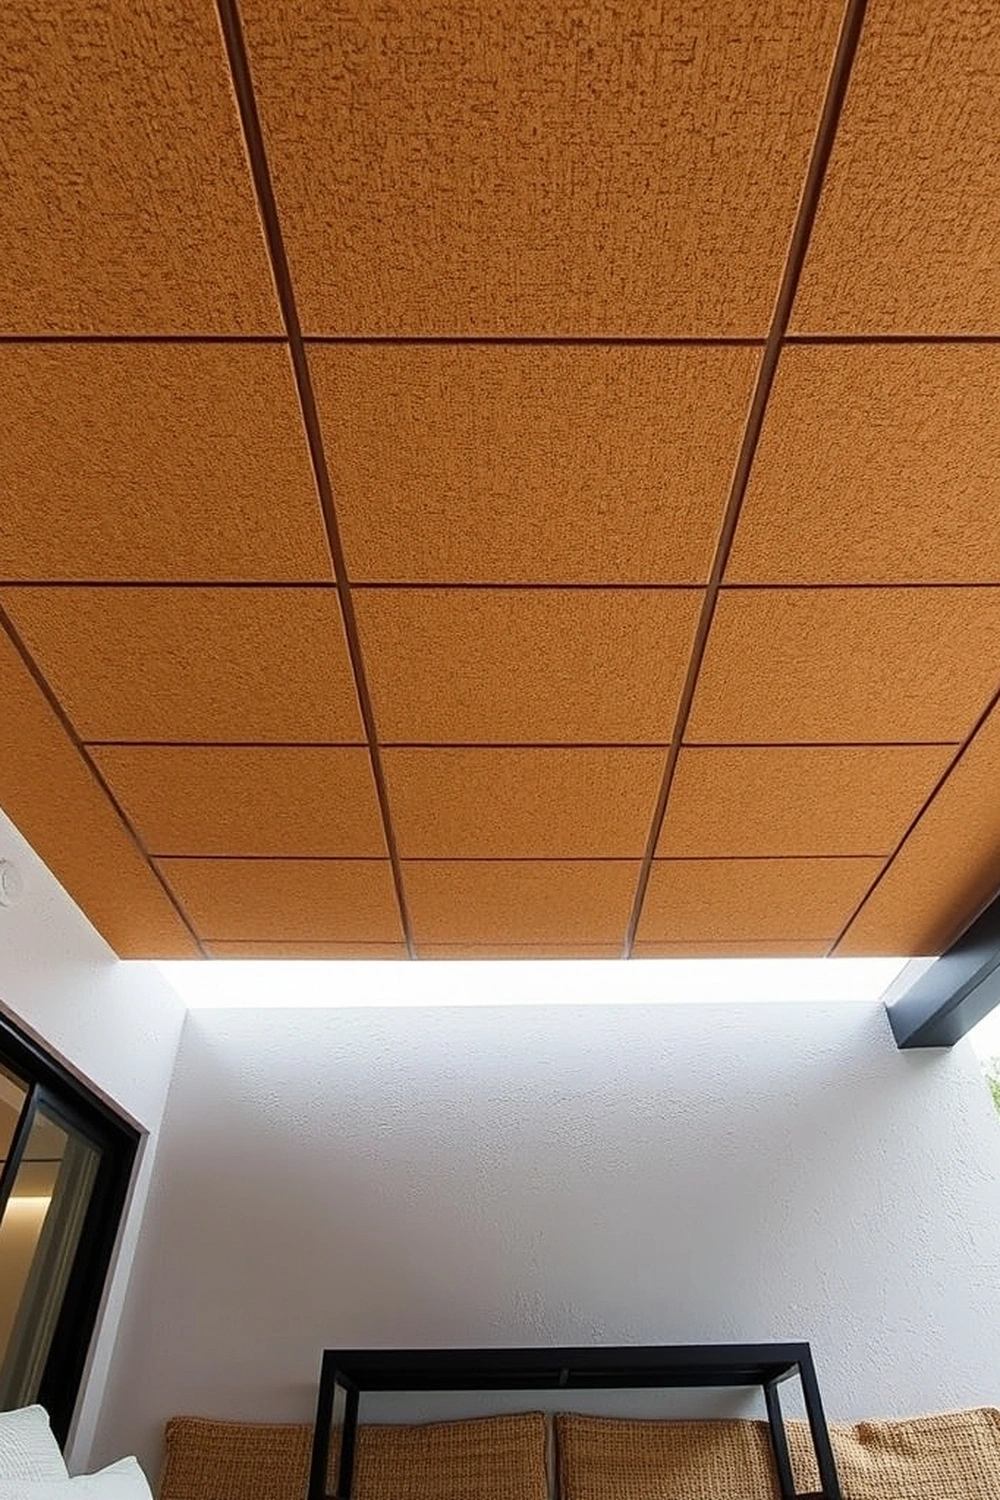
Cork ceiling tiles offer an eco-friendly and naturally moisture-resistant option, providing warmth, sound dampening, and a unique aesthetic. Cork contains suberin, a waxy substance that makes it naturally impervious to water and resistant to mold and mildew. Brands like WE Cork and Jelinek Cork offer various tile sizes and patterns.
These tiles are typically available in 1×1 foot or 2×2 foot squares, costing $4-$10 per square foot. Installation involves applying an adhesive to the back of each tile and pressing it firmly onto a clean, flat ceiling surface. A 100 sq ft ceiling can be installed in 5-8 hours.
Many cork products are sustainably harvested and formaldehyde-free.
Example: For a basement family room where comfort and sustainability are priorities, installing 12″x12″ natural cork tiles (like Jelinek Cork’s “Whisper Wall” series) provides excellent acoustic insulation, adds visual texture, and inherently resists moisture fluctuations without harsh chemicals.
Pros & Cons:
- Pros: Eco-friendly, natural moisture resistance, sound absorption, warm aesthetic, hypoallergenic.
- Cons: Higher cost, can be easily damaged by sharp objects, limited color palette, specific installation process.
7. Stretch Ceilings
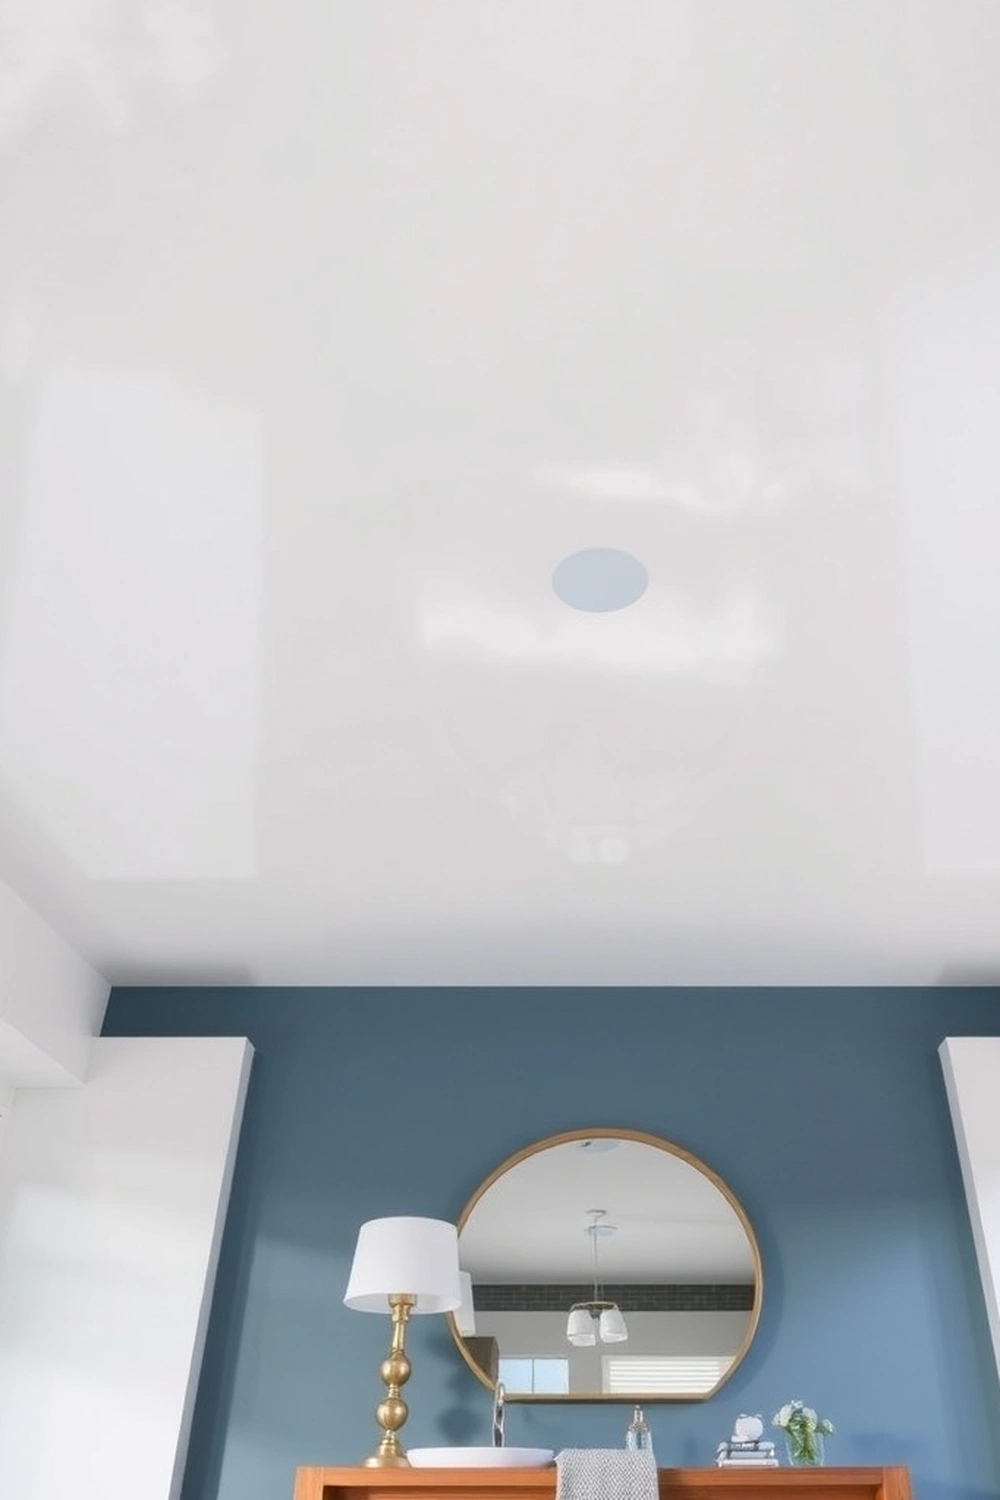
Stretch ceilings are a sophisticated and fully waterproof solution, consisting of a thin, PVC or polyester membrane stretched taut across a track system installed just below the existing ceiling. Brands like Barrisol and Newmat offer systems that can hold significant amounts of water (up to 20 gallons per square foot) in the event of a leak, preventing damage to the room below. They create a perfect, smooth surface.
These custom-fabricated ceilings cost approximately $10-$25 per square foot, including professional installation. They can be installed quickly, often in 1-2 days for a standard room, without demolition. They come in matte, satin, high-gloss, translucent, or even printed finishes, offering immense design flexibility and can be easily cleaned.
DIY Difficulty: Very Difficult. Professional installation is highly recommended due to the specialized equipment and precise fitting required for the track system and membrane tensioning.
What to Avoid: Attempting DIY installation without proper training and tools will likely result in an uneven, sagging, or damaged ceiling membrane. This is not a project for beginners.
8. Smart Ventilation Systems
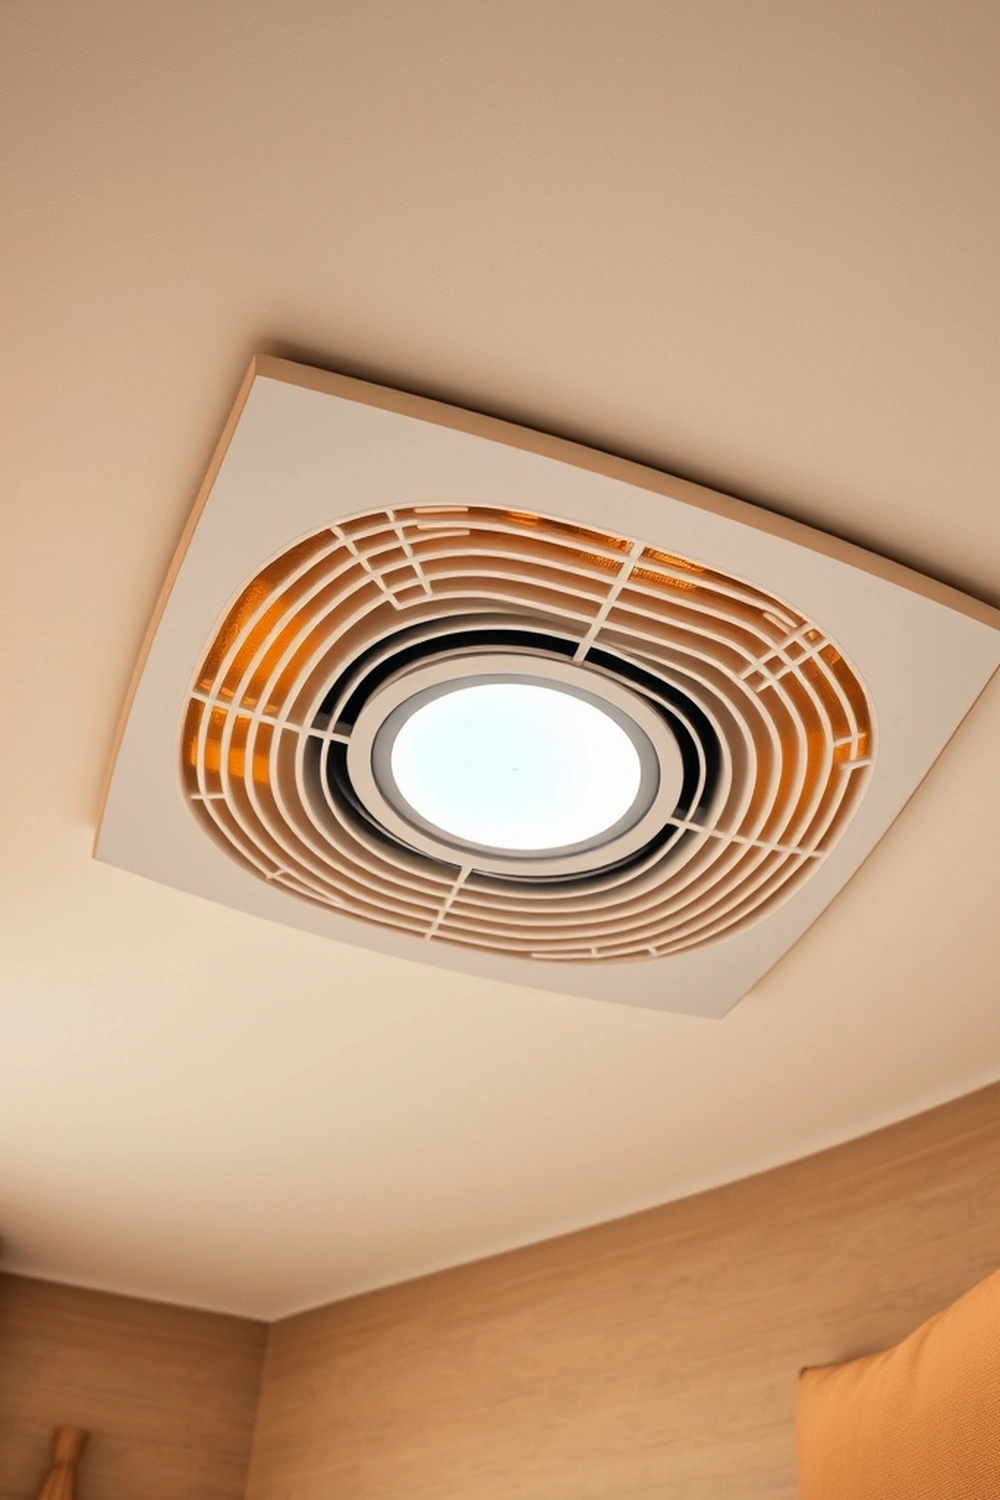
Integrating a smart ventilation system is a proactive strategy to prevent moisture accumulation on ceilings, rather than just treating it. Advanced exhaust fans, such as the Broan-NuTone SensAire or Panasonic WhisperSense, feature built-in humidity sensors that automatically activate when moisture levels rise above a set threshold (e.g., 60% relative humidity). This ensures consistent moisture removal without manual intervention.
These smart fans typically cost $150-$350, excluding installation, and consume minimal energy. For a 10×10 foot bathroom, a fan with a 110 CFM (Cubic Feet per Minute) rating is generally recommended to effectively exchange air. Professional installation can add $150-$300 to the total cost.
Pro Tip: Position smart ventilation fans strategically in high-moisture areas, typically directly above showers or bathtubs. Ensure the ducting is properly insulated and vented directly outside, not into an attic.
Budget Level: While the initial cost is higher than a standard exhaust fan, the long-term savings from preventing mold growth and structural damage make it a smart investment. It’s an upper-mid-range preventative solution.
9. Vapor Barrier Installation
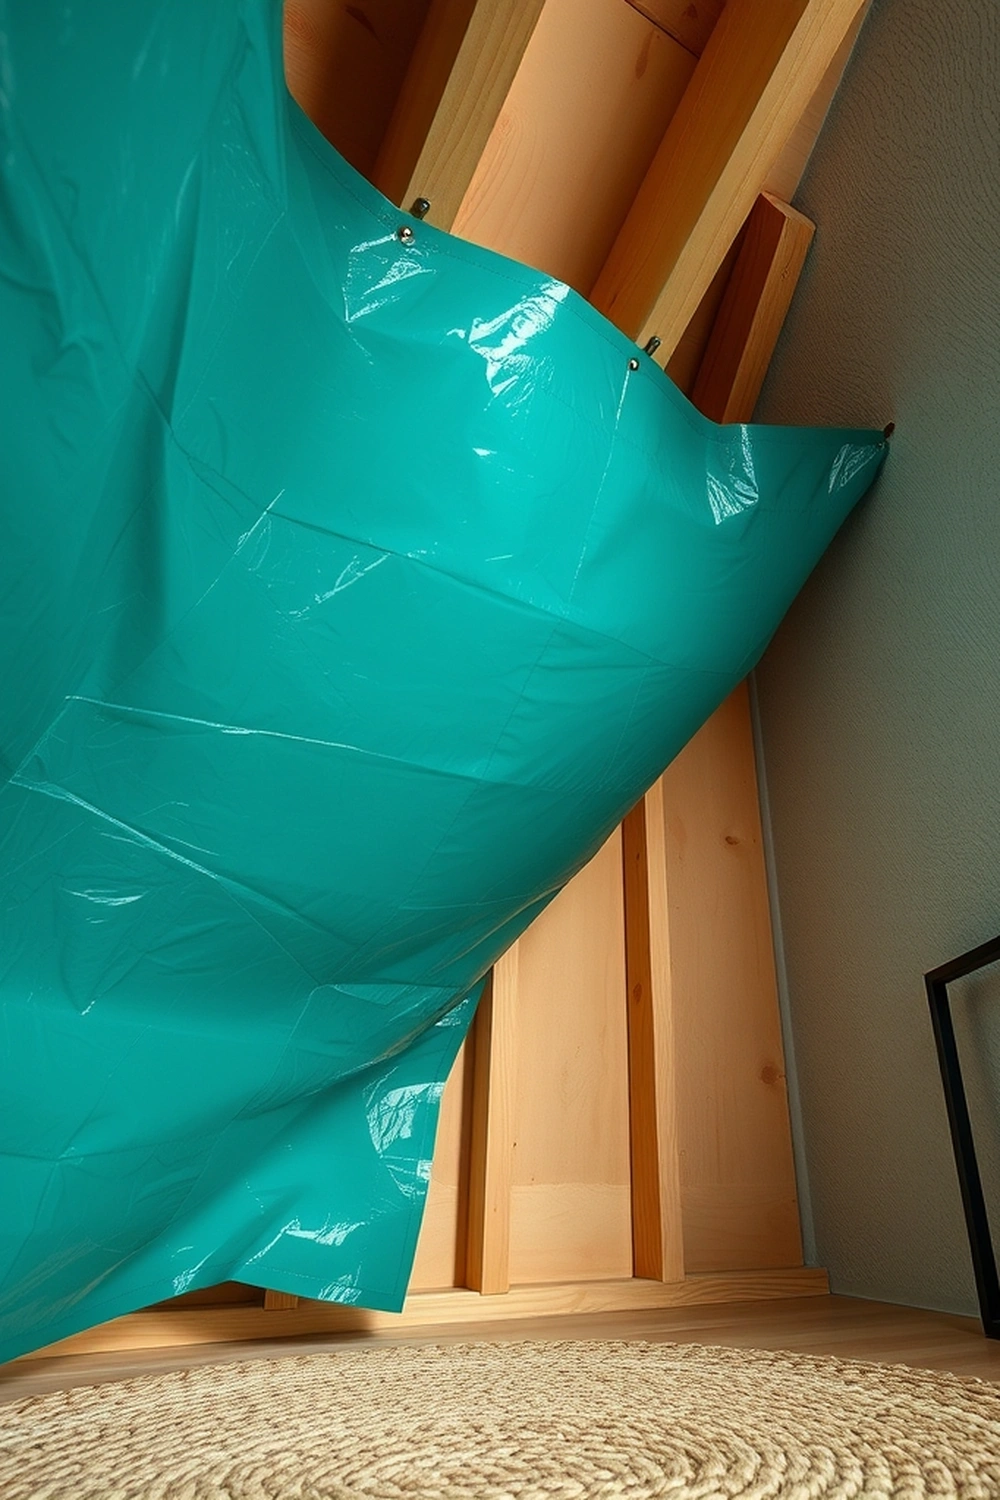
A critical, often unseen, component of a waterproof ceiling system, especially in cold climates or unconditioned spaces above, is a proper vapor barrier. Products like CertainTeed MemBrain or various polyethylene sheeting (6-mil thickness is common) prevent moisture vapor from migrating through the ceiling structure, condensing, and causing hidden damage within insulation or framing. It is installed on the warm side of the insulation.
Installing a 100 sq ft vapor barrier beneath drywall can add $50-$100 in material costs for polyethylene sheeting. It typically takes an additional 1-2 hours for a DIYer during ceiling construction. This thin layer is stapled to ceiling joists before the finish ceiling material, effectively blocking moisture transfer.
Checklist:
- Use 6-mil polyethylene sheeting or equivalent smart vapor retarder.
- Overlap seams by at least 6 inches.
- Seal all seams and penetrations (wires, pipes) with approved vapor barrier tape or caulk.
- Ensure the barrier is on the “warm in winter” side of insulation.
Example: In a bathroom below an unheated attic in a northern climate, installing a CertainTeed MemBrain vapor barrier directly below the attic insulation and above the ceiling drywall prevents warm, humid bathroom air from condensing on the colder attic side of the ceiling. This maintains the efficacy of insulation and prevents rot.
10. Tiled Ceilings (Ceramic/Porcelain)
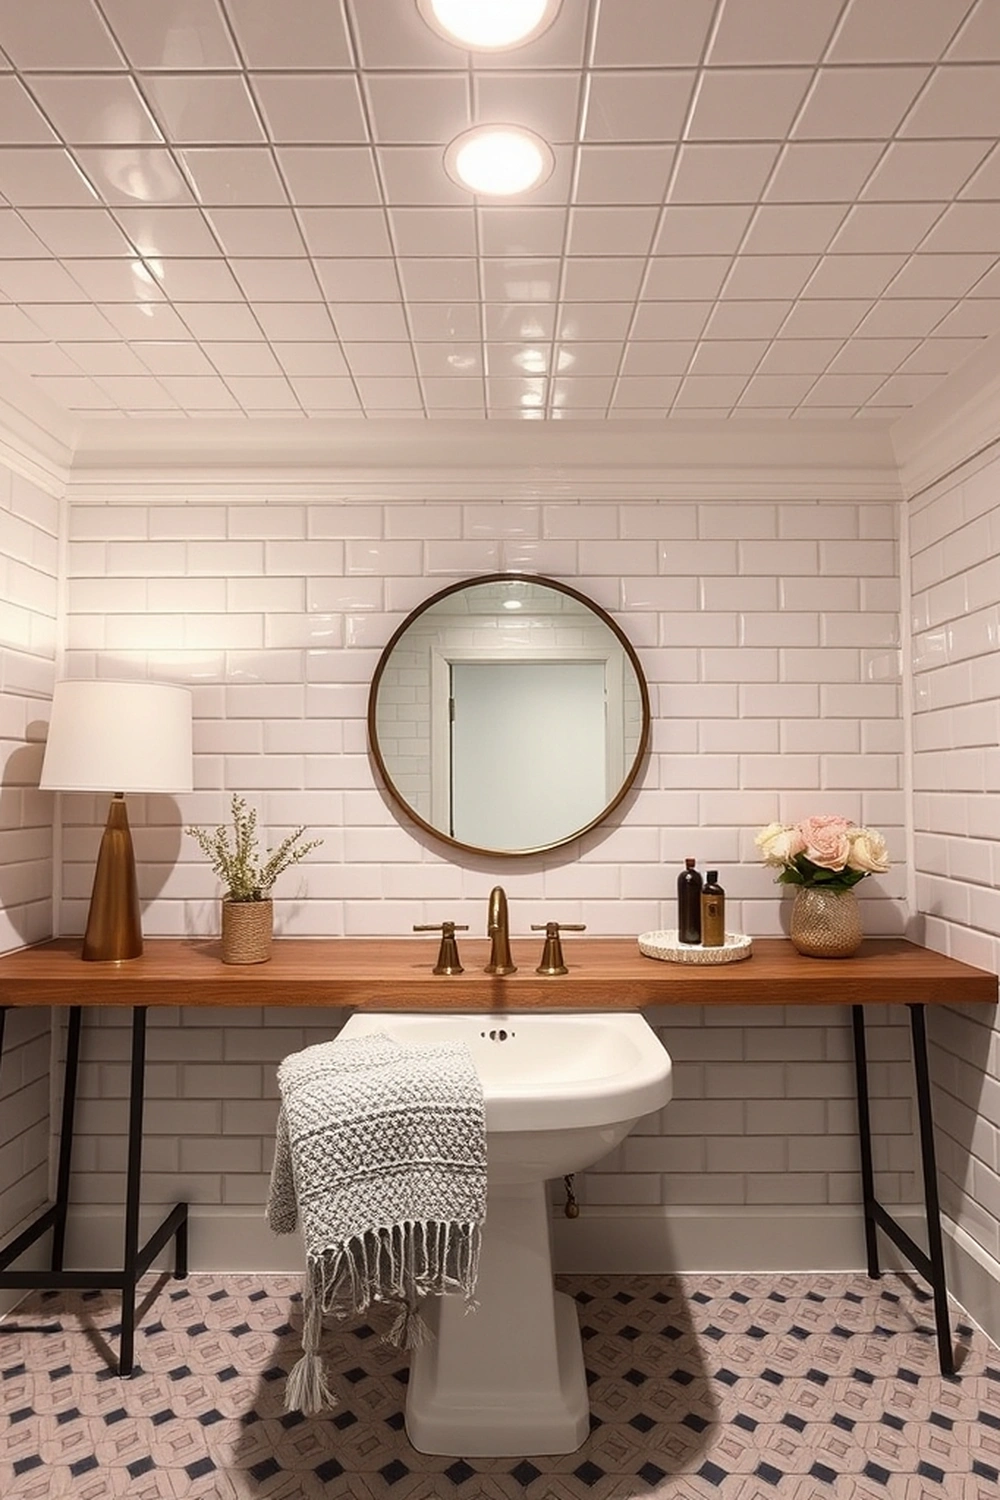
Tiled ceilings, particularly using ceramic or porcelain tiles, offer an incredibly durable, completely waterproof, and visually stunning solution for high-moisture areas. Unlike painted surfaces, tiles provide a hard, non-porous barrier that is simple to clean and will not degrade from splashes or steam. Porcelain tiles are especially dense and have a water absorption rate of less than 0.5%.
Materials for a tiled ceiling can range from $3-$15 per square foot for the tiles themselves, plus mortar, grout, and sealant. Professional installation for a 10×10 foot area can take 2-4 days and cost $800-$1500, depending on tile size and complexity. Ensure a cement board substrate is used for proper adhesion and stability.
Pros & Cons:
- Pros: Extremely durable, fully waterproof, wide design variety, easy to clean, long lifespan.
- Cons: High cost, heavy (requires strong substrate), labor-intensive installation, challenging to repair individual tiles.
What to Avoid: Do not tile directly onto standard drywall in a high-moisture area; it will eventually fail. Always use a cement board backer (e.g., USG Durock) for a stable, moisture-resistant substrate.
11. Cement Board Underlayment
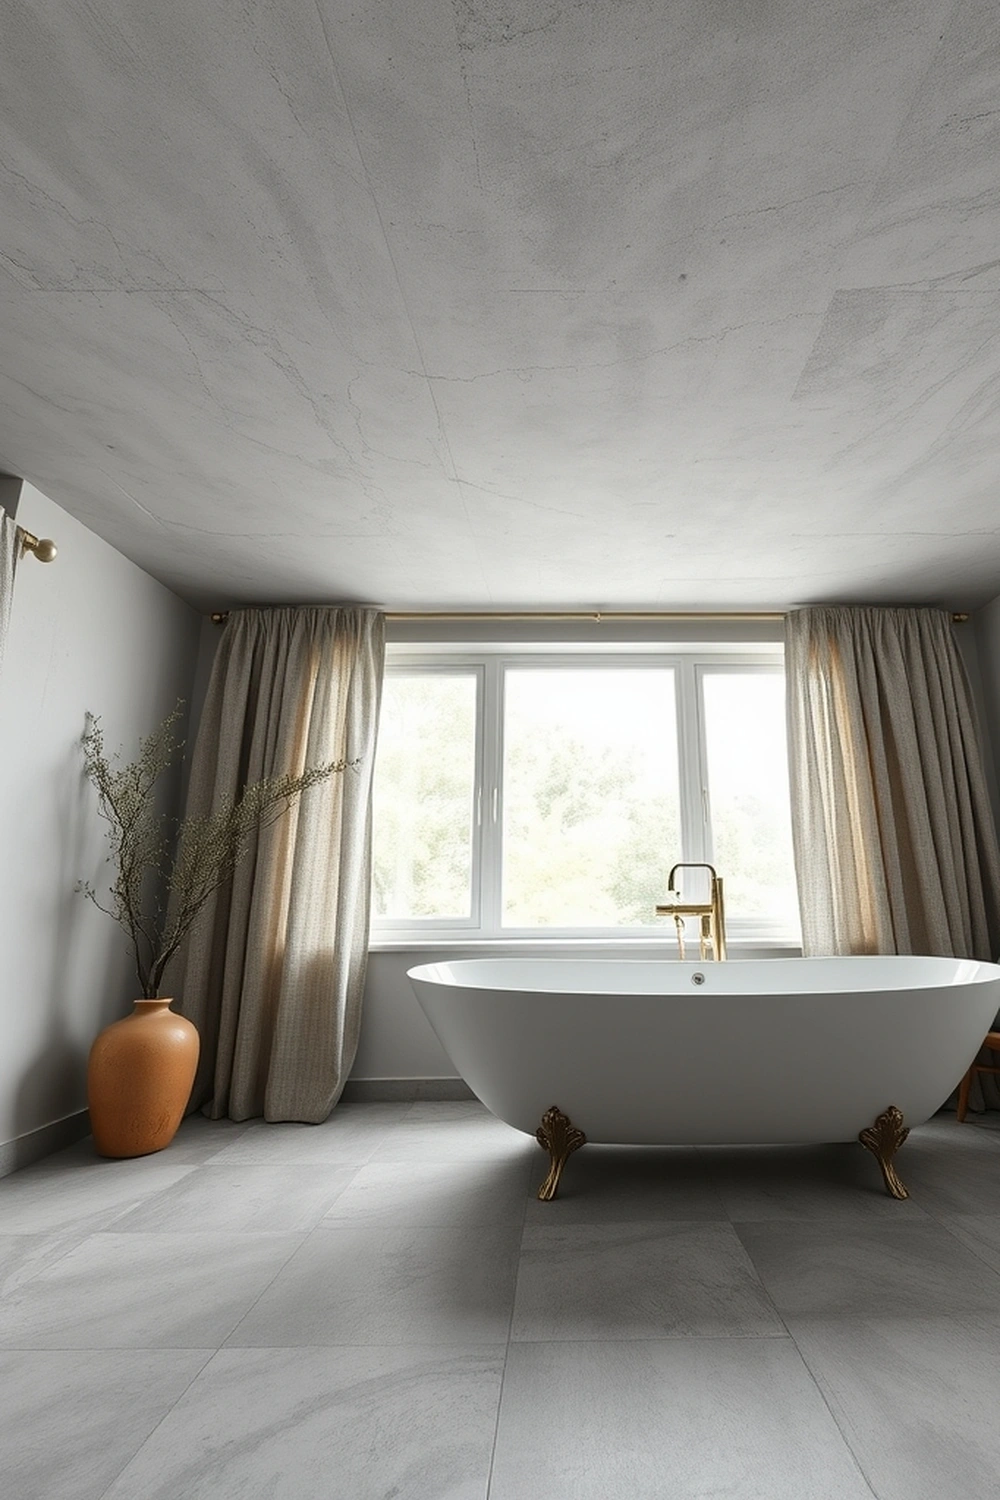
Cement board underlayment is an indispensable substrate for any tiled ceiling in a high-moisture environment, offering superior dimensional stability and water resistance compared to drywall. Products like USG Durock Cement Board or HardieBacker are made from Portland cement, sand, and cellulose fibers, making them impervious to water. This prevents tile delamination or mold growth behind the tiles.
A standard 3×5 foot sheet of 1/2-inch thick cement board costs around $15-$25. Installation requires specific cement board screws and a diamond-tipped blade for cutting. For a 10×10 foot ceiling, materials might cost $100-$150, and installation can take 4-6 hours for a DIYer.
Always tape and thin-set the seams for a fully integrated system.
DIY Difficulty: Moderate. Requires specific tools for cutting and fastening, and careful seam treatment. Heavier than drywall, so extra support for overhead work is beneficial.
Pro Tip: When installing cement board on a ceiling, use longer screws (e.g., 1-5/8 inch) and ensure they penetrate into ceiling joists by at least 1 inch. This provides adequate support for the added weight of the cement board and tiles.
12. High-Gloss Paint Finishes
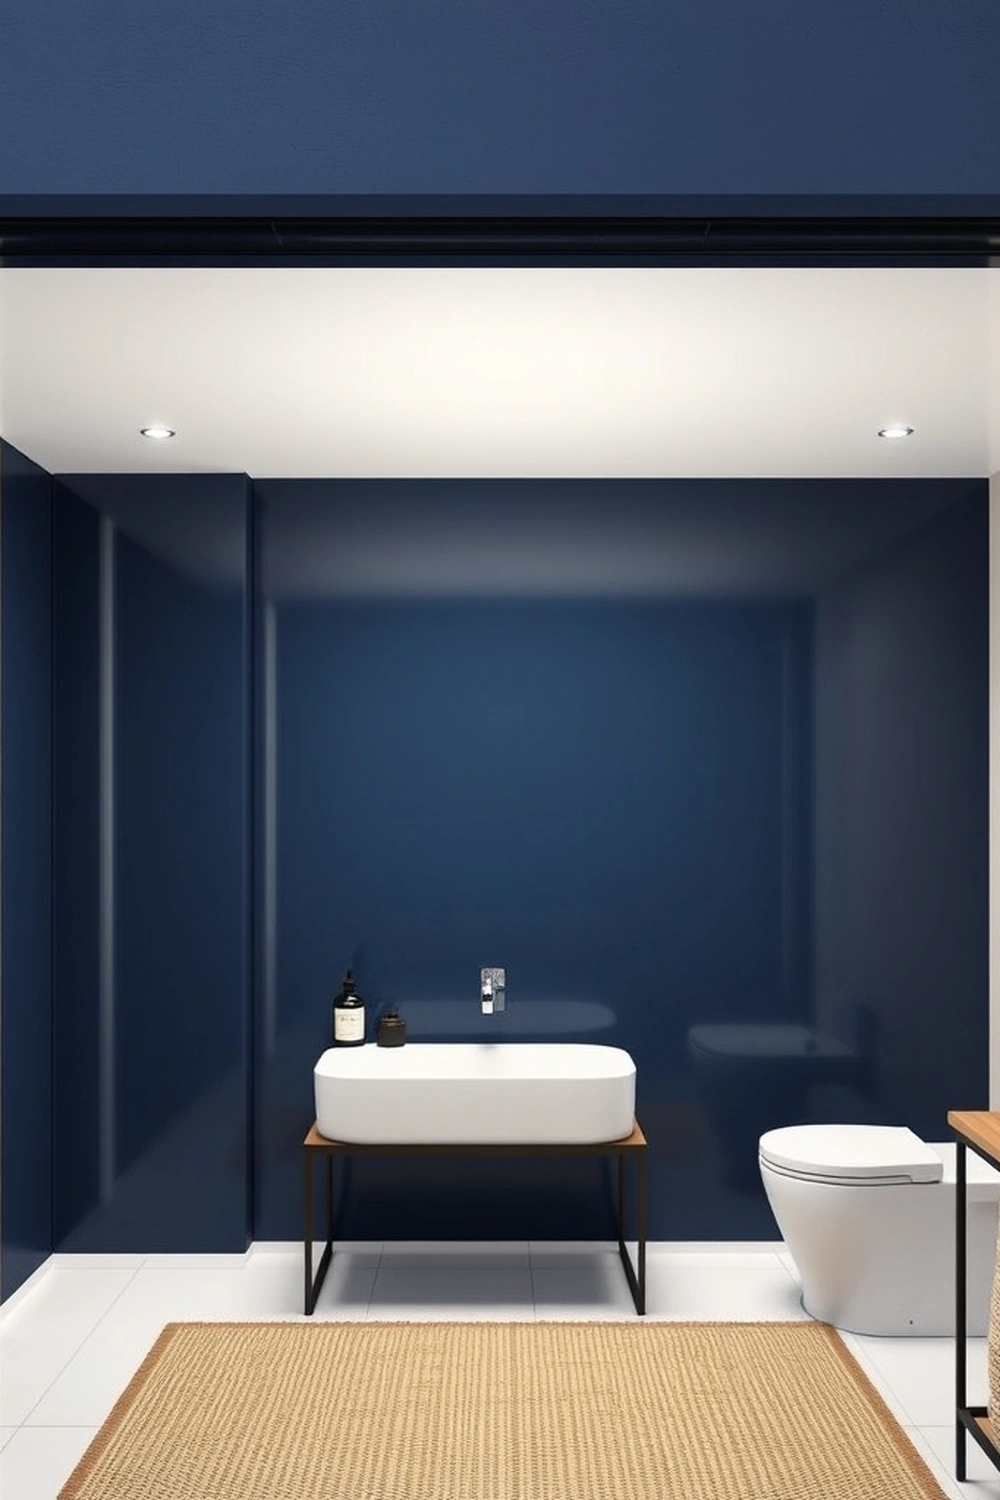
While not inherently waterproof, using a high-gloss paint finish on ceilings, particularly in lighter colors, can significantly enhance moisture management and perceived space. Glossy surfaces, like those achieved with Sherwin-Williams Emerald Urethane Trim Enamel in a gloss finish, are exceptionally smooth and non-porous. This makes them resistant to moisture penetration and incredibly easy to clean, wiping away condensation or splashes effortlessly.
Beyond practicality, a high-gloss finish reflects light, which can make a lower ceiling appear higher and a smaller room feel more expansive. This optical illusion is particularly beneficial in compact bathrooms or kitchens. A gallon costs around $80-$100 and covers about 400 sq ft.
For maximum effect, apply two coats over a perfectly prepared, smooth substrate.
Budget Level: This is a budget-friendly option, costing approximately $80-$150 for paint and supplies for a standard room. It’s an aesthetic upgrade with practical moisture-resistant benefits.
Checklist:
- Ensure the ceiling surface is perfectly smooth; gloss highlights imperfections.
- Apply a high-quality primer formulated for glossy finishes.
- Use a fine-nap roller for a smooth, streak-free application.
- Allow ample drying time between coats to build a durable film.
13. Integrated Whole-Home Dehumidifiers
For comprehensive, continuous moisture control throughout an entire home, an integrated whole-home dehumidifier connected to the HVAC system is a superior solution. Products like AprilAire Whole-Home Dehumidifiers or Santa Fe Ultra series effectively remove excess humidity from the air, preventing condensation on ceilings and other surfaces, thus inhibiting mold growth and wood rot. This addresses the root cause of widespread moisture issues.
These units typically cost $1,200-$2,500, with professional installation adding $500-$1,000. They are designed to manage humidity levels (ideally 30-50% RH) across large areas, making them highly energy-efficient for continuous operation. This solution is particularly valuable in homes with damp basements or crawl spaces, or in humid climates.
Example: In a coastal home prone to high ambient humidity, installing an AprilAire 1850 whole-home dehumidifier within the HVAC system ensures that all rooms, including those with waterproof ceilings, maintain an optimal humidity level of 45% year-round. This active control prevents unseen moisture damage in attics or wall cavities and keeps ceilings pristine.
Pros & Cons:
- Pros: Whole-home coverage, automatic operation, energy-efficient, prevents widespread moisture issues, improves air quality.
- Cons: High initial cost, professional installation required, may require duct modifications, ongoing filter maintenance.
Comparison Table
| Item | Difficulty | Cost (100 sq ft) | Time (100 sq ft) | Skill Needed | Best For |
|---|---|---|---|---|---|
| Mold-Resistant Gypsum Board | Moderate | $300-$500 | 1-2 days | Medium | Foundations in high-humidity rooms |
| PVC Ceiling Panels | Easy | $400-$800 | 4-6 hours | Low-Medium | Laundry rooms, basements, utility areas |
| Water-Resistant Acrylic Paint | Easy | $40-$70 | 2-4 hours | Low | Budget-friendly moisture defense, aesthetics |
| Moisture-Resistant Acoustic Tiles | Medium | $200-$500 | 6-8 hours | Medium | Basements, utility rooms (access/sound) |
| Fiberglass Reinforced Plastic (FRP) | Hard | $600-$1000 | 1-2 days | High | Commercial kitchens, extreme moisture zones |
| Cork Ceiling Tiles | Medium | $400-$1000 | 5-8 hours | Medium | Eco-friendly, sound dampening, natural look |
| Stretch Ceilings | Very Hard | $1000-$2500 | 1-2 days | Professional | Modern aesthetics, total leak protection |
| Smart Ventilation Systems | Hard | $300-$650 | 3-5 hours | High | Proactive moisture removal, automation |
| Vapor Barrier Installation | Medium | $50-$100 | 1-2 hours | Medium | Preventing hidden condensation in cold zones |
| Tiled Ceilings (Ceramic/Porcelain) | Very Hard | $1100-$2500 | 2-4 days | High | Ultimate durability, decorative statement |
| Cement Board Underlayment | Medium | $100-$150 | 4-6 hours | Medium | Tile substrate, extreme moisture areas |
| High-Gloss Paint Finishes | Easy | $80-$150 | 4-6 hours | Low-Medium | Visual height, easy cleaning, reflective |
| Integrated Whole-Home Dehumidifiers | Very Hard | $1700-$3500 | 1-2 days | Professional | Comprehensive home humidity control |
Final Thoughts
Choosing the right waterproof ceiling solution depends significantly on your specific needs, budget, and the severity of moisture challenges in your home. From preventative measures like smart ventilation to strong physical barriers such as stretch ceilings or FRP panels, a solution exists for every scenario. Carefully consider the long-term benefits and installation requirements for each option.
Prioritizing materials that offer both aesthetic appeal and superior moisture resistance ensures your home remains protected and beautiful for years. Investing in appropriate ceiling technology not only safeguards your property but also contributes to a healthier indoor environment by preventing mold and mildew. This foresight adds lasting value.
What specific moisture challenges does your home face, and which waterproof ceiling solution are you most likely to consider?
Frequently Asked Questions
How Do I Know If My Existing Ceiling is Damaged by Moisture?
Look for discoloration, such as yellow or brown stains, bubbling or peeling paint, and sagging areas. A musty odor in the room can also indicate hidden moisture issues. Early detection helps prevent extensive damage and costly repairs.
Can I Simply Paint Over Existing Mold on My Ceiling?
No, painting over mold only covers it temporarily, allowing it to continue growing beneath the paint layer. You must first clean and treat the mold thoroughly with a bleach solution or an EPA-approved mold remover. Then, apply a mold-inhibiting primer before painting.
What is the Best Waterproof Ceiling Option for a Bathroom Shower Area?
For a direct shower area, Fiberglass Reinforced Plastic (FRP) panels or tiled ceilings (using porcelain tiles over cement board) offer the most strong and truly waterproof protection. Stretch ceilings are another excellent option, providing a completely impervious barrier. These materials handle constant water exposure effectively.
Are There Eco-Friendly Waterproof Ceiling Materials Available?
Yes, cork ceiling tiles are an excellent eco-friendly option, naturally resistant to moisture and mold. Some PVC panels are made with recycled content, and low-VOC water-resistant paints also contribute to healthier indoor air quality. Always check product certifications for sustainability.
How Does Ceiling Height Impact My Choice of Waterproof Material?
For lower ceilings (under 8 feet), lighter-colored, smooth materials like high-gloss paint or reflective PVC panels can make the space feel larger. Avoid bulky suspended grid systems or heavily textured tiles that can visually reduce height. Stretch ceilings are ideal as they are very thin.
Should I Install a Vapor Barrier If I Already Have a Waterproof Ceiling Material?
A dedicated vapor barrier is crucial if you have an unconditioned space (like an attic) directly above a humid room, especially in colder climates. It prevents moisture vapor from passing through your ceiling assembly and condensing within insulation or framing. A waterproof ceiling material protects the surface, while a vapor barrier protects the structure.