
A guest bathroom remodel offers a fantastic opportunity to impress visitors and boost your home’s value. A thoughtfully designed space ensures comfort for your guests while adding a cohesive, updated look to your entire property. Achieving this requires careful planning and smart choices that blend aesthetics with practical functionality.
With the right strategy, you can transform an outdated guest bath into a refreshing retreat without overspending. This guide provides expert insights and actionable steps to create a beautiful, durable, and highly functional guest bathroom that will stand the test of time and delight everyone who uses it.
14 Smart Upgrades for Your Guest Bathroom Remodel
1. Master Your Guest Bathroom Remodel Budget
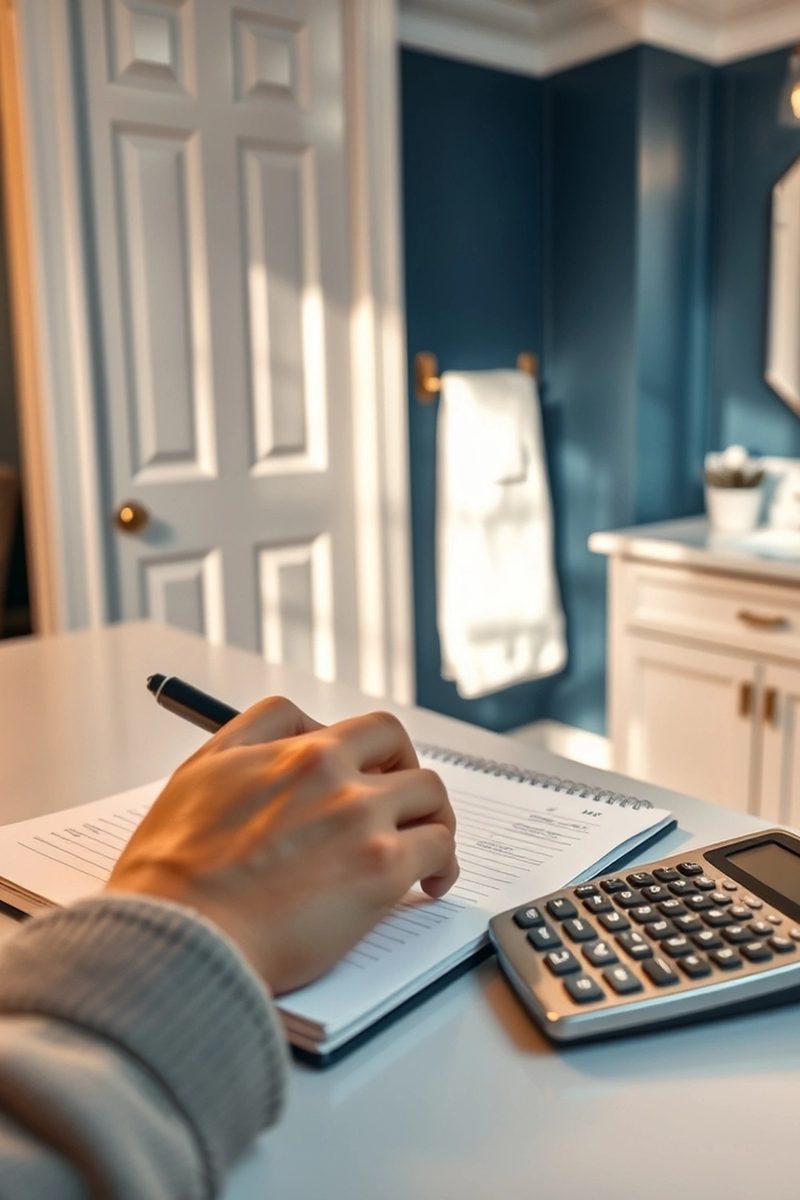
Establishing a clear budget is the first critical step for any remodel. Allocate funds for demolition, plumbing, electrical work, fixtures, and finishes to avoid surprises. A realistic budget for a small guest bathroom remodel typically ranges from $5,000 to $15,000, depending on the scope and material quality.
Utilize a dedicated budgeting tool like YNAB (You Need A Budget) to track every expense. This ensures you stay within your financial limits and allows for contingency funds, typically 10-15% of your total budget, for unforeseen issues.
Budget Level: $5,000 – $15,000
Checklist: Obtain 3 contractor bids, itemize all material costs, set aside 15% contingency.
2. Understand Plumbing Permits and Building Codes
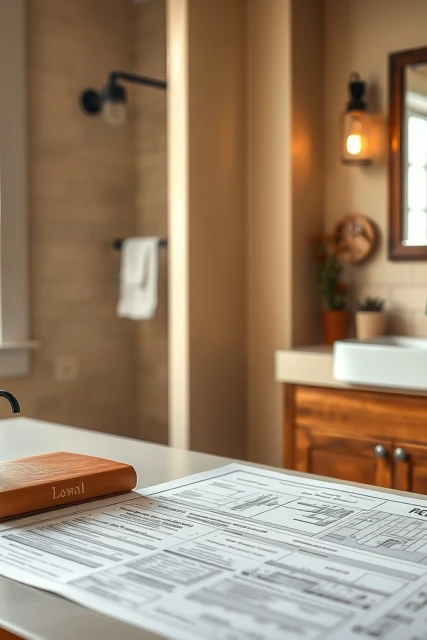
Many guest bathroom remodels involve plumbing alterations that require permits from your local municipality. Moving a toilet or shower drain by more than a few inches, or adding new fixtures, almost always triggers permit requirements. Neglecting permits can lead to fines and forced re-work.
Always consult your local building department early in the planning phase to understand specific requirements for your area. They will provide a checklist of necessary inspections, ensuring your project complies with safety and structural codes. Failing to secure proper permits can also complicate future home sales.
Pro Tip: Your general contractor should handle permit applications, but verify they’ve been filed and approved before work begins.
What to Avoid: Starting demolition or significant plumbing changes before permits are officially issued.
3. Choose Eco-Friendly Fixtures for Water Efficiency
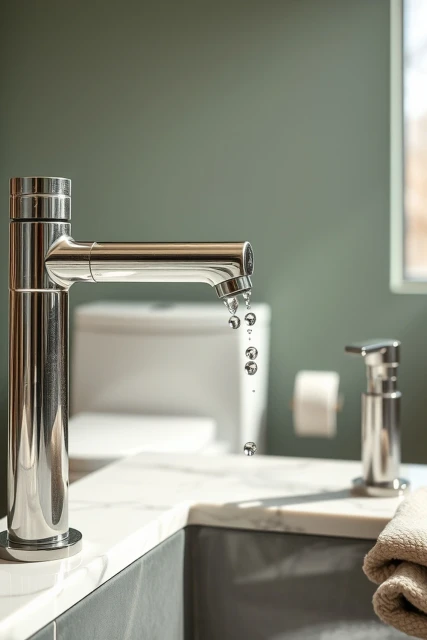
Selecting water-efficient fixtures significantly reduces water consumption and lowers utility bills. Look for EPA WaterSense labeled products, which meet strict performance and efficiency criteria. These fixtures provide excellent performance while using substantially less water.
For example, install a TOTO UltraMax II toilet with a 1.28 gallons per flush (GPF) rating, saving approximately 20% more water than standard models. Pair it with a Delta WaterSense labeled faucet, which often flows at 1.2 gallons per minute (GPM) instead of the standard 2.2 GPM.
Pros & Cons: Eco-friendly fixtures reduce water bills and environmental impact (Pro), but may have a slightly higher upfront cost (Con).
Example: Replacing a standard 3.5 GPF toilet with a 1.28 GPF model saves roughly 13,000 gallons of water per year for a family of four.
4. Create a Realistic Project Timeline
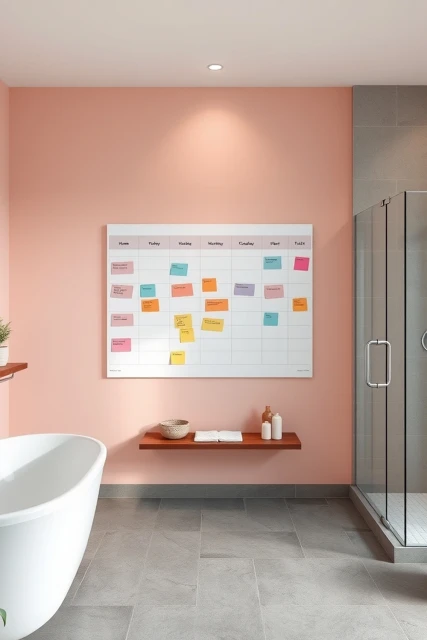
A detailed project timeline prevents delays and keeps your remodel on track. Break down the entire process into distinct phases, assigning realistic durations to each step. Expect initial design and material selection to take 2-4 weeks.
Demolition typically requires 1-3 days, while rough plumbing and electrical work might take 3-5 days. Tile installation, drying, and grout can consume 5-10 days, with final fixture installation and painting taking another 3-5 days. Aim for a total project duration of 3-6 weeks, allowing for buffer days.
Checklist: Design (2-4 weeks), Demolition (1-3 days), Rough-in (3-5 days), Tile (5-10 days), Finishes (3-5 days).
DIY Difficulty: Moderate, if managing multiple trades yourself; Low, if using a general contractor.
5. Select Durable and Low-Maintenance Tile
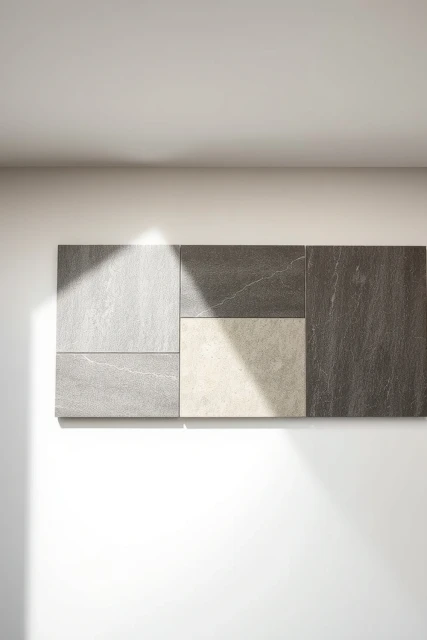
Porcelain tile is an excellent choice for guest bathrooms due to its durability, water resistance, and low maintenance requirements. Unlike ceramic, porcelain has a lower water absorption rate, making it more impervious to moisture and stains. Consider a 12×24 inch rectified porcelain tile from brands like Daltile or Marazzi for a modern, smooth look.
Opt for larger tiles to minimize grout lines, which are notoriously difficult to keep clean. Use an epoxy-based grout like Laticrete SpectraLOCK for superior stain resistance and longevity. Clean tile surfaces regularly with a pH-neutral cleaner such as Miracle Sealants Tile & Stone Cleaner.
Pro Tip: Choose a grout color that closely matches your tile to make dirt less noticeable and create a continuous surface appearance.
What to Avoid: Using porous natural stone like marble in high-traffic areas without proper sealing and consistent maintenance.
6. Implement Smart Storage Solutions
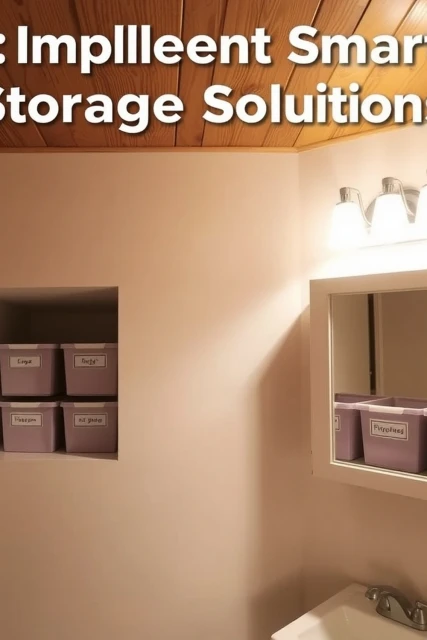
Even small guest bathrooms can benefit from clever storage. Recessed medicine cabinets maximize space above the sink without protruding into the room. Consider the Kohler Verdera 24×30 inch mirrored cabinet for both storage and reflection.
Install floating shelves above the toilet or a narrow linen cabinet from brands like IKEA’s GODMORGON series. Wall-mounted shelves free up floor space, making the room feel larger and providing accessible storage for towels and toiletries.
Example: A 12-inch deep floating shelf above the toilet can hold 3-4 folded hand towels and small decorative items.
Budget Level: $50 – $300 for shelving and recessed cabinets.
7. improve Your Lighting Design
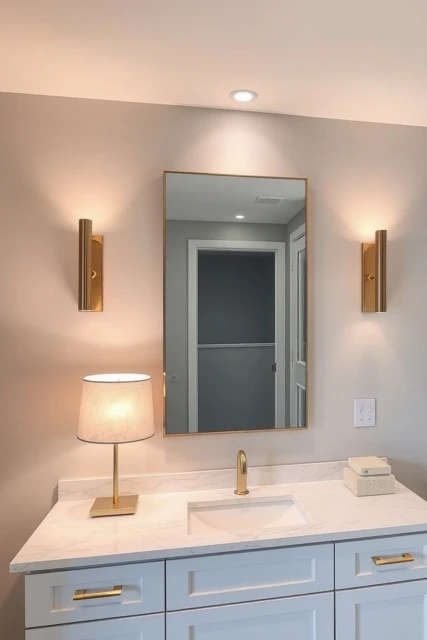
Layered lighting transforms a guest bathroom, enhancing both function and ambiance. Combine task lighting, accent lighting, and ambient lighting for a sophisticated feel. Install two wall-mounted sconces, like the Progress Lighting P300130, on either side of the vanity mirror at eye level to eliminate shadows.
Supplement with recessed LED downlights, such as Philips Hue White Ambiance 4-inch dimmable lights, for overall brightness. A dimmer switch is essential to adjust the mood, offering a bright environment for grooming and a softer glow for relaxation.
Pros & Cons: Layered lighting provides versatility and style (Pro), but requires more electrical planning and installation (Con).
DIY Difficulty: Moderate, if comfortable with basic electrical wiring; Low, if hiring an electrician.
8. Select a Functional Vanity and Sink
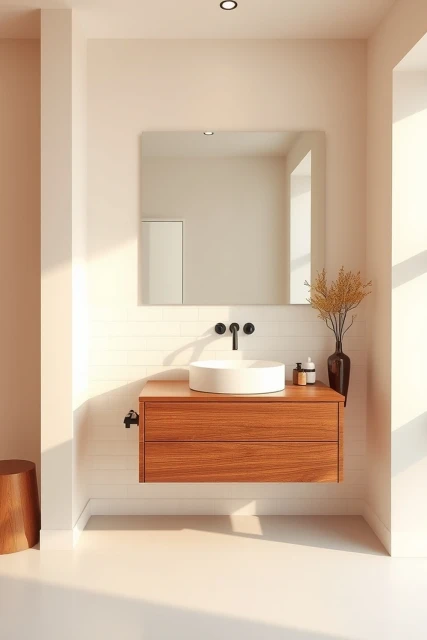
The vanity is often the focal point of a guest bathroom. Opt for a floating vanity to create a sense of spaciousness, making the floor visible underneath. A 24-30 inch wide floating vanity, such as the Stufurhome Bailey, works well in smaller spaces.
Choose a single-basin sink, like the Kohler Verticyl, for ease of cleaning and to maximize counter space. Undermount sinks are preferable as they allow for easy wipe-down of countertops directly into the bowl.
Pro Tip: Ensure the vanity height is 32-34 inches for comfortable use by most adults.
Budget Level: $300 – $1,000 for a quality vanity and sink combo.
9. boost with an Enhanced Mirror
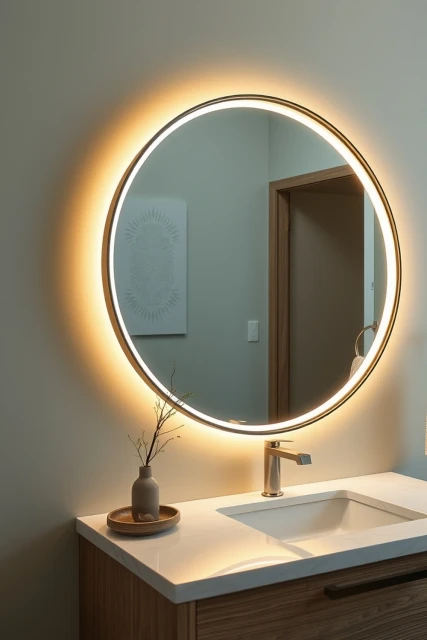
A well-chosen mirror can significantly impact the visual appeal and perceived size of a guest bathroom. Consider a large, frameless mirror to reflect more light and make the room feel expansive. For an added touch of luxury and functionality, install an LED-backlit mirror.
These mirrors, like the Paris Mirror Venice series, provide soft, even illumination perfect for grooming. If opting for a framed mirror, choose a frame style that complements the vanity and overall decor. A substantial frame can add character.
Example: A 36-inch round LED-backlit mirror above a 30-inch vanity can make a small bathroom appear much larger and brighter.
What to Avoid: A mirror that is too small for the vanity, which can make the space feel unbalanced and diminish its visual impact.
10. Implement a Thoughtful Paint and Color Palette
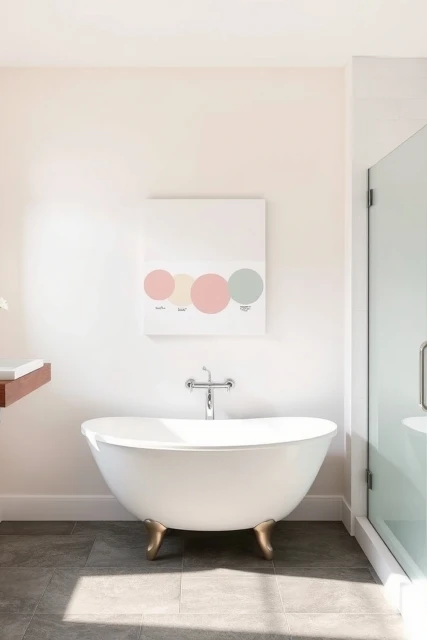
Color plays a crucial role in setting the mood of your guest bathroom. Choose a neutral, calming color palette to create a serene and inviting atmosphere. Light grays, soft blues, or warm off-whites are excellent choices that appeal to a wide range of tastes.
Sherwin-Williams’ Accessible Beige or Benjamin Moore’s Pale Oak are versatile, elegant options.
These light colors reflect more light, making the bathroom feel larger and brighter. Use high-quality, mold-resistant paint with a satin or semi-gloss finish from brands like Behr or Glidden. These finishes are easier to clean and withstand moisture better than matte paints.
Pro Tip: Paint swatches on your walls and observe them throughout the day to see how natural and artificial light affect the color.
Budget Level: $50 – $150 for paint and supplies for an average-sized guest bathroom (5×8 feet).
11. Upgrade Your Shower or Tub Area
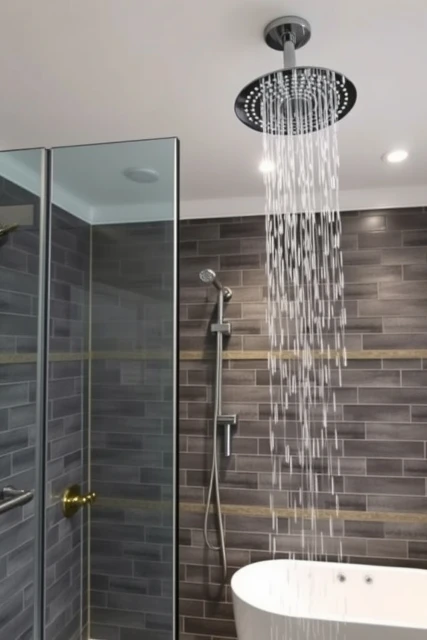
Transforming the shower or tub area can significantly enhance the guest experience. Consider converting an old tub/shower combo to a low-threshold walk-in shower if space allows. This improves accessibility and offers a contemporary aesthetic.
Install a quality shower system like the Moen M-CORE, which provides precise temperature control.
For smaller guest bathrooms, upgrading the showerhead to a multi-function model with a handheld option, such as the Delta In2ition, adds comfort and versatility. Choose a frameless glass shower enclosure for a sophisticated, open feel that visually expands the room.
Pros & Cons: A walk-in shower offers modern aesthetics and accessibility (Pro), but can be more costly to install than a standard tub/shower replacement (Con).
DIY Difficulty: High, for full shower/tub replacement; Low-Moderate, for showerhead upgrade.
12. Select Appropriate Flooring Options
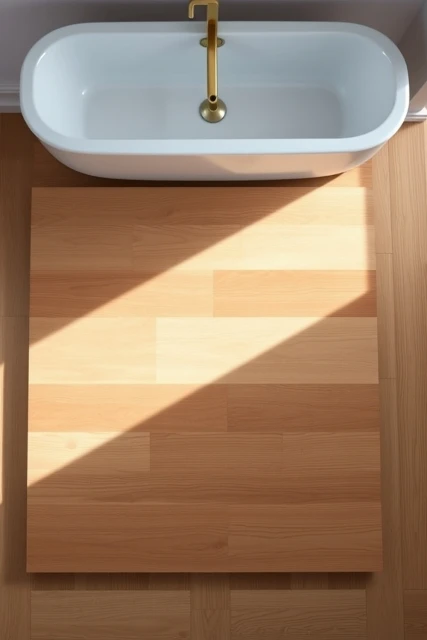
The flooring in a guest bathroom must be highly water-resistant, durable, and slip-resistant. Luxury Vinyl Tile (LVT) or Luxury Vinyl Plank (LVP) are excellent choices that mimic the look of wood or stone but offer superior moisture protection and require minimal maintenance. Brands like Shaw Floors or Coretec provide extensive style options.
Porcelain tile is another top contender for its imperviousness to water and longevity. Ensure the chosen material has a slip-resistant surface, especially in wet areas. Avoid carpet or laminate flooring due to their poor performance in high-moisture environments.
Checklist: Water-resistant, durable, slip-resistant, easy to clean.
What to Avoid: Hardwood flooring or standard laminate, which are highly susceptible to water damage and warping.
13. Incorporate Accessibility Features
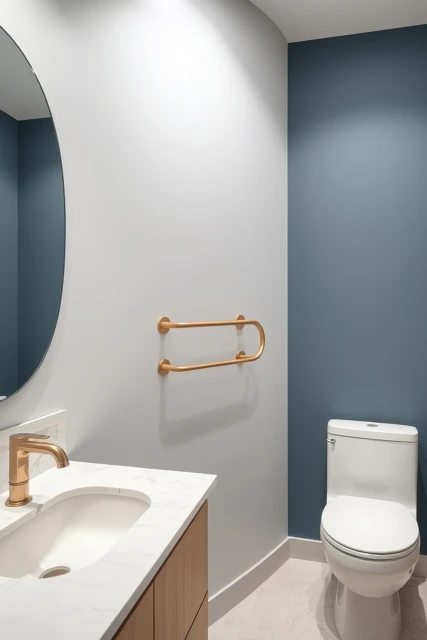
Even if not immediately necessary, incorporating subtle accessibility features enhances comfort for all guests and adds future-proofing value. Install a comfort-height toilet, typically 17-19 inches from floor to rim, for easier use. This is especially beneficial for older guests or those with mobility issues.
Discreetly placed grab bars, such as the Delta Contemporary Grab Bar series, can be integrated near the shower or toilet without sacrificing style. Ensure towel bars are securely mounted to studs, as they may inadvertently be used for balance.
Example: A standard toilet seat height is 14-15 inches, while a comfort-height toilet offers 2-4 inches of additional height, making standing up much easier.
DIY Difficulty: Low-Moderate, for installing grab bars and comfort-height toilets.
14. Plan for Post-Remodel Maintenance and Cleaning
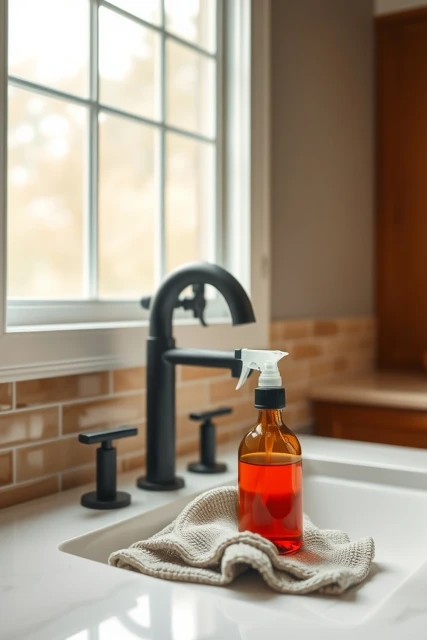
Long-term enjoyment of your remodeled guest bathroom depends on consistent maintenance. Establish a simple cleaning routine immediately after the project is complete. Use soft cloths and pH-neutral cleaners to protect new finishes and grout.
For fixtures, a daily wipe-down with Method Bathroom Cleaner prevents water spots and soap scum buildup. For tile and grout, a weekly scrub with a non-abrasive brush and a specialized grout cleaner, like Black Diamond Grout Cleaner, keeps them pristine. Regular ventilation with an exhaust fan for 15-20 minutes after each shower helps prevent mold and mildew.
Checklist: pH-neutral cleaners, microfiber cloths, non-abrasive scrub brush, exhaust fan use.
Pro Tip: Apply a protective sealant to natural stone countertops and grout lines every 12-18 months to prevent staining and moisture penetration.
Comparison Table
| Item | Difficulty | Cost | Time | Skill Needed | Best For |
|---|---|---|---|---|---|
| Master Your Remodel Budget | Easy | $0 | 2-4 days | Analytical | Project control |
| Understand Plumbing Permits | Easy | $50-$500 | 1-2 weeks | Research/Coord. | Legal compliance |
| Choose Eco-Friendly Fixtures | Easy | $200-$1,000 | 1-2 hours | Selection | Water savings |
| Create a Realistic Timeline | Easy | $0 | 1 day | Planning | Smooth project flow |
| Select Durable Tile | Moderate | $500-$2,000 | 5-10 days | Tiling/Grouting | Longevity, low maintenance |
| Implement Smart Storage | Moderate | $50-$300 | 1-2 days | Installation | Space optimization |
| improve Lighting Design | Moderate | $200-$800 | 1-3 days | Electrical | Ambiance, functionality |
| Select a Functional Vanity & Sink | Moderate | $300-$1,000 | 1-2 days | Plumbing | Aesthetics, practicality |
| boost with an Enhanced Mirror | Easy | $100-$500 | 1-4 hours | Mounting | Visual appeal, brightness |
| Implement Thoughtful Color Palette | Easy | $50-$150 | 1-2 days | Painting | Mood setting, spaciousness |
| Upgrade Shower or Tub Area | Hard | $1,000-$5,000 | 3-7 days | Specialized | Modernization, accessibility |
| Select Appropriate Flooring | Moderate | $200-$800 | 2-3 days | Installation | Water resistance, durability |
| Incorporate Accessibility Features | Moderate | $100-$400 | 1-2 days | Installation | Universal comfort |
| Plan for Post-Remodel Maintenance | Easy | $30-$100 | 1 hour | Routine | Preserving new finishes |
Final Thoughts
Choosing the right updates for your guest bathroom remodel depends on your specific needs, budget, and desired aesthetic. Focusing on durability, water efficiency, and thoughtful design elements will yield a space that is both beautiful and highly functional. Prioritizing proper planning and understanding building codes ensures a smooth, successful project that stands the test of time.
By incorporating smart storage, layered lighting, and easy-to-clean materials, you create an inviting atmosphere for any visitor. Remember to account for permits and set a realistic timeline to minimize stress throughout the renovation process. What one feature will make the biggest difference in your guest bathroom?
Frequently Asked Questions
How Much Should I Budget for a Guest Bathroom Remodel?
A typical guest bathroom remodel can range from $5,000 to $15,000, depending on the extent of the changes and material choices. This estimate covers fixtures, tiling, painting, and professional labor. Allocating an additional 10-15% for unexpected issues is always a smart financial strategy.
What is the Average Timeline for a Guest Bathroom Remodel?
Most guest bathroom remodels are completed within 3 to 6 weeks. This includes phases like design and material selection (2-4 weeks), demolition (1-3 days), rough plumbing/electrical (3-5 days), tile installation (5-10 days), and final fixture installation and painting (3-5 days). Unexpected delays can extend this timeline.
Are Plumbing Permits Always Required for Bathroom Renovations?
Plumbing permits are generally required when moving existing plumbing fixtures, altering drain lines, or installing new fixtures. Simple cosmetic changes like painting or replacing a vanity in the exact same spot typically do not need a permit. Always consult your local building department to confirm specific requirements before beginning any work.
What Are the Best Eco-Friendly Materials for a Guest Bathroom?
For eco-friendly options, consider low-VOC paints, recycled glass countertops, and sustainably sourced wood for vanities. WaterSense labeled toilets and faucets significantly reduce water consumption, while LED lighting cuts down on energy use. These choices contribute to a healthier indoor environment and lower utility bills.
How Can I Make a Small Guest Bathroom Feel Larger?
To make a small guest bathroom feel more spacious, use light color palettes on walls and tiles, and opt for a large frameless mirror. Installing a floating vanity visually frees up floor space, while a walk-in shower with a glass enclosure rather than a traditional tub can create an open, airy feel. Maximizing natural light also helps.