
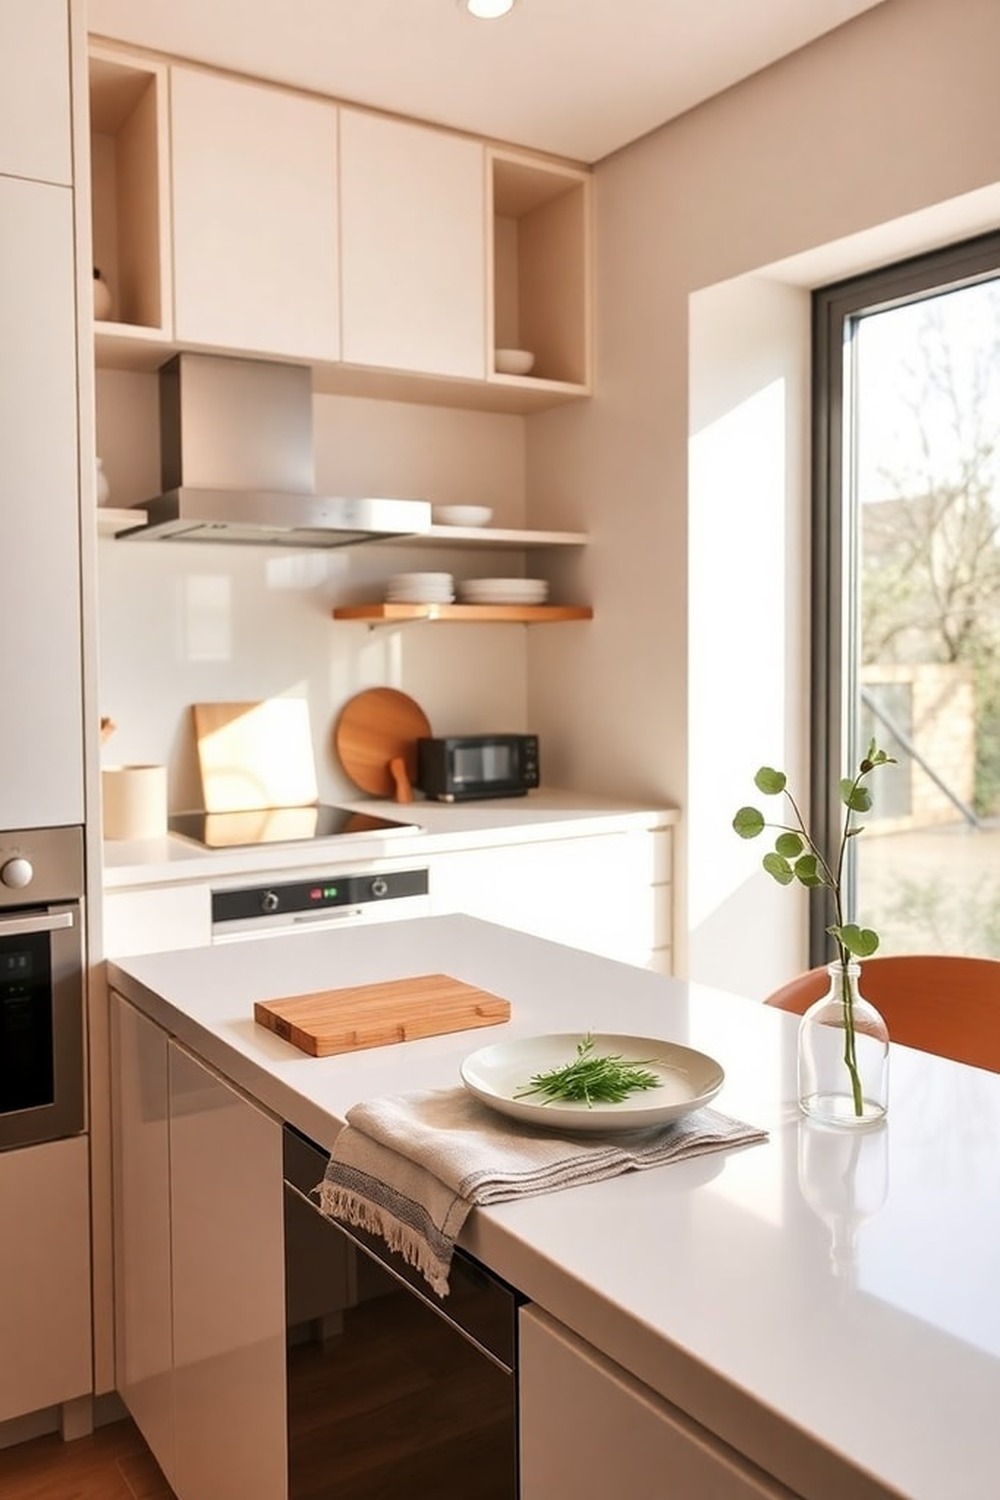
Living in a compact kitchen can feel like trying to dance in a phone booth—every step feels cramped and the clutter piles up fast. Tiny Kitchen Space-Saving Hacks — I’ve spent years squeezing functionality into tiny apartments, and the biggest breakthroughs always start with rethinking how we use every inch.Below you’ll find a blend of practical tricks, seasonal saviors, and renter‑friendly upgrades that actually work, not just pretty talk.Ready to make your kitchen feel larger without tearing down walls?
Tiny Kitchen Space-Saving Hacks: The Best Tiny Kitchen Space‑Savi…
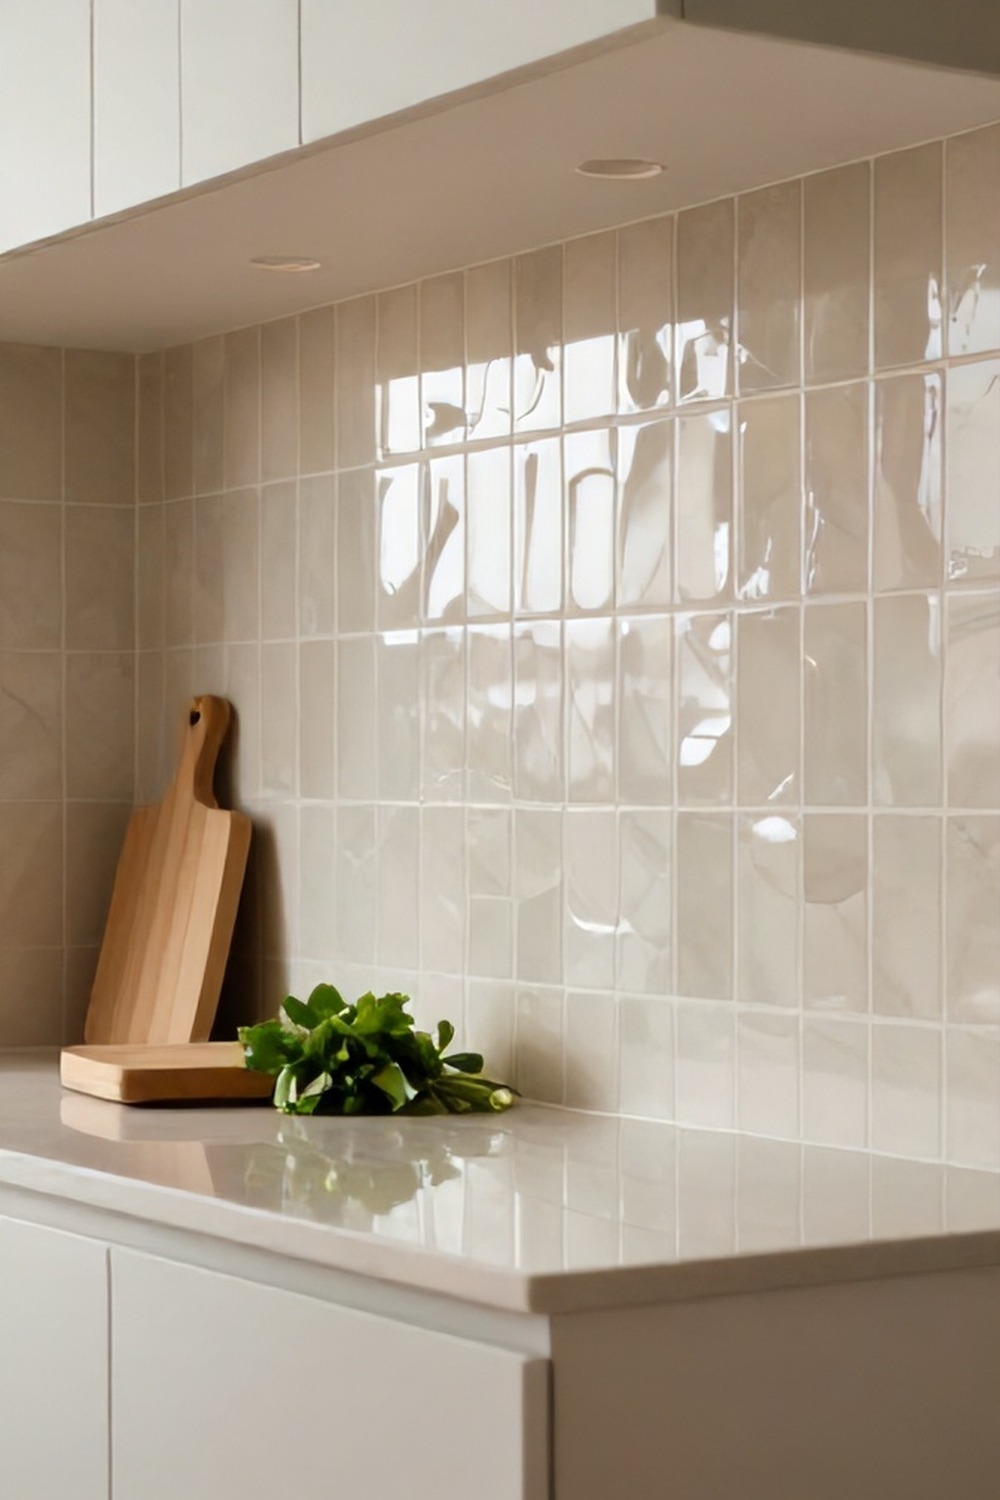
1. Peel‑and‑Stick Backsplash Tiles
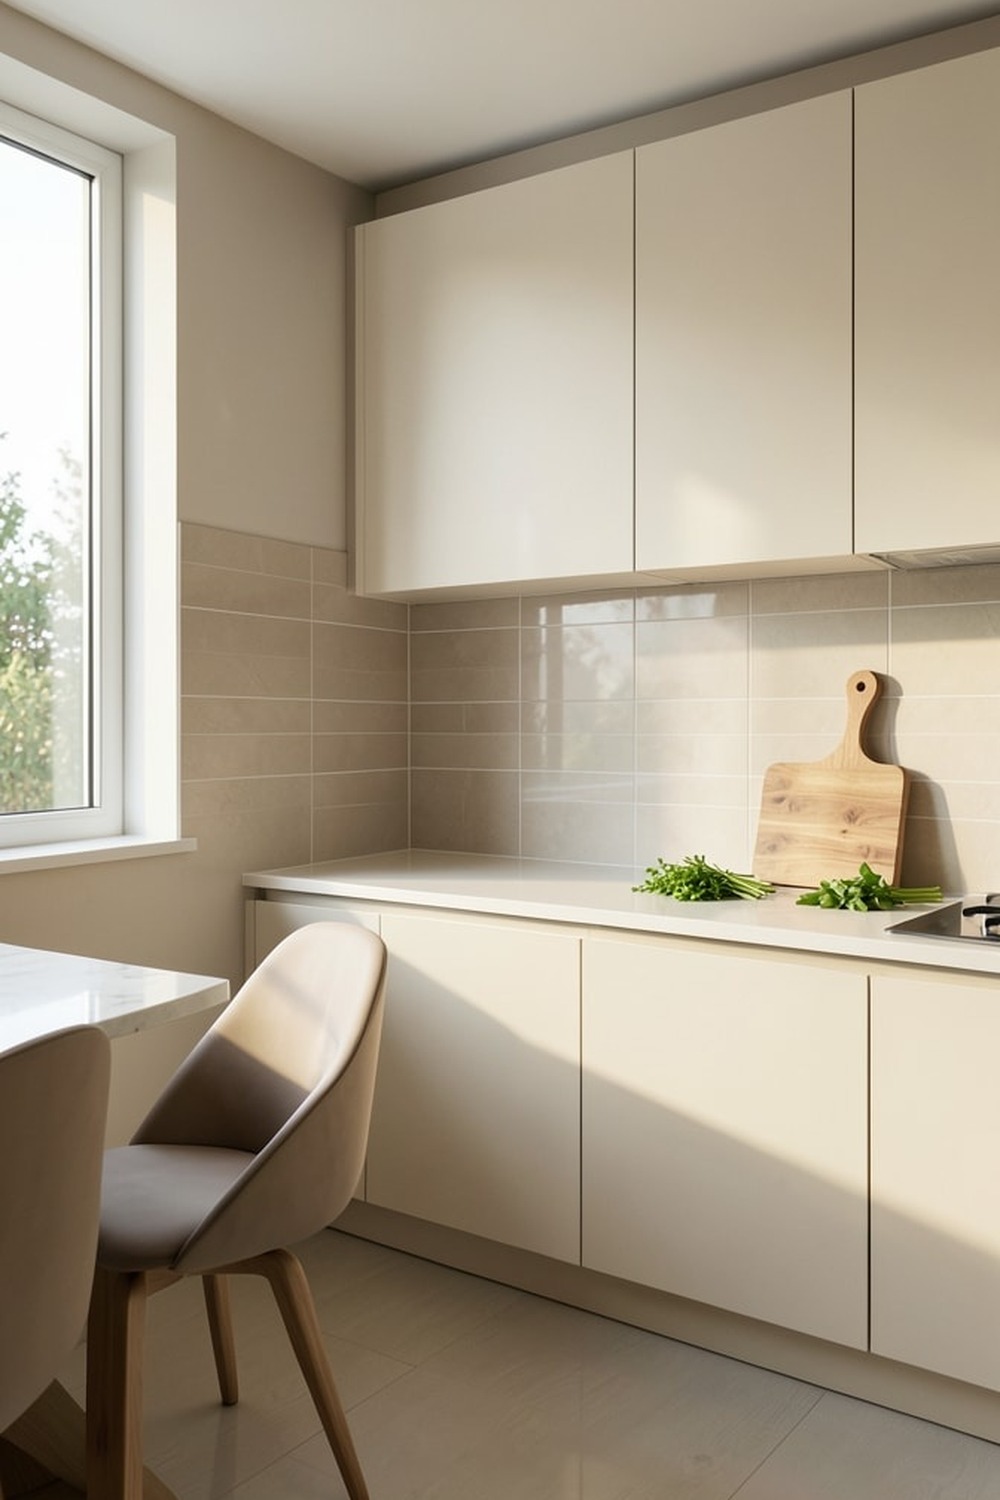
A peel‑and‑stick backsplash adds visual depth and protects walls, all without permanent installation. Check out more tiny kitchen space-saving hacks ideas at swap styles. The glossy surface reflects light, making a narrow kitchen feel wider, while the adhesive backing lets renters swap styles whenever they like. Because the tiles are lightweight, you can place them over existing backsplashes, saving you demolition time. This hack scores high on style and low on commitment.
Budget Level: $30‑$80 for a full‑wall roll
DIY Difficulty: Beginner
2. Magnetic Knife Strip on the Wall
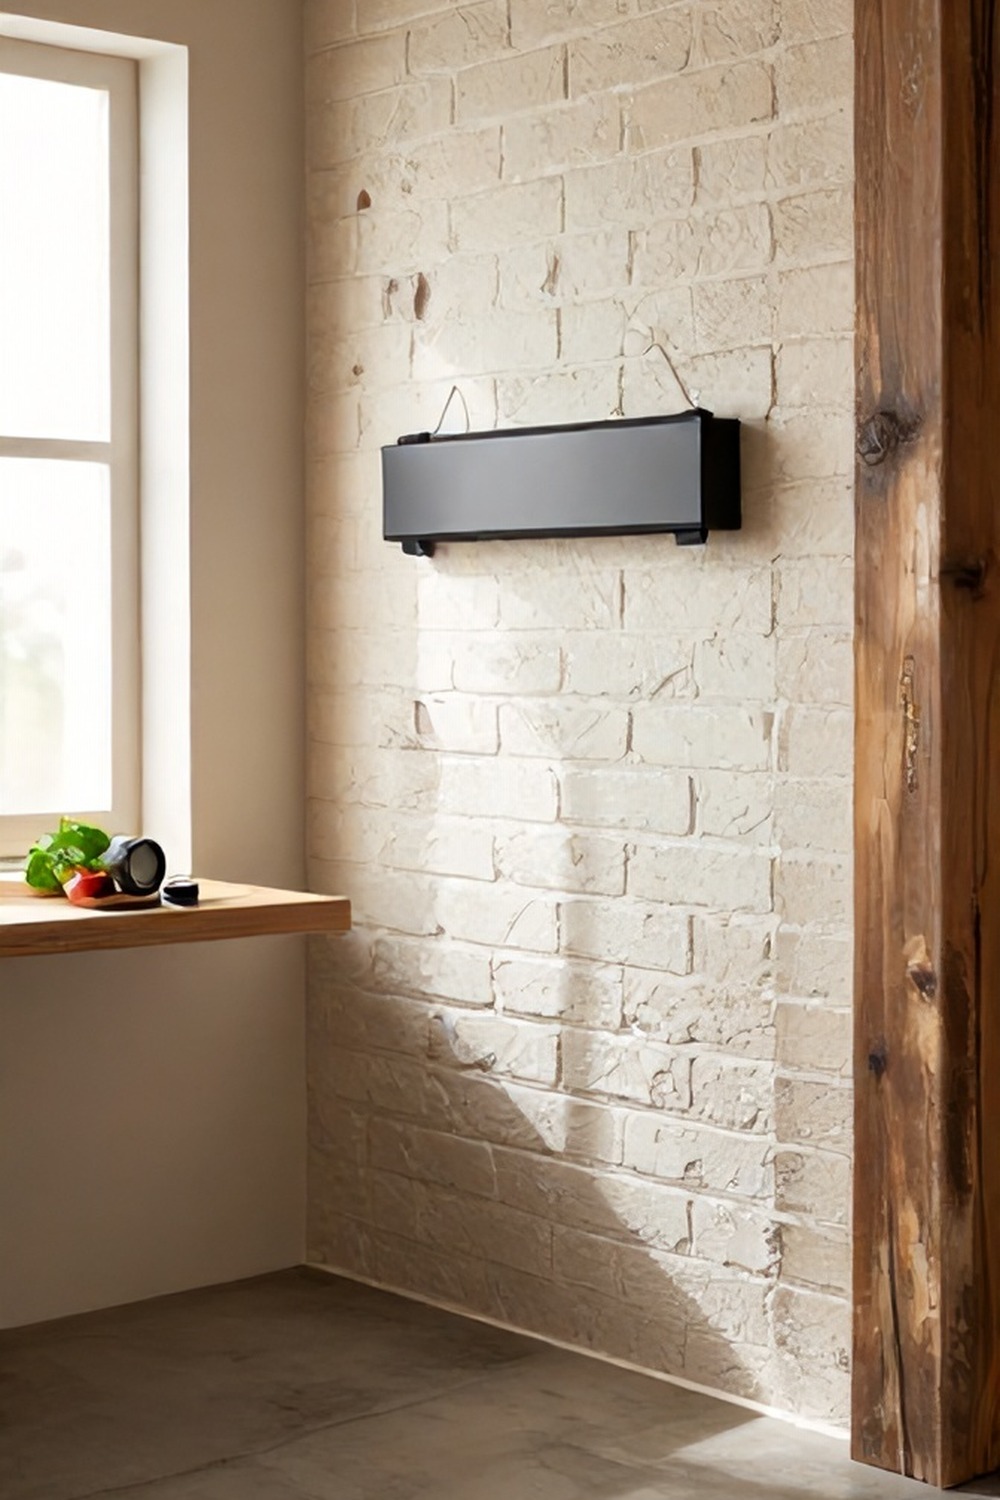
Instead of a bulky knife block eating counter space, a magnetic strip holds blades securely and displays them like art. Check out more tiny kitchen space-saving hacks ideas at within easy. It frees up drawer room and keeps knives within easy reach, reducing the risk of accidental cuts caused by digging through clutter. The strip’s sleek metal finish also adds a modern touch that echoes industrial décor trends.
Pro Tip: Position the strip at eye level to avoid neck strain when reaching for tools.
What to Avoid: Overloading the strip with heavy chef’s knives; it can pull away from the wall.
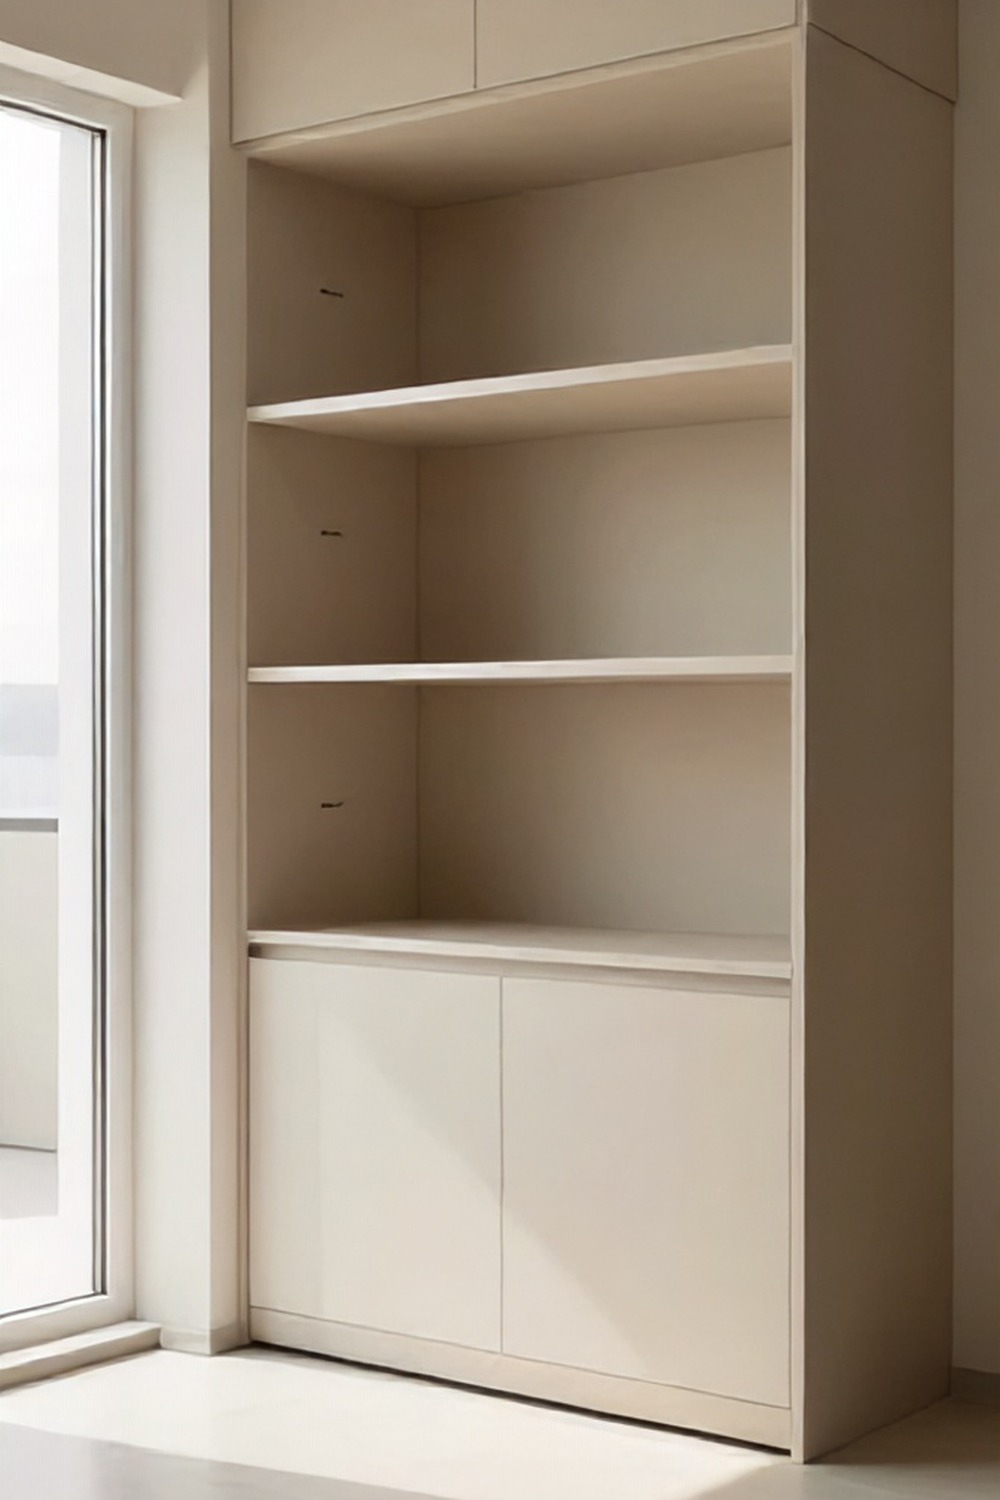
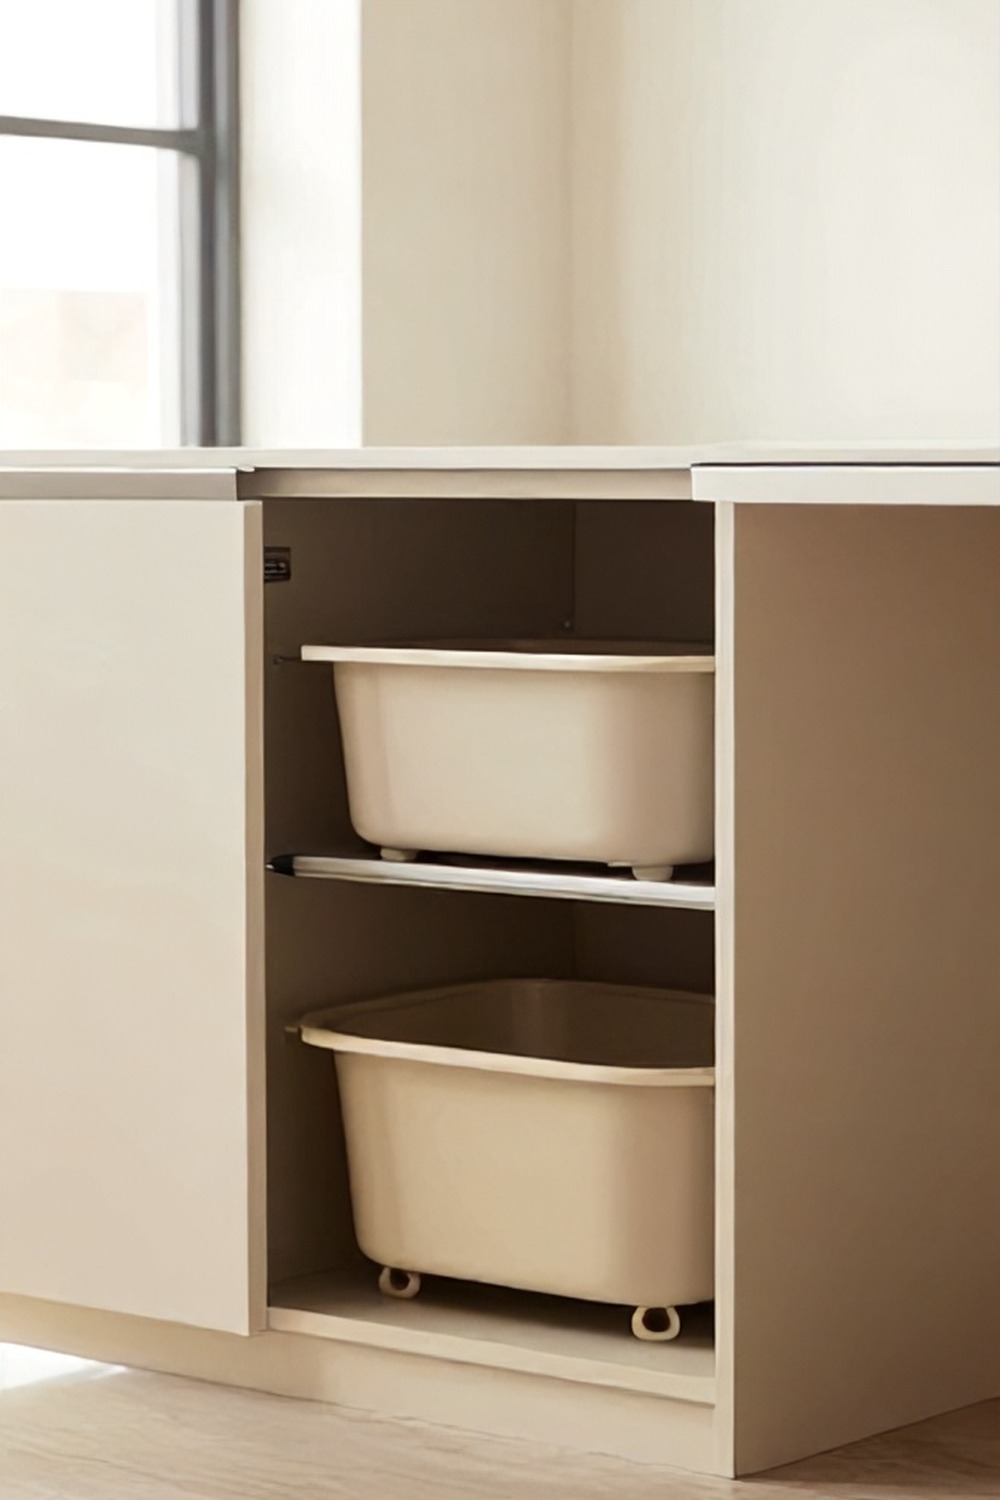
3. Pull‑Out Pantry Drawers in a Tall Cabinet

Tall cabinets often become dead weight if you can’t reach the back shelves. Installing pull‑out drawers turns that vertical space into accessible storage for canned goods, spices, and even a small stack of baking sheets. The drawers glide out smoothly, letting you see everything at a glance, which is a game‑changer for fast meal prep.
Checklist:
– Measure interior depth before buying
– Choose soft‑close slides for quiet operation
– Add dividers for organized sections
4. Under‑Cabinet LED Light Strips with Dimmable Controls
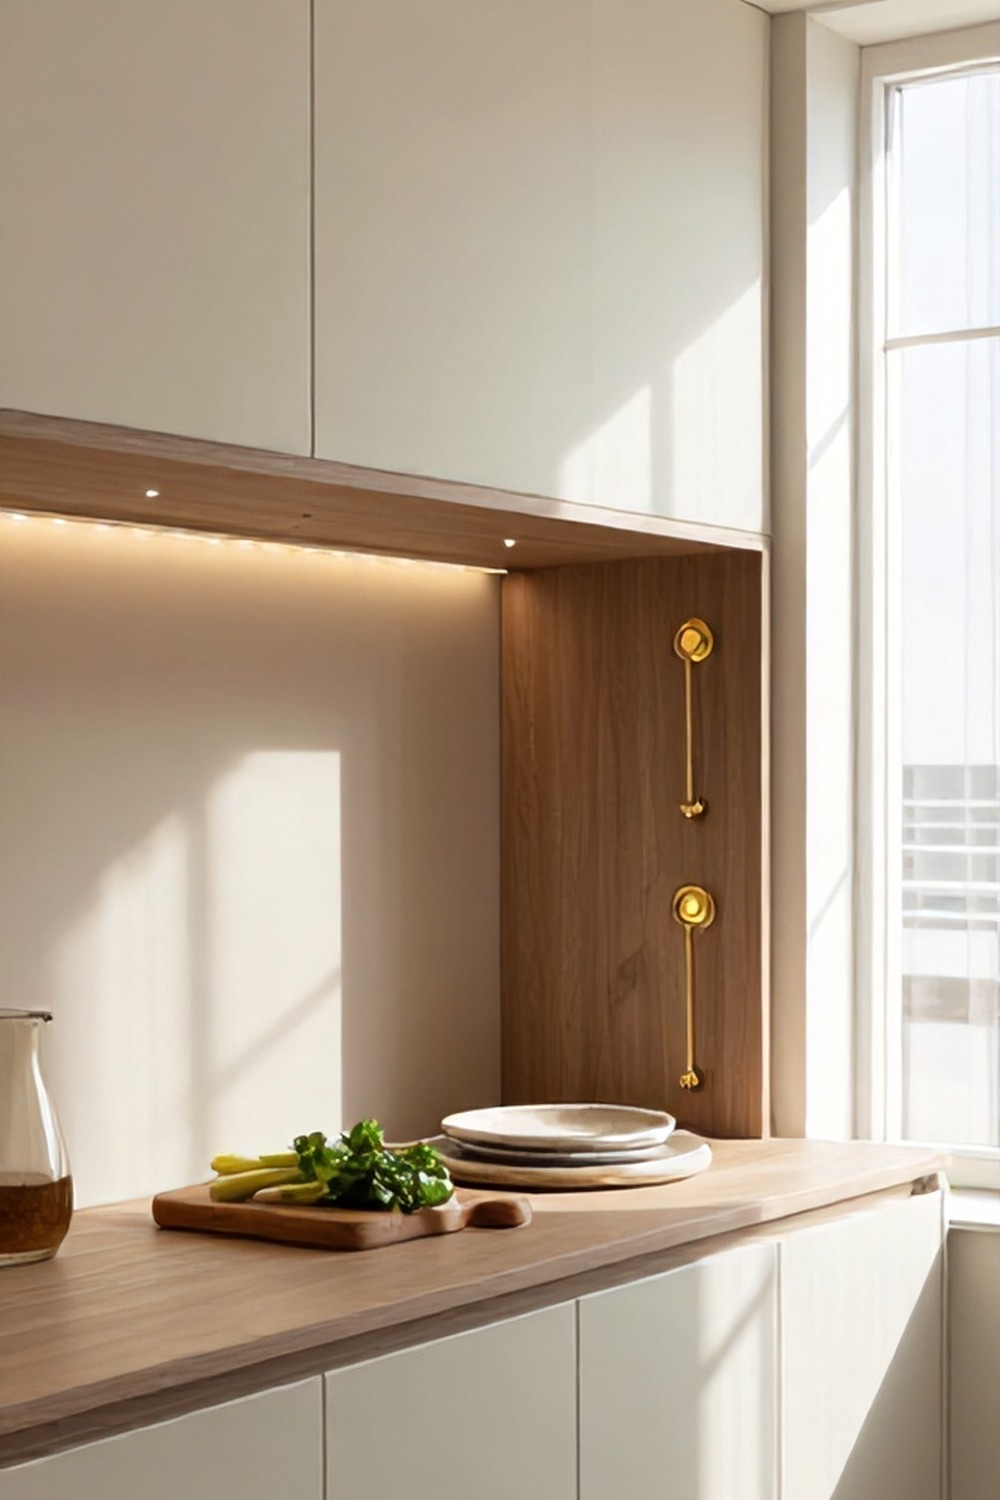
LED strips tucked beneath cabinets brighten work zones without taking up any counter real estate. Dimmable options let you shift from bright task lighting to soft ambient glow, creating a mood that suits morning coffee or evening dinner. Since LEDs use far less energy than traditional fixtures, you’ll notice a small utility saving too.
Pros & Cons:
– Pros: Low heat, energy‑efficient, adjustable brightness
– Cons: Requires a nearby power outlet or plug‑in adapter
5. Fold‑Down Wall‑Mounted Table (Rental‑Friendly)
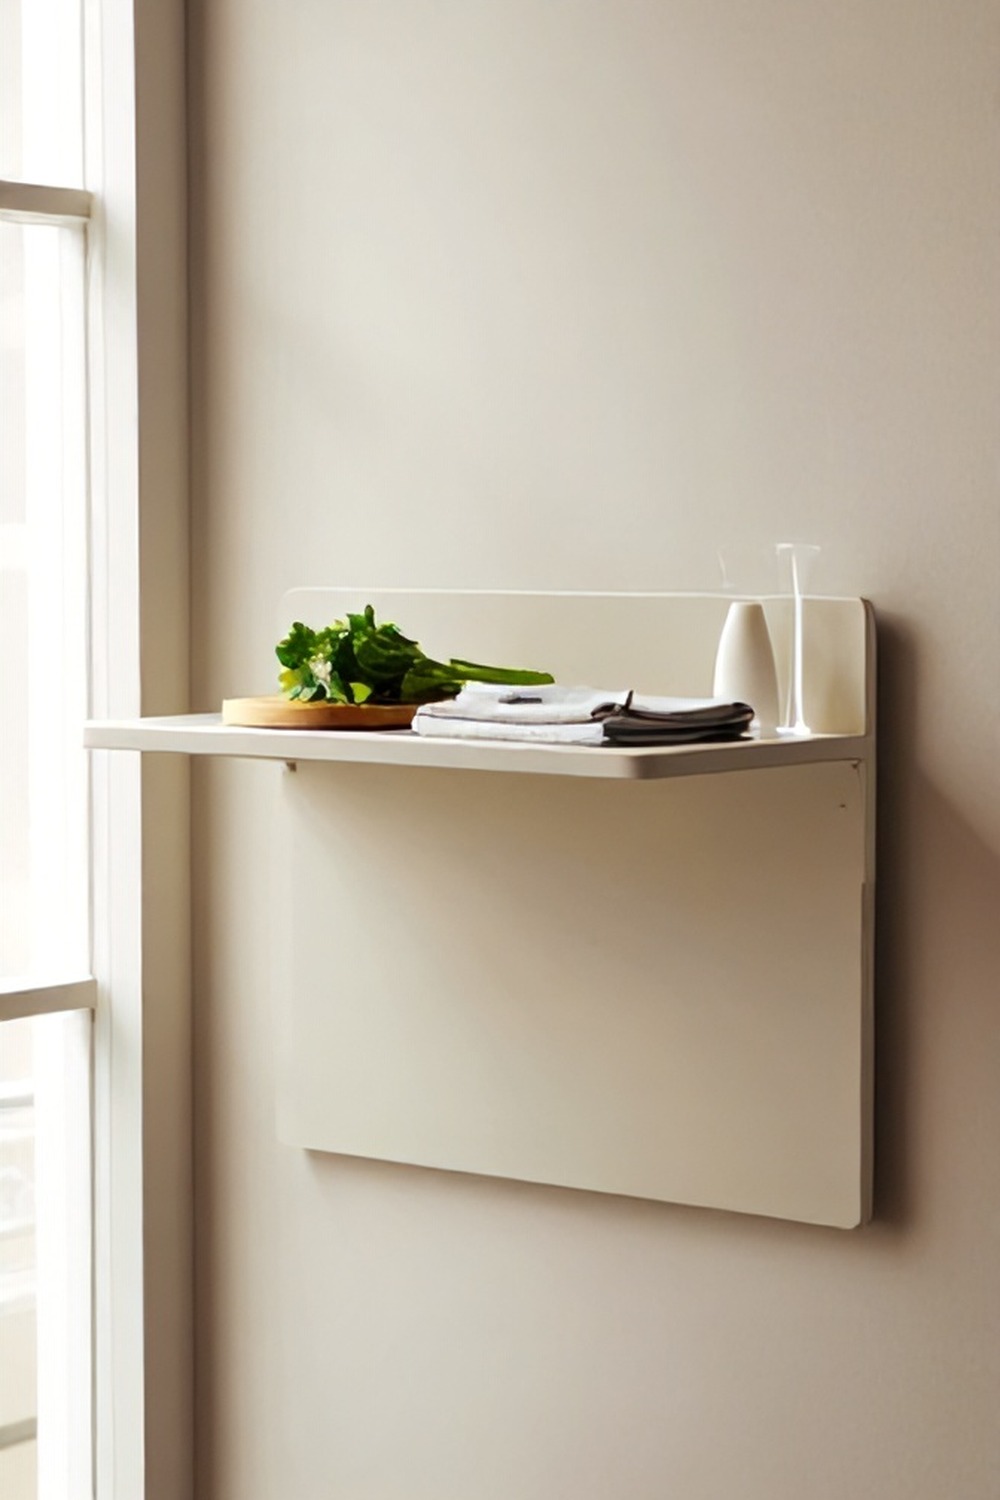
A wall‑mounted, fold‑down table serves as a prep surface, dining spot, or even a laptop station that disappears when not in use. Because it bolts to studs rather than floor joists, you can remove it without damaging the subfloor—perfect for lease agreements. The slim profile leaves the floor open, preserving the illusion of space.
Budget Level: $70‑$150 for a ready‑made kit
DIY Difficulty: Intermediate
6. Stackable Clear Canisters for Bulk Items
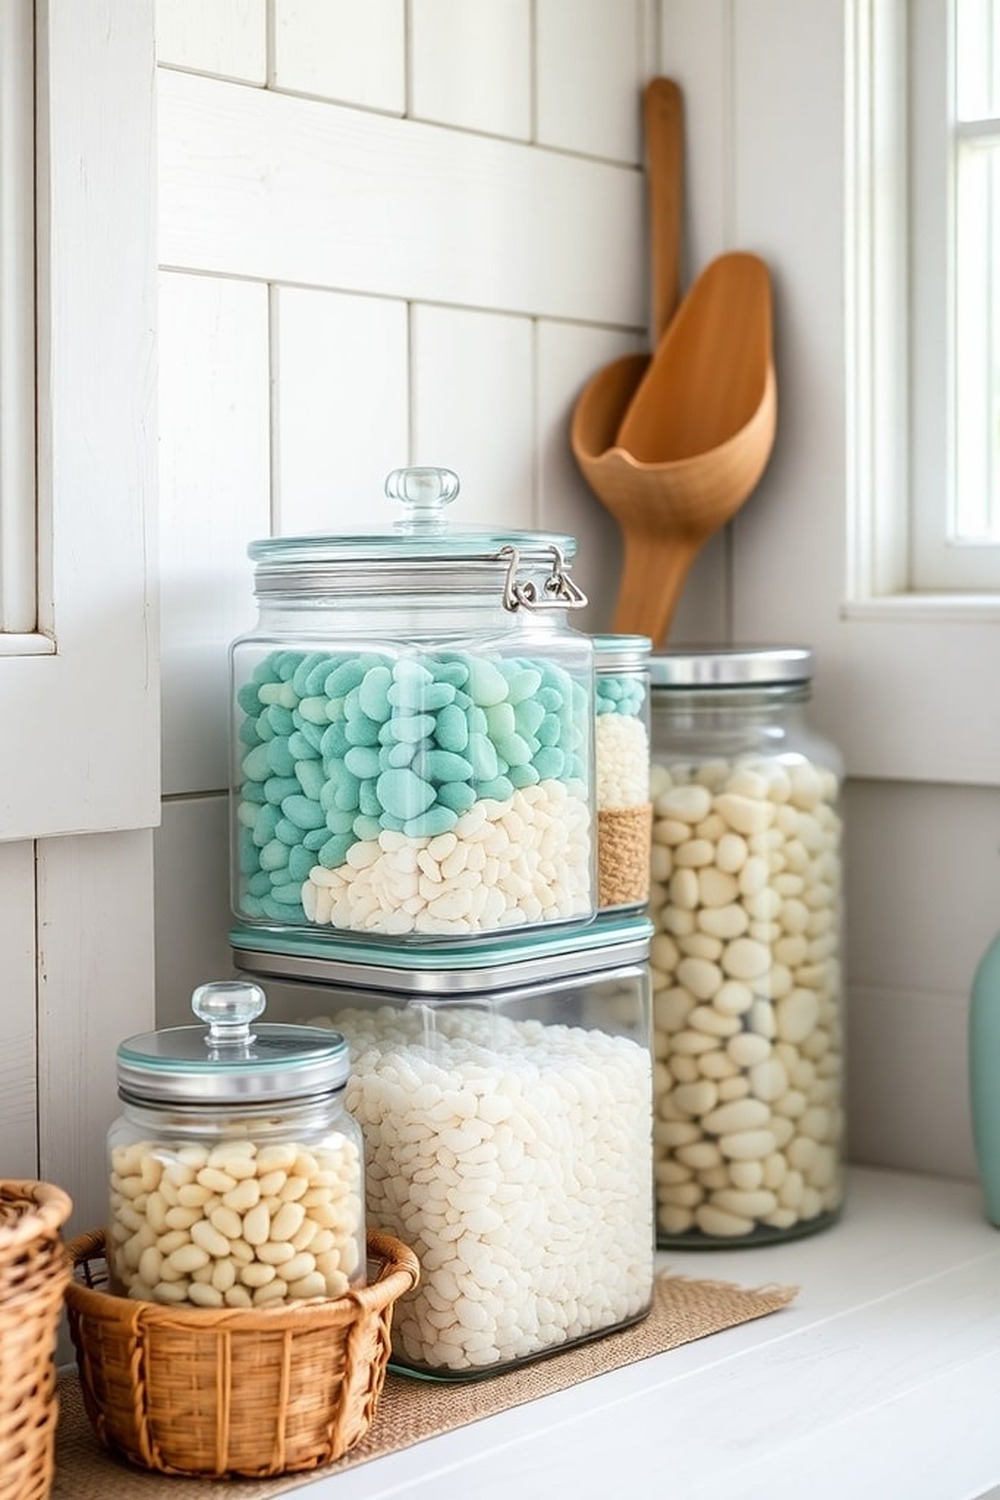
Clear canisters let you stack pantry staples vertically and still see at a glance what’s inside. Uniform shapes create a tidy, minimalist look while protecting goods from humidity—especially useful in coastal apartments prone to moisture. The clear material also doubles as a visual cue to restock before you run out.
What to Avoid: Choosing containers that are too tall; they become hard to reach and defeat the purpose.
Pro Tip: Add silicone lids for airtight sealing without extra bulk.
7. Seasonal “Freshen‑Up” Cabinet Liners
Swapping out cabinet liners each season prevents mold buildup and freshens the visual vibe. A breathable linen liner absorbs moisture in humid summers, while a moisture‑wicking mat works wonders in the damp winter months. This tiny habit extends the life of your cabinetry and gives you a reason to declutter annually.
Budget Level: $10‑$25 per roll
DIY Difficulty: Beginner
8. Sliding Pot Rack Inside a Cabinet Door
Hang a thin metal rack on the inside of a cabinet door to store lids, cutting boards, and small pots. This uses the door’s interior surface—space that usually goes unnoticed—and keeps everyday items within reach without crowding the drawer. The rack’s simple design can be painted to match any cabinet finish for a seamless look.
Checklist:
– Measure door thickness for screw length
– Use self‑adhesive hooks if you can’t drill
9. Portable Kitchen Cart on Wheels
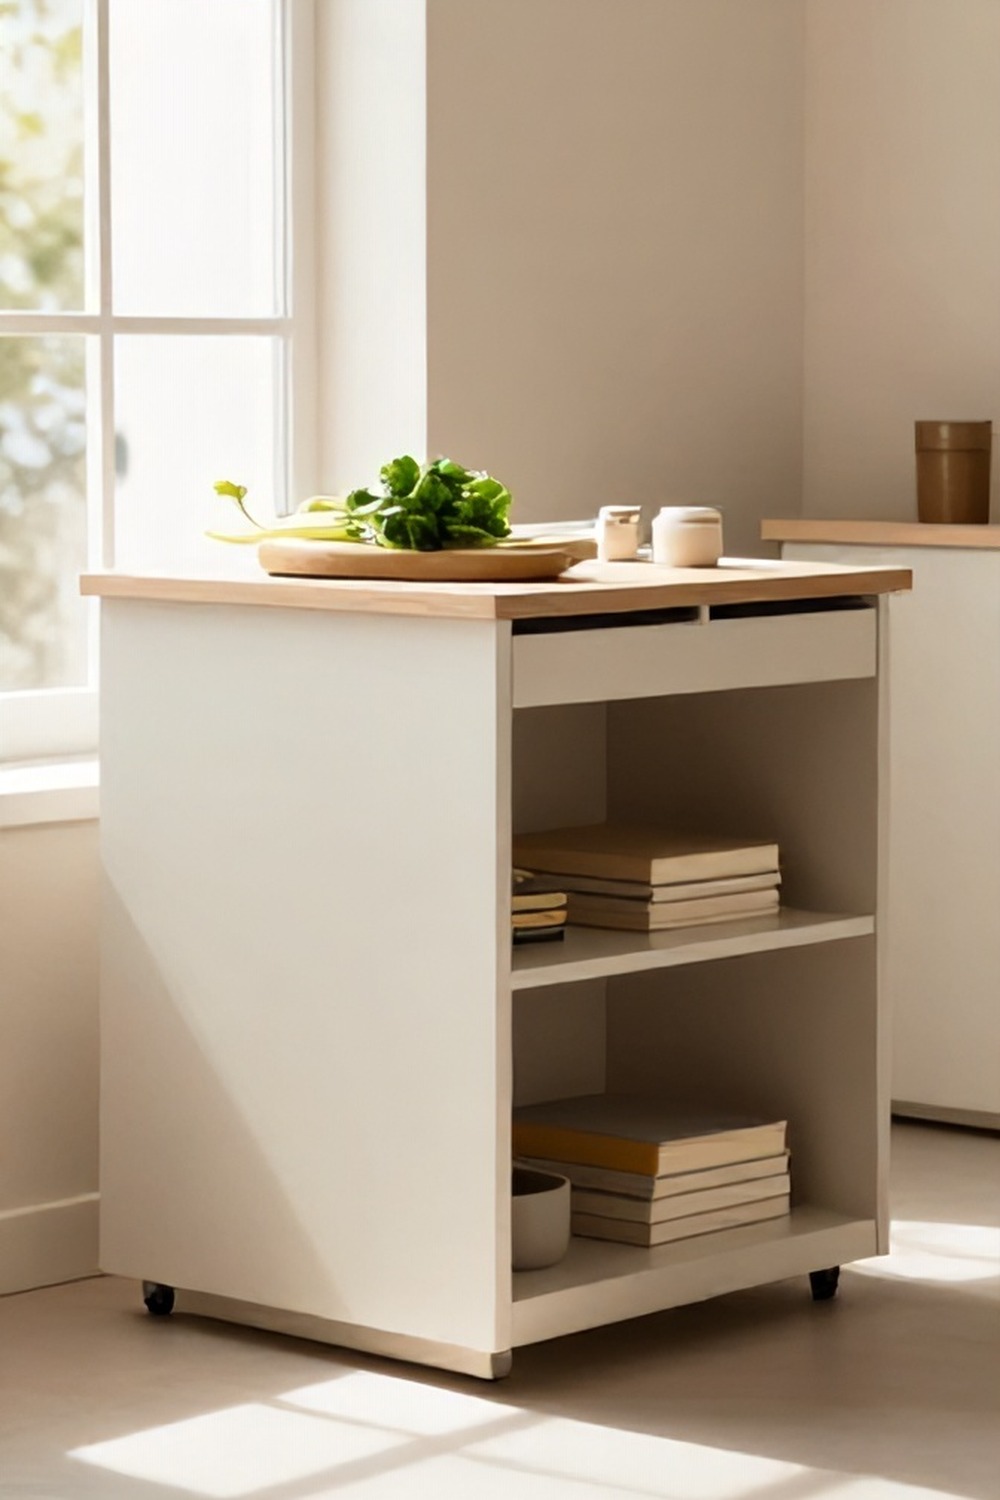
A narrow, two‑tier cart offers extra prep space, a spot for a coffee maker, or a movable pantry. When you need more room, simply roll it out; when you don’t, tuck it under the counter or slide it into a closet. Because it’s freestanding, you can reconfigure the layout whenever you’re entertaining or cooking a big meal.
Pros & Cons:
– Pros: Flexibility, extra storage, no installation
– Cons: Takes up floor space when stationed
10. Reflective Glossy Tile Backsplash (Quartz vs. Glass
Glossy backsplashes bounce light across the kitchen, amplifying brightness in cramped areas. Quartz offers durability and a polished look, while glass tiles provide a sleek, mirror‑like sheen that can make the space feel even larger. Choosing the right material hinges on how much you cook—glass resists stains, but quartz handles heavy impact better.
Budget Level: Quartz $70‑$120 per sq ft; Glass $50‑$90 per sq ft
DIY Difficulty: Advanced (may need professional install)
11. Open‑Air “One‑Corner” Herb Garden
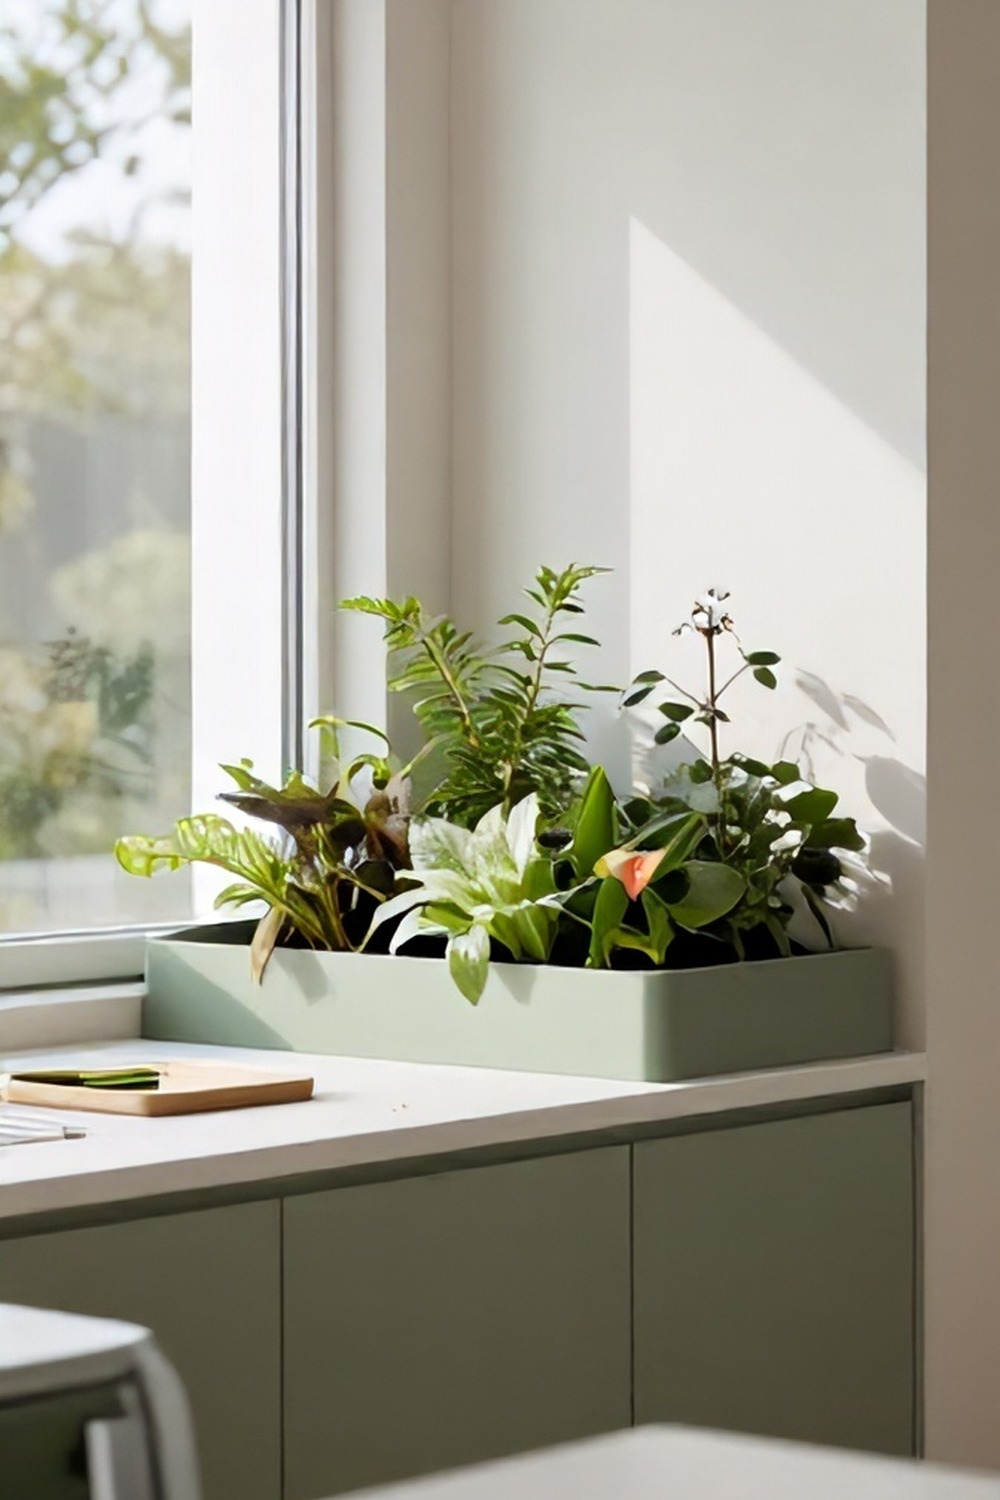
Dedicate a single corner to a small tiered herb garden using stackable planters that sit on the counter or hang from the wall. Fresh herbs stay within arm’s reach, eliminating the need for a bulky indoor garden cabinet, and the greenery adds a pop of color that tricks the eye into seeing depth. Choose low‑maintenance varieties like basil, mint, and chives for year‑round harvest.
What to Avoid: Overwatering; soggy soil can cause mold on nearby cabinets.
Pro Tip: Use a drip tray underneath to catch excess water.
12. Clip‑On Shelf Extenders for Existing Cabinets
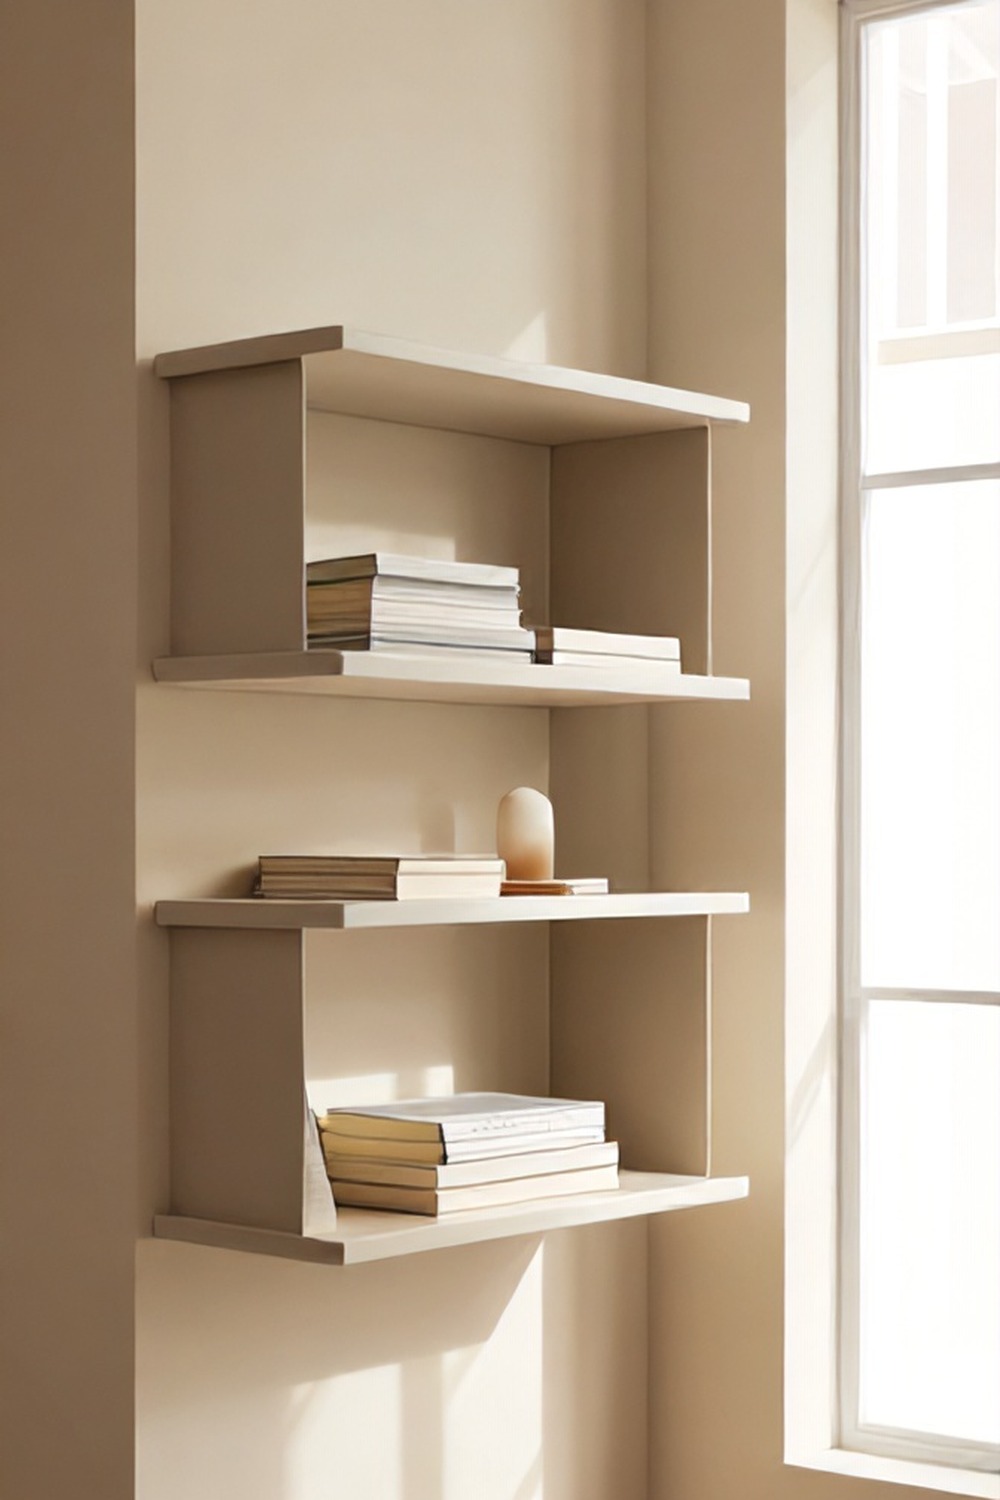
Clip‑on extenders slide onto your current cabinet shelves, creating an extra half‑inch of depth without needing new hardware. This simple addition lets you store larger plates or a second row of mugs that previously fell off the edge. Installation takes minutes, and the extenders detach easily if you move out.
Budget Level: $15‑$35 for a set of two
DIY Difficulty: Beginner
13. Smart Under‑Cabinet Power Strip with USB Ports
A slim power strip with built‑in USB ports tucks under the cabinet, providing charging stations for phones, tablets, and small appliances without exposing cords. By consolidating electronics, you keep countertops clear and reduce the visual clutter of dangling wires. The strip’s angled outlets keep plugs from sticking out, maintaining a sleek profile.
Pros & Cons:
– Pros: Saves counter space, adds tech convenience
– Cons: Requires occasional reset if overloaded
Comparison Table
| Item | Cost Range | Space Savings | DIY Difficulty |
|---|---|---|---|
| Peel‑and‑Stick Backsplash | $30‑$80 | High (visual expansion) | Beginner |
| Magnetic Knife Strip | $20‑$40 | Medium (clears drawer) | Beginner |
| Pull‑Out Pantry Drawers | $120‑$250 | High (vertical use) | Intermediate |
| Under‑Cabinet LED Strips | $25‑$60 | Medium (task lighting) | Beginner |
| Fold‑Down Wall Table | $70‑$150 | High (multi‑use surface) | Intermediate |
| Stackable Clear Canisters | $10‑$30 | Medium (vertical stacking) | Beginner |
| Seasonal Cabinet Liners | $10‑$25 | Low (prevents mold) | Beginner |
| Sliding Pot Rack (door) | $15‑$35 | Medium (door interior) | Beginner |
| Portable Kitchen Cart | $80‑$200 | High (extra surface) | Beginner |
| Glossy Tile Backsplash | $50‑$120/ft² | High (light reflection) | Advanced |
| One‑Corner Herb Garden | $20‑$60 | Low (adds greenery) | Beginner |
| Clip‑On Shelf Extenders | $15‑$35 | Medium (extra depth) | Beginner |
| Smart Power Strip | $25‑$45 | Low (reduces cords) | Beginner |
Frequently Asked Questions
Q: Can I install peel‑and‑stick tiles over existing tile?
A: Yes, as long as the old surface is clean, smooth, and free of loose grout. A quick wipe‑down with rubbing alcohol ensures the adhesive bonds properly.
Q: Will magnetic knife strips hold heavy chef’s knives?
A: They’re designed for most kitchen knives, but for very large or heavy knives, choose a strip rated for higher weight or use a dedicated block.
Q: How do I prevent mold on cabinet liners in humid climates?
A: Opt for breathable linen or moisture‑wicking mats, and replace them every 6‑12 months. Keep the interior of cabinets dry by wiping them down after spills.
Q: Is a fold‑down wall table sturdy enough for everyday cooking?
A. The table supports typical prep work and a light laptop; for heavy chopping or as a primary cooking station, pair it with a sturdy countertop.
Q: Do I need a professional for glossy tile installation?
A: While DIY‑savvy owners can manage, quartz tiles often require a thin‑set mortar and precise cuts, so hiring a pro reduces breakage risk.
Q: Will a smart power strip overload my circuit?
A: Use it for low‑draw devices (phones, tablets, small appliances). Avoid plugging high‑wattage items like toasters into the same strip.
Final Thoughts
Your tiny kitchen doesn’t have to feel cramped; small shifts in layout, lighting, and storage can open up the space dramatically. Pick three hacks that match your budget and lifestyle, test them this weekend, and watch the transformation unfold. Ready to start? Grab a notebook, measure your walls, and apply the first hack that speaks to you—your more spacious kitchen awaits.