
Do you want to take your kitchen presentation from meh to marvelous? If so, wrapping pans in foil is a surefire way to create stunningly beautiful dishes that are sure to impress. Not only will you put together meals that look delectable, but you’ll also be taking care of any necessary clean-up work at the same time.

It’s like having an extra helping hand! So if you’re looking for ideas on how to wrap pans correctly, then keep reading. In this post, we’ll dive into what materials and tools you’ll need as well as explain the proper method for creating perfectly sealed packages.
What is Pan?
You may be wondering what, exactly, a pan is. Well pans are basically cookware that can hold food and liquids while cooking. They come in many different sizes and shapes for various tasks; some of the most common pans used in kitchens are saucepans, frying pans, and sauté pans. It’s essential to use the right type of pan for your cooking, as each one has its own specific purpose.
If you’re wrapping a pan, it’s important to make sure that the wrap covers all of the edges and corners. This will help prevent any messes or spills from occurring while cooking.
Tools You’ll Need For Wrapping Pans
Before getting started with your pan-wrapping adventure, let’s first take a look at some of the tools you’ll need:
• Plastic Wrap
This is the most important tool when it comes to pan-wrapping. Plastic wrap will help keep your pan sealed and protect it from any mess or spills that may occur while cooking.
• Scissors
Scissors are also necessary for wrapping pans, as they can help you cut the plastic wrap into the right size and shape for your pans.
• Bowls/Platters
These will be used to hold the pans while wrapping them, so make sure to have a few on hand before getting started!
Different Types of Plastic Wrap for Wrapping Pans and Their Specific Purposes
When it comes to plastic wrap, not all wraps are created equal. Different types of plastic wrap serve different purposes and can yield different results when used for wrapping pans.
• Cling Wrap
This is the most commonly used type of plastic wrap for wrapping pans. It sticks to itself and creates a tight seal around the pan, preventing any liquids or food from spilling out. Cling wrap is also microwave-safe and can be used for reheating food.
• Stretch Wrap
Stretch wrap is similar to cling wrap, but it’s a bit thicker and more durable. It’s great for wrapping larger pans or covering dishes that need to be stored in the fridge, as it helps maintain the freshness of food.
• Aluminum Foil
Aluminum foil is an alternative to plastic wrap, and it can be used for wrapping pans that need to go in the oven. It’s also great for grilling or broiling as it can withstand high temperatures.
10 Step-by-step Guidelines How to Wrap Pans
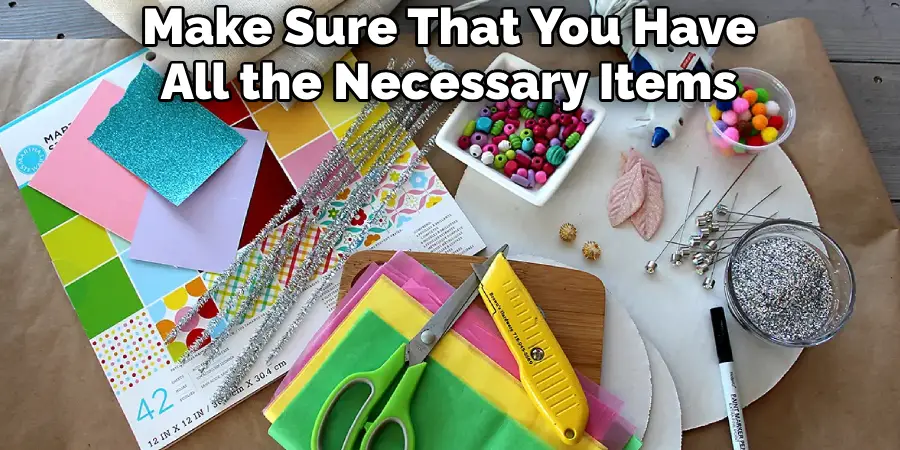
Step 1: Gather Your Materials
Before you start wrapping your pans, make sure that you have all the necessary items on hand — plastic wrap, scissors, and bowls/platters. If you don’t have these items, make sure to go out and buy them before getting started. Otherwise, you won’t be able to wrap your pans properly! But don’t forget that you can always reuse the plastic wrap once you’re done. This will help you save money in the long run.
Step 2: Measure the Plastic Wrap
Using your scissors, measure out enough plastic wrap to cover the entire pan — including all of the edges and corners. Cut off any excess wrap that you may have measured out, and set it aside for later use. It’s important to make sure that the plastic wrap fits snugly over the pan. This will help keep any messes or spills from occurring.
Step 3: Place Your Pan on a Bowl or Platter
Now it’s time to place your pan on a bowl or platter before wrapping it. This will help protect your countertop from any messes that may occur while wrapping. It will also make sure that your pan is stable while in the process of being wrapped. But It’s important to make sure that the bowl or platter is big enough to fit your entire pan.
Step 4: Begin Wrapping From One End of Your Pan
Once you’ve placed the pan on a bowl or platter, it’s time to start wrapping! Begin by starting at one end of the pan and working your way around until you reach the other side. Make sure that the plastic wrap is tight and secure as you move around your pan. It’s also important to make sure that the wrap is not too tight, as this may cause it to tear.
Step 5: Secure the Plastic Wrap Around Your Pan
Once you’ve reached the other end of your pan, take some time to make sure that all of the edges and corners are securely wrapped. This will help prevent any messes or spills from occurring while cooking. If your wrap isn’t tight enough, you can use a rubber band or some tape to help hold it in place.
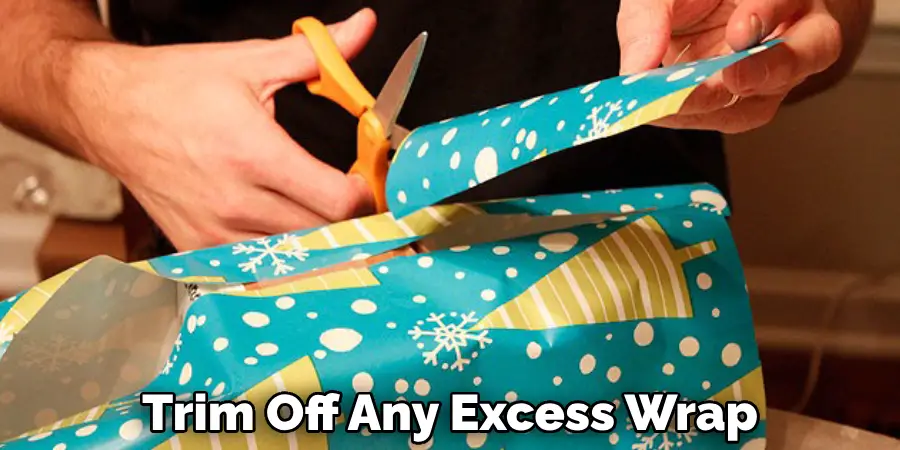
Step 6: Trim Excess Wrap From Around Your Pan
Using your scissors, trim off any excess wrap that may be hanging off your pan. Make sure to leave enough slack for a snug fit — but not too much, as this could lead to a mess when cooking. It’s also important to make sure that all of the edges and corners are tightly secured. This will help keep your pan sealed and protected.
Step 7: Place Your Pan in the Refrigerator
Once you’ve secured the wrap on your pan, it’s time to place it in the refrigerator. This will help keep your food fresh and protected from any bacteria that may be lurking around. It’s also important to make sure that your pan is tightly sealed before placing it in the refrigerator. This will help keep your food safe and prevent any messes or spills from occurring.
Step 8: Remove Your Pan From the Refrigerator
When you’re ready to cook with your pan, remove it from the refrigerator and unwrap it carefully. Make sure to discard all of the excess plastic wrap appropriately — don’t just throw it into the trash! It’s also important to make sure that you don’t leave any of the plastic wrap on your pan as this could lead to a mess when cooking.
Step 9: Preheat Your Oven
Before you start cooking with your wrapped pans, make sure that your oven is preheated to the appropriate temperature. This will help ensure that your pans are cooked evenly and thoroughly, without any hot spots or burnt edges. If you’re not sure what temperature your oven should be preheated to, consult the instructions of your recipe or manufacturer.
Step 10: Cook Away!
Now it’s time to start cooking with your wrapped pans! Make sure to follow all of the instructions for your recipe, and enjoy the delicious results! Always remember to use caution when removing your pans from the oven or refrigerator, as they may be hot or cold. Be sure to unwrap them carefully and discard all of the excess plastic wrap appropriately.
Wrapping your pans properly can help prevent any messes or spills from occurring while you’re cooking. It can also be a great way to keep your food fresh and safe in the refrigerator — remember to discard all of the excess plastic wrap appropriately when done! With these simple steps on how to wrap pans, you’ll have no problems wrapping up pans like a pro in no time!
Tips for Properly Storing Wrapped Pans in The Refrigerator or Freezer
1. Use Airtight Containers
When placing your wrapped pans in the refrigerator or freezer, it’s important to use airtight containers to ensure that your food stays fresh and protected. This will also prevent any smells or flavors from transferring between different foods.
2. Label and Date Your Containers
To avoid confusion later on, it’s important to label and date your containers when storing wrapped pans in the refrigerator or freezer. This will make it easier to keep track of what’s inside and how long it has been stored.
3. Store in Appropriate Temperatures
Make sure that your refrigerator is set to 40°F or below and your freezer is set at 0°F or below for optimal storage of wrapped pans. This will help keep your food safe and prevent any bacteria from growing.
4. Avoid Overcrowding
When storing wrapped pans in the refrigerator or freezer, make sure to leave enough space between containers for proper air circulation. This will help maintain the temperature and quality of your food.
5. Don’t Store For Too Long
While properly wrapped pans can last for a few days in the refrigerator and several months in the freezer, it’s best to consume them as soon as possible for optimal freshness. Make sure to check expiration dates and use within recommended storage times.
The Environmental Impact of Using Plastic Wrap and Alternative Eco-Friendly Options
While plastic wrap may be a convenient and affordable option for wrapping pans, it can have negative impacts on the environment. Plastic wrap is typically made from non-renewable resources and is not biodegradable, meaning it will sit in landfills for hundreds of years.
Thankfully, there are several eco-friendly alternatives to plastic wrap that can be used for wrapping pans. Beeswax wraps, made from a combination of beeswax, cotton fabric, and jojoba oil, are a popular option as they can be reused multiple times and are biodegradable. Silicone lids and reusable silicone food bags are also becoming more widely available as alternatives to plastic wrap.
By using these eco-friendly options instead of traditional plastic wrap, you can help reduce your carbon footprint and contribute to a more sustainable future. So, next time you reach for plastic wrap, consider choosing a greener option instead!
Overall, properly wrapping pans is beneficial for food safety and storage and can positively impact the environment when using eco-friendly alternatives to traditional plastic wrap.
Beyond Plastic Wrap: Exploring Alternative Wrapping Methods
1. Parchment Paper
Parchment paper is a great alternative to plastic wrap when it comes to wrapping pans for baking or roasting. It can withstand high temperatures and is non-stick, making clean-up a breeze.
2. Aluminum Foil
Aluminum foil can also be used as an alternative to plastic wrap, especially for covering large or oddly shaped pans. It is recyclable and can also be reused multiple times.
3. Cloth Towels
For those looking to completely eliminate the use of disposable wrapping materials, cloth towels can be used as a sustainable option for covering pans. They may not provide an airtight seal, but they can still keep food fresh in the refrigerator.
4. Reusable Food Covers
Similar to beeswax wraps, there are also reusable food covers made from fabric and elastic bands that can be used for wrapping pans or bowls. These are a great option for those looking to reduce waste and use sustainable materials.
5. Vacuum Sealing
For long-term storage, vacuum sealing your wrapped pans can be an effective way to keep them fresh and free from freezer burn. Vacuum sealers are available for purchase or you can use a vacuum sealer attachment on your food storage containers.
With these alternative wrapping methods, you can still effectively cover your pans while minimizing your environmental impact. Give them a try and see which method works best for you and your cooking needs!
Troubleshooting Common Issues of Wrapping Pans
1. The Plastic Wrap Keeps Sliding Off
If you find that the plastic wrap keeps sliding off your pan, it could be due to the surface of the pan being too wet or greasy. Before wrapping, make sure to dry and grease the surface of your pan with a paper towel.
2. Wrinkles in the Plastic Wrap
Wrinkles in the plastic wrap can cause air pockets, leading to an ineffective seal. To avoid this issue, make sure to pull the plastic wrap taut while wrapping your pan.
3. Difficulty Unwrapping After Refrigeration or Freezing
If you’re having trouble unwrapping your pan after it has been stored in the refrigerator or freezer, try running warm water over the plastic wrap for a few seconds. This will help loosen the wrap and make it easier to remove.
4. Melted Plastic Wrap in The Oven
If you accidentally leave plastic wrap on your pan while cooking, it can melt and create a mess in your oven. To avoid this issue, always remember to remove all plastic wrap before placing your pan in the oven.
5. Food Sticking to The Plastic Wrap
If you find that your food is sticking to the plastic wrap, it could be due to using low-quality or thin plastic wrap. It’s important to use high-quality, heavy-duty plastic wrap for best results when wrapping pans. You can also try lightly greasing the surface of the plastic wrap before placing food on it for an easier release.
In addition to the tips and troubleshooting methods mentioned above, there are a few other common issues that may arise when wrapping pans:
1. Tearing of Plastic Wrap
Plastic wrap can be delicate and easily tear if not handled carefully. To avoid this issue, make sure to use a gentle touch when taking the wrap and try not to pull or stretch it too much.
2. Wrinkles in The Wrap After Storage
If you find wrinkles in the plastic wrap after storing your pans, it could be due to air pockets forming from improper sealing. Make sure to smooth out the plastic wrap before storing it and check for any gaps or folds that may have occurred during the wrapping process.
3. Difficulty Cutting The Plastic Wrap
If you’re having trouble cutting the plastic wrap, it could be due to not using a sharp enough knife or scissors. Dull blades can make it difficult to get a clean cut, leading to jagged edges and uneven wrapping.
By following these tips and troubleshooting methods, you can ensure that your wrapped pans are adequately stored and avoid any common issues that may arise. With a little extra care and attention, you can maintain the freshness and quality of your food for longer periods. Happy wrapping!
Expert Tips for Wrapping Pans Efficiently
1. Use the Right Size Plastic Wrap
When wrapping pans, make sure to use enough plastic wrap to fully cover the pan and create an airtight seal, but not too much that it becomes wasteful. Using the right size of plastic wrap can help reduce waste and save you money in the long run.
2. Layer with Parchment Paper or Aluminum Foil
For particularly messy or greasy dishes, consider layering your plastic wrap with parchment paper or aluminum foil for added strength and durability.
3. Pre-Cut Your Plastic Wrap
To save time and avoid frustration when wrapping pans, pre-cut your plastic wrap into sheets or strips before use. This can also help reduce waste by ensuring that you only cut what you need.
4. Use a Rubber Band or Plastic Clip
In addition to using plastic wrap, you can secure your pan by using a rubber band or plastic clip around the rim of the pan. This will help keep the plastic wrap in place and prevent it from sliding off.
5. Get Creative with Reusable Alternatives
Don’t be afraid to get creative and experiment with different reusable alternatives, such as beeswax wraps or cloth towels, for wrapping your pans. Not only are these options more sustainable, but they can also add a fun and unique touch to your food storage.
Now that you have a deeper understanding of the importance of proper pan-wrapping techniques and alternative methods, you can confidently preserve your food while minimizing waste.
How Much Could It Cost?
Wrapping pans may not be an expensive endeavor, as most of the materials needed can be found around the house. The cost of purchasing plastic wrap and scissors should not exceed a few dollars per pan. Furthermore, it’s worth noting that wrapping your pans can help you save money in the long run by preventing any messy spills or contamination from occurring while cooking. If you need to buy a bowl or platter for your pan, these typically range in price from around $5-$20.
Overall, wrapping pans is an inexpensive and easy way to protect your food and kitchen surfaces while cooking. With the right materials and a few simple steps, you can be sure that your meals will come out looking (and tasting) great every time!
Frequently Asked Questions
Q: What Should I Do if My Pan is Too Big to Fit in the Refrigerator?
A: If your pan is too large for the refrigerator, it’s best to place it in a cool and dry area. Make sure that there are no other food items touching the pan while storing it, as this can lead to contamination. Additionally, ensure that any plastic wrap on your pans is secure and not loose — otherwise, you may end up with a mess in your kitchen!
Q: How Often Should I Replace My Plastic Wrap?
A: It’s recommended that you replace your plastic wrap every few weeks or so. This will help keep your food fresh and safe, especially if you’re reusing the same wrap each time. Additionally, make sure to check for any tears or holes in the wrap before using it again — these can lead to contamination and should be replaced immediately.
Q: Can I Use Other Materials To Wrap My Pans?
A: Yes! While plastic wrap is the most popular way to wrap pans, you can also use aluminum foil or parchment paper if that’s what you prefer. Be sure to follow all of the same steps when covering your pan with either of these materials, as they are not as airtight as plastic wrap.
Q: How Do I Know If My Pan is Fully Wrapped?
A: When wrapping your pan, make sure that the wrap completely covers the entire surface of the pan. You should be able to lift up the edges and see no gaps or tears in the plastic wrap. Additionally, you’ll want to double-check to ensure that there are no small holes where food particles can sneak through. If everything looks good, you’re good to go!
Conclusion
Wrapping pans can be done a variety of different ways, depending mainly on the items that you may need to keep protected from your packing materials. Whether it’s packing around corners or forming a protective cushion for sensitive cookware—there’s no wrong way to wrap pans. You just have to remember to individually protect each one, so nothing shifts during transit.
There are many tried and true methods on how to wrap pans you can use to make sure fragile goods stay intact. If done correctly, you’ll achieve maximum protection from any external forces that could damage the items inside the box.
In the end, wrapping pans is about prevention counteracting against any adverse impact while in transit to prevent costly damages later on the line. Be sure to store your prepared items with caution and care!