

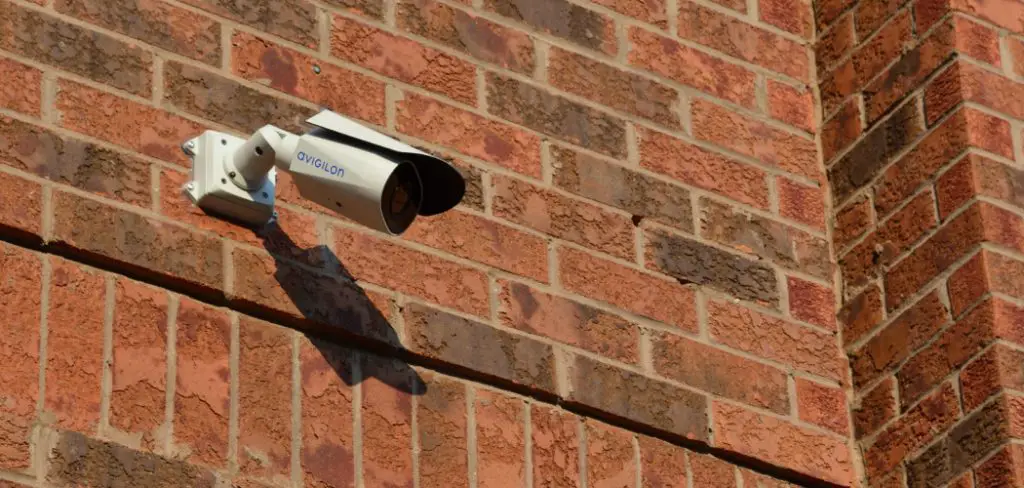
In today’s world, ensuring the safety of one’s property is paramount. Whether you are a homeowner wanting to protect your family or a business owner seeking to safeguard your assets, having a reliable security system in place is crucial. Among the myriad security solutions in the market, a well-placed security camera stands as a robust deterrent against potential miscreants.
But installing one can seem like an arduous task, especially on surfaces like brick walls. That’s where we come in! This blog post will guide you step-by-step on “how to install security camera on brick wall” efficiently and effectively, ensuring you can secure your premises without any hitch.
Can You Install a Security Camera on A Brick Wall?
Are you looking to beef up security at your home or business and wondering if installing a security camera on a brick wall is possible? The answer is yes! While it may seem like a daunting task, with the right tools and knowledge, you can easily install a security camera on a sturdy brick surface. By doing so, you can deter potential intruders and keep an eye on any suspicious activity.
Plus, brick walls provide a great backdrop to blend in with the camera’s color and design, ensuring that it doesn’t clash with the building’s exterior. So say goodbye to any security concerns and hello to a safer and more secure property.
Why Should You Install a Security Camera on A Brick Wall?
Installing a security camera on a brick wall is important in protecting your property and ensuring your safety. Brick walls are a sturdy and durable foundation to mount cameras, ensuring that your camera will remain in place and provide reliable surveillance. With the advancements in technology, security cameras have become more affordable and user-friendly, making them a viable option for homeowners and business owners.
A security camera on a brick wall provides a visual deterrent to would-be intruders and offers added convenience in monitoring and securing your property remotely. By installing a security camera on a brick wall, you can have peace of mind knowing that your property is secure and protected.
How to Choose the Right Location for Your Security Camera on a Brick Wall
Choosing the right location for your security camera on a brick wall is crucial to its effectiveness. Here are some tips to help you choose the best spot:
- Consider the angle: Make sure that the camera is positioned in an area where it can capture a wide view of the area you want to monitor.
- Avoid obstructions: Avoid placing the camera near any trees, bushes, or other objects that could obstruct the camera’s view.
- Ensure stability: Make sure the area you choose to mount the camera is stable and secure. Avoid areas with loose bricks or mortar.
- Consider lighting: Choose a location that has adequate lighting for your camera to capture clear footage. If necessary, consider installing additional lighting in the area.
By following these tips, you can ensure that your security camera is in the optimal location for keeping an eye on your property. Remember to regularly check and clean your camera to maintain its functionality and effectiveness. So, go ahead and install a security camera on your brick wall today for added peace of mind and protection. Happy monitoring!
How to Install Security Camera on Brick Wall: A Step-by-Step Guide
Step 1: Choose the Right Camera
First and foremost, you must choose the right camera that suits your budget and needs. You can choose from two options: wired and wireless security cameras. If you opt for a wired camera, it is more reliable and stable but will require a more complicated installation process. However, installing a wired camera is more permanent, saving you hassle in the long run.

On the other hand, wireless cameras are easier to install and offer more flexibility for location placement. Whatever option you choose, ensure the camera is suitable for outdoor use and has features such as night vision.
Step 2: Find the Perfect Location
Now that you have chosen your camera, you need to select the best location for security and outdoor use. The ideal spot is where it can capture the entire area you want to monitor without any obstructions. This is also ideal if you can find a location with a power source, as it will make installation easier. If not, make sure you buy a camera that can handle battery power.
Step 3: Prepare Your Equipment
Next, prepare all equipment, including your drill, wire cutters, a power drill with a masonry bit (1/2 inch), screws, and anchors. Ensure everything is laid out before starting the installation process to avoid delays or issues.
Step 4: Install the Security Camera
Attach the mounting bracket to the wall at the appropriate location using screws and anchors. Once that’s complete, you can attach the security camera to the bracket. Afterward, run the power cable through the bracket, and if it’s a wired camera, drill a hole through the brick wall for the cable to pass through. Be careful when drilling, and avoid hitting any pipes or wires inside the wall.

Step 5: Connect the Camera to the Power
Finally, you can plug in the security camera and connect it to a power source. You may also need to insert batteries into the camera if it does not have a direct wired power source. Afterward, test that the power supply is stable and running correctly.
Step 6: Set Up the Software
Once you’ve connected the camera to power, you need to set up its software. Usually, this will require downloading a mobile app that is compatible with your security camera and setting up an account. Follow the instructions from the app to connect it to your security camera.
Step 7: Monitor Your Security Camera
The last step is monitoring your security camera and ensuring it works properly. Make sure the video feed is clear, and the camera is recording properly. If you encounter any issues, consider resetting the software and following all of the steps again.
That’s it! You’ve now learned how to install a security camera on a brick wall. Now that you know the basics, you can begin to monitor your property and stay secure.
5 Considerations Things When You Need to Install a Security Camera on a Brick Wall
1. The Type of Camera
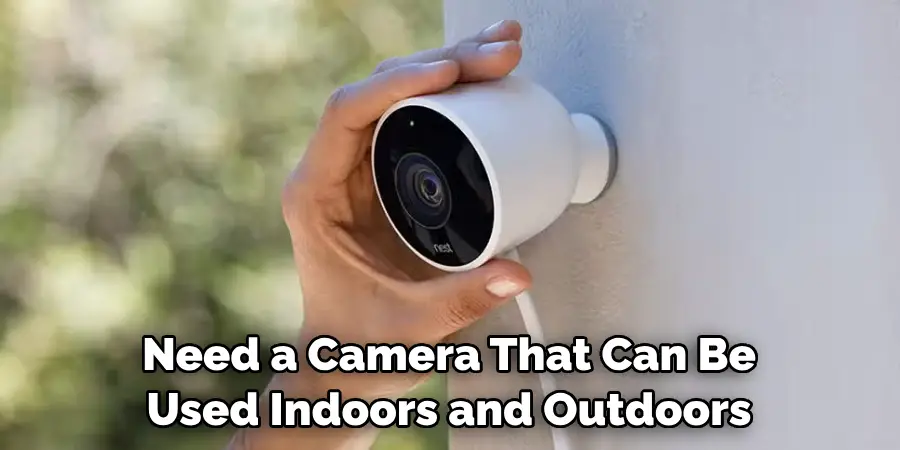
The first consideration is the type of camera you need. There are many different types of security cameras on the market, so you need to make sure you choose one that is best suited for your needs. For example, if you need a camera that can be used indoors and outdoors, you must choose a weatherproof camera.
2. The Location of the Camera
The next consideration is the location of the camera. You need to make sure the camera is placed in an area where it will get a good view of the area you want to monitor. If you are placing the camera outside, you will need to ensure it is placed in an area where trees or other objects will not obstruct it.
3. The Power Source
The third consideration is the power source for the camera. Most security cameras have a power adapter plugged into a standard outlet. However, there are also battery-powered cameras available. If you are placing the camera in an area with no power outlet, you will need to choose a battery-powered camera.
4. The Connection Type
The fourth consideration is the connection type for the camera. Most security cameras connect to your home network via Wi-Fi. However, wired cameras are available that connect to your network using an Ethernet cable. If you are unsure which connection type is best for your needs, you should consult a professional installer.
5. The Price
The fifth and final consideration is the price of the camera. Security cameras can range in price from a few hundred dollars to several thousand dollars, so you must make sure you choose one that fits your budget. It is also important to ensure the camera you choose has all the features and options you need.
Installing a security camera on a brick wall can be a daunting task. Still, if you take the time to consider these five factors before making your purchase, you can find the perfect security camera for your home. Good luck!
Tips for Hiding and Disguising Your Security Camera on a Brick Wall
Tip 1: Use Camouflage
Consider painting your security camera to blend in with the brick wall. This will help to make it less obvious and keep potential intruders from tampering with it.
Tip 2: Utilize Shrubbery
Strategically place small bushes or plants around the camera to help disguise it. Just be sure that they do not obstruct the camera’s view.
Tip 3: Use a Fake Camera
If you don’t want to spend the money on a real security camera, consider using a fake one. They are made to look realistic and can help deter intruders without breaking the bank.
Tip 4: Conceal with Decorative Elements
You can also use decorative elements such as wall hangings or signs to hide the camera. Just make sure they do not obstruct the camera’s view.
Tip 5: Consider Alternative Mounting Options
Instead of mounting the camera directly onto the brick wall, consider using a pole or other stand to place it in a less obvious location.
By following these tips, you can effectively hide and disguise your security camera on a brick wall while still maintaining its functionality and effectiveness.
The Role of Lighting in Maximizing the Effectiveness of Your Security Camera on a Brick Wall
When it comes to security cameras on brick walls, proper lighting is crucial for capturing clear footage. Here’s how you can use lighting to maximize the effectiveness of your camera:
- Install motion sensor lights: These will automatically turn on when there is movement in the area, providing additional visibility for your camera.
- Use infrared lights: Infrared lights can help capture clear footage even in low light or nighttime conditions.
- Positioning of lights: Make sure to position your lighting strategically to avoid any glares or shadows that could interfere with the camera’s view.
By using proper lighting, you can ensure that your security camera on a brick wall is capturing clear and effective footage at all times. This will provide you with even more peace of mind knowing that your property is being constantly monitored and protected.
Benefits of Install Security Cameras on Brick Wall
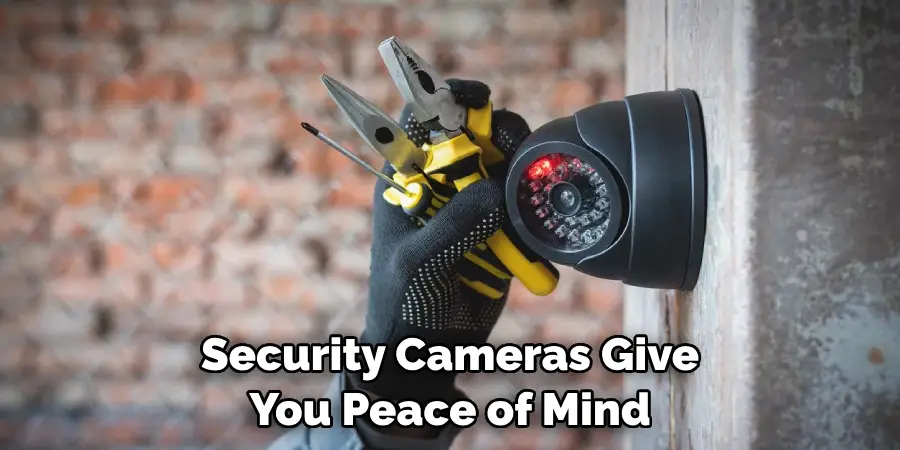
Installing security cameras on a brick wall can provide a range of benefits for your property. Not only does it add an additional layer of security, but it also acts as a visual deterrent for any potential intruders.
With the ability to monitor and record any suspicious activity, security cameras give you peace of mind that your property is being constantly watched over. In addition, having cameras installed can potentially lower your insurance premiums, as it proves that you are taking the necessary steps to protect your property.
With today’s advanced technology, security cameras on brick walls are easy to install. They can be accessed remotely, giving you the ability to monitor your property from anywhere at any time. So why not give your property the added protection it deserves by installing security cameras on your brick walls?
Some Common Mistakes People Make When Trying to Install Security Cameras on Brick Wall
1. Not Considering the Location of The Camera:
As mentioned earlier, the location of the camera is crucial for its effectiveness. Make sure to choose a spot that provides a clear view of the area you want to monitor.
2. Not Properly Securing The Camera:
If your security camera is not securely attached to the brick wall, it can easily be tampered with or stolen. Be sure to use appropriate mounting equipment and secure it tightly.
3. Not Checking the Camera’s Field of View:
Before installing the camera, make sure to test its field of view to ensure there are no obstructions that could interfere with its effectiveness.
4. Not Considering The Power Source:
As discussed earlier, the power source for your security camera is an important factor to consider. Make sure to choose a camera that can be easily powered in the location you have chosen.
5. Not Consulting with a Professional:
If you are unsure about any aspect of the installation process, it is always best to consult with a professional for their expertise and guidance.
6. Not Using Protective Coverings or Housings:
Outdoor security cameras are exposed to the elements and can easily be damaged. Make sure to use protective coverings or housings to keep your camera safe from harsh weather conditions.
7. Not Considering Night Vision Capabilities:
If you want your security camera to be effective at night, make sure to choose one with adequate night vision capabilities.
8. Not Checking Local Regulations or Laws:
Before installing any security camera, make sure to check for any local regulations or laws regarding their use. This will help you avoid any legal issues in the future.
By avoiding these common mistakes, you can ensure that your security camera on a brick wall is installed properly and functions effectively to protect your property.
Troubleshooting Tips When Your Security Camera on a Brick Wall is Not Working
1. Check the Power Source:
Ensure that your camera is receiving adequate power and that there are no loose connections or damaged wires.
2. Clear any Obstructions:
If there are any objects obstructing the camera’s view, it can affect its functionality. Make sure to clear any debris, plants, or other objects that may be in the way.
3. Check the Camera’s Settings:
Make sure that all settings on the camera are properly configured and adjusted for your specific needs.
4. Test Your Internet Connection:
If you are using a wireless camera, make sure that your internet connection is strong enough to support its functionality.
5. Check for Firmware Updates:
Many security cameras require occasional firmware updates to improve performance and fix any bugs. Make sure to check for updates regularly.
6. Reset the Camera:
If all else fails, try resetting your camera by turning it off and then back on again.
7. Consult with the Manufacturer or a Professional:
If none of the troubleshooting tips work, it may be best to contact the manufacturer or a professional for further assistance. They may be able to provide specific solutions for your camera model and situation.
By following these tips, you can quickly address any issues with your security camera on a brick wall and ensure that it is functioning at its best to protect your property. So don’t let any technical difficulties stop you from enjoying the added security and peace of mind that security cameras can bring. With proper installation and maintenance, your security camera on a brick wall can provide reliable and effective surveillance for your property, day or night.
Maintenance Tips for Your Security Camera on a Brick Wall
1. Regularly Clean the Camera Lens:
Over time, dust and dirt can accumulate on the camera lens, affecting its clarity and effectiveness. Be sure to clean it regularly with a soft cloth to maintain clear footage.
2. Clear any Vegetation or Debris Around the Camera:
Plants, leaves, and other debris can obstruct the camera’s view and potentially damage it. Make sure to clear any vegetation or debris around the camera regularly.
3. Monitor the Camera’s Storage:
If your security camera records footage, make sure to regularly check its storage capacity and delete any unnecessary footage to ensure that it continues functioning properly.
4. Check for Any Loose Connections:
Over time, connections between the camera and its power source or recording device can become loose. Make sure to check and tighten any loose connections.
5. Conduct Regular Maintenance Checks:
Just like any other electronic device, your security camera on a brick wall may require regular maintenance checks to ensure that all components are functioning properly.
6. Protect the Camera from Extreme Weather Conditions:
Harsh weather conditions can damage your camera, so make sure to use protective coverings or housings and avoid exposing it to extreme temperatures.
7. Test the Camera’s Functionality:
Periodically test your camera’s functionality by taking a look at its live feed or reviewing past footage. This will help you identify any issues early on and address them quickly.
8. Consult with a Professional:
If you are unsure about any maintenance tasks or notice any issues with your camera, it is best to consult with a professional for their expertise and assistance.
By following these maintenance tips, you can ensure that your security camera on a brick wall remains in good working condition and continues to provide reliable surveillance for your property. Remember always to prioritize safety and consult with a professional if needed for any installation or maintenance tasks. Stay vigilant and stay protected with your security camera on a brick wall.
Conclusion
Installing a security camera on a brick wall is not challenging if you follow the right steps. You can keep your home safe without damaging your property by selecting the right camera, finding the perfect spot, preparing your equipment, installing the security camera, and testing it. Hopefully, this guide has been helpful in guiding you through this process, enabling you to monitor your property with peace of mind. Thanks for reading our post about how to install security camera on brick wall.