
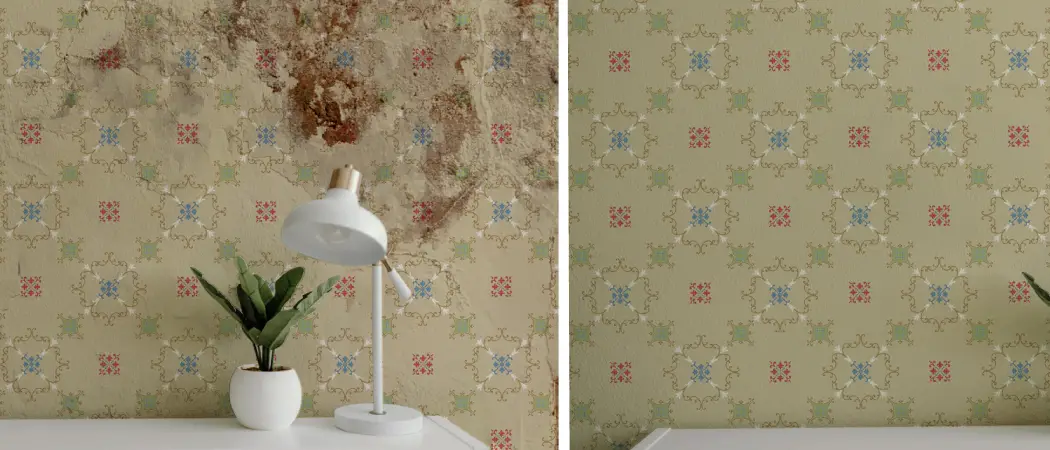
Nothing is more disappointing than seeing a wall decal that was once full of vibrant color slowly peel away to reveal blank walls underneath. We’ve all been there – you meticulously applied the decals, getting every curve just right, only to watch them start sagging and curling up at the edges months later.
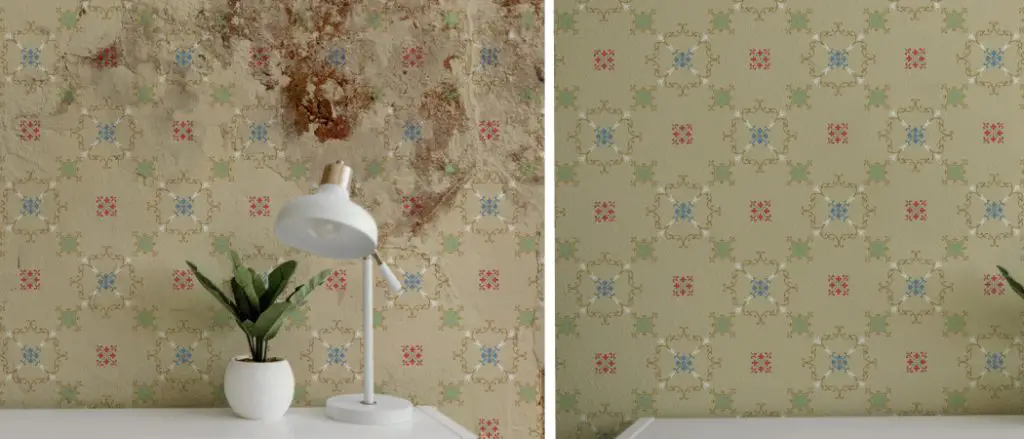
But it doesn’t have to end this way! With a bit of know-how and some basic household supplies, you can breathe new life into wall decals that have lost their stick. In this post, I’m going to walk you through simple, effective techniques for removing old adhesives, prepping your walls, and reapplying decals so they stay looking fresh for years to come.
By the time you finish reading, those dull, peeling decals will be a distant memory, and you’ll have your walls decorated with precision cuts and vibrant hues once again. Let’s get started to learn more about how to get get wall decals to stick again.
Understanding the Problem
A. Causes of Wall Decals Losing Stickiness
- Age and Wear: Over time, wall decals can lose their stickiness. The adhesives on the back of the decals start to wear out, making the decals peel off or fall.
- Poor Quality Decals: Not all wall decals are created equal. Some are made with lower-quality materials and adhesives that don’t stick as well or as long.
- Incorrect Application: If wall decals are not applied correctly, they may not adhere properly to the wall. This includes not cleaning the surface before application or not applying enough pressure during installation.
B. Signs That Your Wall Decals Need Attention
- Peeling Edges: A clear sign that your wall decals need attention is when the edges start to peel off from the wall. This indicates the adhesive is not functioning as it should be.
- Falling off the Wall: If your decals are falling off the wall completely, this is a clear indication that they need to be fixed or replaced.
- Visible Dirt and Dust Accumulation: Over time, dust and dirt can accumulate on the adhesive surface of the decals, hindering their ability to stick to the wall. If you notice this, it’s definitely time to take action.
Preparing the Surface
1. Cleaning the Wall:

Before attempting to fix your wall decals, it’s important to clean the surface so they will adhere to it. Use a mild soap and water solution to wipe down the walls, then dry them completely with a clean cloth.
2. Removing Any Residue:
If there is any remaining adhesive residue or dirt on the wall from previous attempts at sticking the decals, use rubbing alcohol or nail polish remover to remove it. Be sure to test in an inconspicuous area first to ensure it won’t damage the wall’s paint.
3. Ensuring a Smooth Surface:
Wall decals adhere best to smooth surfaces, so if your walls have any texture, use sandpaper to sand down any rough areas gently. This will create a smoother surface for the decals to stick to and increase their longevity.
How to Get Wall Decals to Stick Again: 8 Step-By-Step Guides
Step 1: Gather Your Supplies
To fix your wall decals, you will need the following supplies:
- Rubbing alcohol or nail polish remover
- A clean cloth
- Sandpaper (if needed)
- A hairdryer (optional)
Step 2: Remove the Wall Decal from the Wall

Carefully remove the decal from the wall, starting at one corner and slowly peeling it off. If the decal is stubborn and won’t come off, use a hairdryer on low heat to gently warm up the adhesive and make it easier to remove.
Step 3: Clean the Back of the Decal
Using rubbing alcohol or nail polish remover, wipe down the back of the decal to remove any built-up dirt or debris. This will also help to reactivate the adhesive.
Step 4: Clean the Wall
Using the same solution, wipe down the area of the wall where the decal was previously placed. Make sure to remove any residue or dirt so that the new application will adhere properly.
Step 5: Dry Thoroughly
Allow both the decal and wall to dry completely before attempting to reapply the decal.
Step 6: Reapply the Decal
Gently place the decal back onto the wall, starting at one corner and smoothing it down as you go. Use a credit card or squeegee to help smooth out any air bubbles.
Step 7: Apply Heat (Optional)
If your decals are still not sticking properly, you can use a hairdryer on low heat to gently warm up the decal and activate the adhesive. Be careful not to overheat the decal, as it may cause damage.
Step 8: Apply Pressure
Using a credit card or squeegee, firmly press down on the decal to ensure it adheres completely to the wall.
Reinforcement Strategies: Securing the Victory for Long-Term Success
Heat Setting
Using a hairdryer on low heat following the application can help to bond the adhesive to the wall surface permanently. This can make your wall decals more resistant to peeling or falling off, ensuring their long-term success.
Clear Coat Protection
For added durability, consider applying a layer of clear acrylic sealer over your wall decals. This can provide an additional layer of protection against wear and tear, helping your decals stay vibrant and intact for longer.
Temperature and Humidity Control
Maintaining optimal environmental conditions is key to the longevity of your wall decals. High humidity or extreme temperature variations can weaken the adhesive and cause the decals to peel off. Aim to keep your room’s temperature and humidity levels consistent to avoid these issues.
Preventative Care
Finally, simple preventative care measures can go a long way in preserving the look and adhesion of your wall decals. Avoid placing your decals in direct sunlight, as the heat can cause the adhesive to weaken over time. Occasionally, dusting or wiping down your decals can also keep them clean and help maintain their stickiness.
DIY Alternatives: Homemade Adhesives for the Resourceful Decorator
1. Cornstarch Paste
Mix equal parts cornstarch and water to create a thick paste that can be used as an adhesive for lightweight decals.
2. Flour and Sugar Paste
Mix one part flour with three parts sugar, then add enough water to create a thick paste. This mixture can be used as an adhesive for heavier decals.
3. Baking Soda and White Glue
Mix equal parts baking soda and white glue to create a strong, durable adhesive for heavier decals.
4. Gelatin Adhesive
Dissolve one packet of unflavored gelatin in one cup of hot water, then mix in three tablespoons of vinegar. This mixture can be used as an adhesive for lightweight decals.
5. Potato Starch Paste
Peel and chop one potato, then add enough water to cover the pieces. Boil until soft, then strain and mash into a paste. This can be used as an adhesive for lightweight decals.
Caution: When using these DIY alternatives, always test in an inconspicuous area first to ensure they will not damage your walls or the decals themselves. If in doubt, it’s best to stick with the manufacturer’s recommended methods for applying and removing wall decals. With proper preparation and care, your wall decals can add a touch of personality and style to any room for years to come. So go ahead, get creative and have fun decorating!
Tips for Maintaining Wall Decals
1. Avoid Humidity

Excessive humidity can cause the adhesive on wall decals to weaken and lose stickiness over time. Keep your home at a moderate temperature and use a dehumidifier if necessary.
2. Regularly Dust
To prevent dust from building up on the adhesive surface of the decals, regularly dust them with a soft cloth or duster.
3. Avoid Direct Sunlight
Direct sunlight can cause the colors of wall decals to fade over time, as well as weaken the adhesive. If possible, place your decals on a shaded wall or use curtains or blinds to block out direct sunlight.
If you found the tips above helpful, delve into our comprehensive guide, “How to Keep Stickers from Peeling Off Wall,” for a step-by-step approach to maintaining the pristine appearance and longevity of your wall decals.
How to Properly Store and Care for Wall Decals
It’s essential to properly store and care for unused wall decals to preserve their quality and stickiness when they are ready to be used. The longevity and performance of your wall decals depend greatly on how you care for them, even before they make their way onto your walls.
Proper Storage of Wall Decals
- Temperature-Controlled Environment: Store your wall decals in a temperature-controlled environment. Extreme temperatures, both hot and cold, can adversely affect the adhesive backing of the decals and their overall quality.
- Flat Surface: Always store your wall decals flat to avoid any bending or folding. Bends or creases can damage the decal and make application difficult.
- Original Packaging: Store your decals in their original packaging. This will protect them from dust and any potential damage.
Caring for Wall Decals
- Avoid Direct Sunlight: Just as when the decals are on the wall, exposure to direct sunlight can cause the colors to fade and the adhesive to weaken. Ensure your decals are stored in a location away from direct sunlight.
- Gentle Cleaning: If you need to clean your decals before application, do so gently. Use a soft cloth and avoid using harsh chemicals that could damage the adhesive or the decal’s design.
- Handle with Care: When you’re ready to apply your decals, handle them gently to avoid damaging the adhesive backing. Clean and dry your hands thoroughly before handling to prevent transferring oils or dirt onto the adhesive.
By following these storage and care tips, you can extend the life of your wall decals and ensure they always look their best when you’re ready to use them.
Alternative Solutions for Fixing Loose Wall Decals
Apart from the methods mentioned above, other effective solutions should be considered when dealing with loose wall decals. Sometimes, despite our best efforts, certain decals refuse to stick. In such cases, here are some alternative solutions:
- Double-Sided Tape: Double-sided tape is one of the easiest and quickest methods. It’s readily available and just as easy to apply. However, it’s important to use a tape that won’t damage your wall or leave behind a residue when removed.
- Adhesive Spray: Spray adhesives are another excellent option for securing loose decals. They are designed to form a strong bond without damaging the decal or the surface to which it’s applied. Make sure to follow the manufacturer’s instructions for best results.
- Wallpaper Paste: An unconventional yet effective solution involves using wallpaper paste. It offers a stronger bond compared to traditional adhesive options. However, it’s more suitable for large decals as it can be a bit messy to work with.
- Ultra-Thin Glue: For delicate or intricate decals, an ultra-thin glue applied with a fine brush can provide the needed adhesion without destroying the decal’s aesthetics.
Remember, before using any alternative adhesive, it’s crucial to test it in an inconspicuous area to ensure it doesn’t damage your wall or decal.
Inspiration and Beyond: Creative Applications and Custom Wall Decals
Creative Applications of Wall Decals
Apart from decorating walls, decals can be used in many other creative ways to add personality and style to any room. Here are a few ideas to get you started:
- Use small decals on furniture or appliances for a fun and unique touch.
- Create a custom headboard using large wall decals.
- Make your own personalized laptop skin with custom decals.
- Use wall decals to add a splash of color and design to plain lampshades or light switches.
Custom Wall Decals
If you’re feeling extra creative, consider creating your own custom wall decals. You can design them yourself or use a professional printing service to bring your ideas to life. Custom wall decals are an excellent way to showcase your personality and style in your home or office. They also make great gifts for friends and family.
Conclusion
In conclusion, reapplying and maintaining the stickiness of wall decals is an achievable task with the right methods and proper care. By carefully cleaning and drying both the decal and the wall and applying heat and pressure when necessary, you can ensure your decals adhere properly.
Exercising preventative measures like avoiding humidity, dust, and direct sunlight can also go a long way in preserving the quality and longevity of your decals. If traditional methods fail, alternative solutions like double-sided tape, adhesive spray, wallpaper paste, or ultra-thin glue can come in handy.
Remember, the key to success lies in treating your decals with care and patience — with these; you can keep your wall decor looking fresh and appealing for years to come. Thanks for reading this article about how to get wall decals to stick again.