

Are you looking for an easy and creative way to create a more functional living space in your home without investing in electrical work? Floating furniture is an attractive and cost-effective solution! By slightly elevating fixtures off the floor, you can instantly make your living room look modern, sleek, and organized – all without using a single outlet.
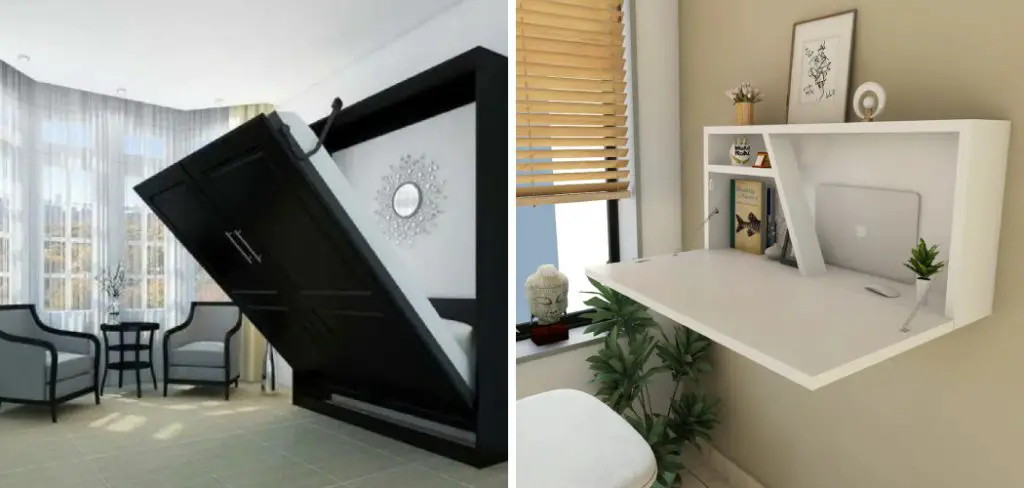
A living room is a place where you relax, entertain, and spend quality time with your loved ones. It should be a comfortable yet functional space. However, if your living room has no floor outlet, it can be challenging to accommodate all the furniture without cords running everywhere.
Here, we will explore how to float living room furniture with no floor outlet. From custom-built shelves to tried-and-true tricks of the trade, get ready to learn all of our top tips for elevating appliances without having access to electricity!
What Will You Need?
Before you dive into floating your living room furniture, there are a few things that you need to know and have at hand. Here’s a list of equipment and materials you should consider having before starting this DIY project:
- Level
- Screws
- Drill
- Stud finder
- Wall anchors (if needed)
- L-brackets or mounting brackets (if needed)
- Wood or metal board (for creating shelves)
10 Easy Steps on How to Float Living Room Furniture With No Floor Outlet
Step 1: Plan Your Layout
Before you start drilling holes into your walls, take some time to carefully plan out where you want your furniture to be placed. Consider the size and weight of each piece and how it will fit into the overall design of your living room. If you have a heavy item like a bookshelf or TV, ensure additional support for it.
Step 2: Identify Wall Studs
After planning your layout, the next step is to identify the wall studs. Wall studs are the supporting structures behind your wall and are crucial for securing heavy furniture. Use a stud finder to locate the studs and mark their locations with a pencil. Remember, if you’re planning to mount something heavy, like a bookshelf or a TV, securing it directly to the studs is essential for added stability.

Step 3: Install Wall Anchors and Brackets
Once you have identified the location of the studs, it’s time to install the wall anchors and brackets. If you’re mounting light furniture like floating shelves, you may only need L-brackets. For heavier items, you might require mounting brackets. To install, drill holes into the marked spots on the wall studs, insert the wall anchors, and then screw the brackets into the anchors. Make sure that the brackets are level and securely fastened to the wall.
Step 4: Mount the Furniture
Now that your brackets are securely installed, it’s time to mount your furniture. Place your furniture piece on the brackets, ensuring that it aligns properly with the pre-drilled holes. If you’re mounting a floating shelf, ensure the surface is level by placing a level on top of it. Once everything is in place, fasten the furniture to the brackets using screws. For heavier items, you may need assistance with this step. Always double-check that the furniture is secure before letting go.
Step 5: Hide the Cords
Now, with the furniture mounted, you’ll want to address the issue of visible cords, which can detract from your floating furniture’s clean, modern look. Consider using cord concealer strips, which can be mounted along your baseboards or walls. Feed the cords from your electronics through the strip and down to the outlet. Alternatively, for your wall-mounted television, a cord management system can be installed directly into the wall, allowing cords to be run behind the scenes from your TV to your outlets.
Step 6: Add Decorative Elements
With your furniture impeccably mounted and cords neatly concealed, it’s time to add a personal touch. Consider incorporating decorative elements that enhance the overall aesthetics of your living room. You could place photo frames, potted plants, or minimalist sculptures on floating shelves. Books, magazines, and other personal items can also add a unique touch. However, remember to keep it balanced and not overload the furniture to maintain its stability and the clean, uncluttered look.
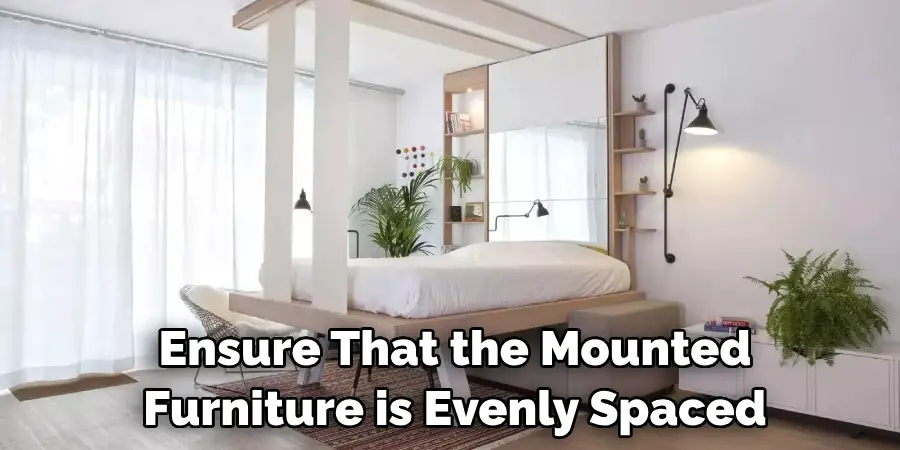
Step 7: Assess and Adjust
After you’ve added your personal touch, take a step back and assess the overall look and feel of your living room. Ensure that the mounted furniture is evenly spaced and the room appears manageable. Check the fixtures’ stability and ensure that all cords remain concealed. If anything feels off-balance or cluttered, make necessary adjustments. This step might involve a bit of trial and error, but it’s essential to ensure that your living room is beautiful but also functional and safe.
Step 8: Protect Your Flooring
While floating furniture minimizes the risk of damage to your floor, there might still be instances where you need to move your furniture for cleaning or rearranging. Consider using furniture pads or sliders to prevent any damage or scratches to your flooring. These are especially useful for heavy items like sofas or entertainment centers. They can be easily attached to the bottom of your furniture, allowing you to move them around easily and without damaging your floor.
Step 9: Regular Maintenance
Once you’ve got your living room set up the way you want, remember that regular maintenance is key to preserving the aesthetic and functionality of your space. This includes dusting your floating furniture regularly to keep it fresh and clean, checking the stability of the fixtures from time to time, and ensuring that cords remain hidden. If you notice any wear and tear on your furniture or if the fixtures have started to loosen, take immediate action to fix these issues. Remember that maintenance is not a one-time task but an ongoing process ensuring your living room remains comfortable, safe, and stylish.
Step 10: Enjoy Your Floating Furniture
Finally, once you have successfully installed your floating furniture, hidden all visible cords, embellished your living space with personal touches, secured your flooring, and planned for regular maintenance, it’s time to sit back, relax, and enjoy the fruits of your labor. Your living room is now enhanced with functional, stylish, and space-saving floating furniture that impresses your guests. Take pride in your DIY project, and remember that you’ve not only added aesthetic value to your living space but also gained the skills to tackle similar projects in the future.
By following these steps and using the right tools and materials, you can easily float your living room furniture without a floor outlet.
5 Additional Tips and Tricks
- Use Versatile Furniture: Opt for furniture that is versatile and functional. This will allow you to change up the decor without replacing your furniture. Furniture with storage spaces can also help better organize and declutter the living room.
- Lighting Matters: Lighting can enhance the aesthetic appeal of floating furniture. Consider installing accent lighting or LED strips beneath the furniture to create a warm, inviting atmosphere.
- Practice Safety: When mounting heavy furniture, ensure it’s securely anchored to prevent accidents. It’s better to seek professional help mounting heavy furniture if you need more clarification.
- Opt for Cordless Appliances: Whenever possible, opt for cordless appliances. This will help maintain your floating furniture’s sleek and modern look without worrying about hiding cords.
- Keep a Balance: While floating furniture provides a space-saving solution, only overcrowd your walls with a few pieces. Maintain a balance between the wall-mounted and floor furniture to keep the room from feeling chaotic or claustrophobic.

With these additional tips and tricks, you can elevate your floating furniture game and make the most out of your living room space.
5 Things You Should Avoid
- Ignoring Weight Limits: Every wall-mounting kit comes with specific weight limits. Avoid missing these limits, as it can lead to accidents and damage to your furniture and walls.
- Using Improper Tools: Make sure you use the correct mounting tools. Using the wrong types can lead to improperly installed furniture and potential mishaps.
- Leaving Cords Exposed: While it might seem like an insignificant detail, exposed cords can detract from the aesthetic of your floating furniture. Always ensure cords are nicely concealed.
- Skipping Regular Maintenance: Floating furniture requires regular maintenance to ensure its longevity. Avoid neglecting this step, which can lead to early wear and tear.
- Overloading Furniture: Overloading your furniture, especially the wall-mounted ones, can lead to instability and accidents. Avoid placing too many heavy items on your floating furniture.

Remember, taking these precautions to enjoy a safe, functional, and aesthetic living room with your floating furniture is crucial.
Conclusion
All in all, floating living room furniture can be a great way to add a modern touch to your home. By following these simple tips, you’ll easily be able to find success in integrating this timeless design feature into the comfort of your living room.
Hopefully, the article on how to float living room furniture with no floor outlet has given you the necessary knowledge and confidence to tackle this DIY project. Whether you choose to go all out and add lights and glyphs or take the minimalist route and stick with lamps only, you’re sure to enjoy the look of your newly floated living room furniture!
So don’t wait–get creative and make your living room stand out today!