
Are you the proud owner of some wicker patio furniture that has seen better days? Don’t despair; all is not lost! While it might seem daunting to tackle outdoor furniture repairs, with a few essential tools and materials, you can make your outdoor furniture look as good as new.

Wicker patio furniture is made from a variety of natural and synthetic materials such as rattan, bamboo, or resin. Different repair techniques will be required depending on the type of wicker used. So, without further ado, let’s dive into how to fix your broken wicker patio furniture.
In this blog post, we’ll share step-by-step instructions for how to fix broken wicker patio furniture so that you can enjoy more time outdoors on warm summer evenings. Keep reading!
What Will You Need?
Before we get started on the actual repairs, make sure you have all the necessary materials and tools.
- Replacement wicker: Depending on the type of wicker used, you may need to purchase specific replacement material. Natural materials like rattan or bamboo are not as readily available as synthetic options like resin.
- Scissors or pruning shears: To cut and trim wicker strands.
- Utility knife: For cutting and shaping replacement wicker.
- Pliers: To remove and bend wicker strands.
- Wood glue: For securing replacement wicker strands.
- Painter’s tape: To hold broken pieces in place while drying.
- Sandpaper: For smoothing rough edges after repairs.
- Paint or stain: Optional for refinishing the repaired area to match the rest of the furniture.
- Protective gear: Gloves and eye protection are recommended when working with wicker materials.
Once you have all the necessary tools and materials, it’s time to start fixing your wicker patio furniture.
10 Easy Steps on How to Fix Broken Wicker Patio Furniture
Step 1: Assess the Damage
Take a good look at your broken wicker patio furniture. Is it just a few loose strands, or is an entire section damaged? This will determine the extent of repairs needed and the amount of replacement material required.
Step 2: Remove the Damaged Wicker
Using your pliers, gently remove the broken or damaged wicker strands. Be careful not to damage the underlying framework. If the fractured wicker is hard to reach or tightly woven, you may need to utilize your utility knife. Remember to wear your protective gear during this process to prevent any injuries.
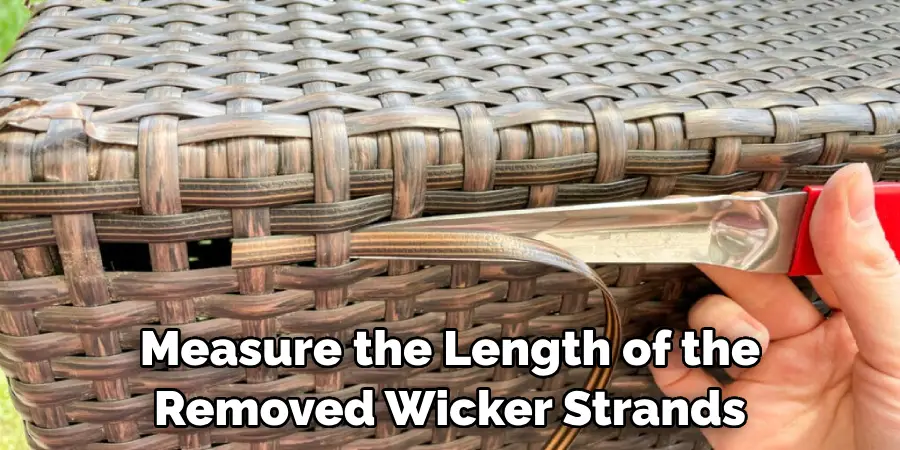
Step 3: Prepare the Replacement Wicker
Next, measure the length of the removed wicker strands and cut your replacement wicker to match using scissors or pruning shears. If you’re using natural wicker like rattan or bamboo, you must soak it in warm water for 30 minutes to an hour to make it pliable. Synthetic wicker typically doesn’t need to be washed. Once your replacement wicker is prepared, you can start weaving it into the furniture.
Step 4: Weave the Replacement Wicker
Start weaving the replacement wicker into the furniture. Follow the same pattern as the existing wicker to ensure a uniform look. Use your pliers to pull and adjust the replacement wicker strands as necessary. Depending on the complexity of the weave, this step may take some time and patience. Remember, the goal is to restore your furniture to its original beauty, so take your time to get it right.
Step 5: Secure the Replacement Wicker
Once you have successfully woven the new wicker, it’s time to secure it. Apply a small amount of wood glue to the ends of the replacement wicker and press them onto the furniture. Use painter’s tape to hold the wicker in place while the glue dries. Ensure the replacement wicker is tightly woven and matches the rest of the pattern before drying it.
Step 6: Sand and Smooth the Repaired Area
After the glue has completely dried, remove the painter’s tape. You’ll want to sand down any rough edges or protruding ends of the replacement wicker to make the repaired area as smooth and seamless as possible. Use a piece of sandpaper to smooth out the revised section carefully, being mindful not to over-sand and damage the replacement wicker or surrounding area.
Step 7: Refinish the Repaired Area
If you wish to maintain a consistent look across your furniture, consider applying paint or stain to the repaired area. Choose a color that matches the original hue of your wicker furniture. Apply the paint or stain evenly, using a brush, and allow it to dry completely. This step can not only give your furniture a fresh, new look but also add an extra layer of protection against weather damage.
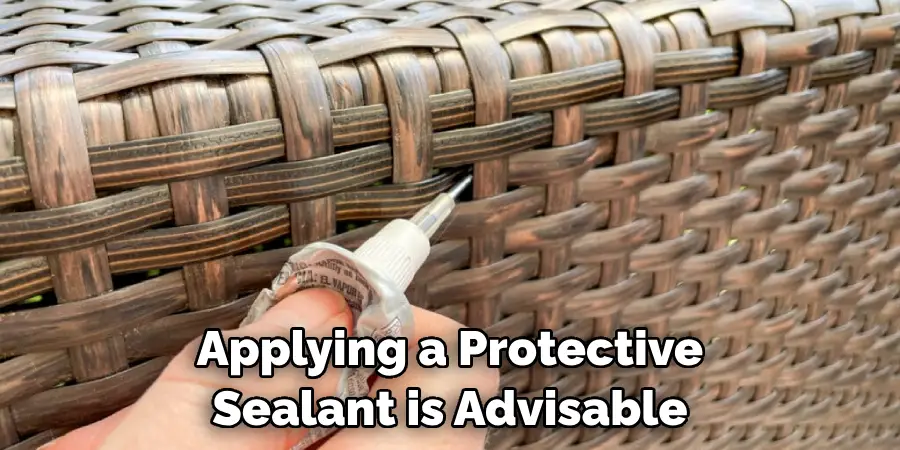
Step 8: Apply a Protective Sealant
To ensure the longevity of your repaired wicker patio furniture, applying a protective sealant is advisable. This can help protect the wicker from harsh weather conditions and prolong its lifespan. Select a sealant specifically designed for the type of wicker your furniture is made from, and apply it according to the manufacturer’s instructions. Allow the sealant to dry thoroughly before using the furniture.
Step 9: Check for Any Loose Strands
Before using your wicker patio furniture, give it a final once-over to check for any loose strands or areas needing additional reinforcement. If you spot any, simply apply wood glue and secure them with painter’s tape until the glue dries. Just like that, your wicker patio furniture should be good as new!
Step 10: Enjoy Your Restored Furniture
Finally, after all the hard work and meticulous repairs, sit back and enjoy your restored wicker patio furniture. It’s now ready to host backyard get-togethers, lazy Sunday afternoons, or simply enjoy a quiet moment in the great outdoors. By learning how to fix broken wicker patio furniture, you’ve saved money and given a fresh lease of life to your beloved outdoor pieces.
By following these ten easy steps and utilizing the right tools and materials, you can successfully repair your wicker patio furniture and keep it looking beautiful for years to come.
5 Additional Tips and Tricks
- Keep Spare Wicker Handy: It’s a good idea to keep some extra wicker material on hand for quick fixes. The color may not be an exact match, but it’s better than further damage to your furniture.
- Clean Regularly: Regular cleaning can prevent dirt and other debris from embedding in the wicker, which can lead to damage over time. Use a soft brush and soapy water to clean your wicker furniture gently.
- Avoid Excessive Water Exposure: While wicker is fairly resistant to the elements, prolonged exposure to water can weaken the material. Consider covering your wicker furniture or moving it indoors during heavy rain or snow.
- Rotate Furniture: If your wicker furniture is exposed to sunlight, rotate it every now and then to ensure even exposure and to prevent certain areas from fading or getting damaged faster than others.
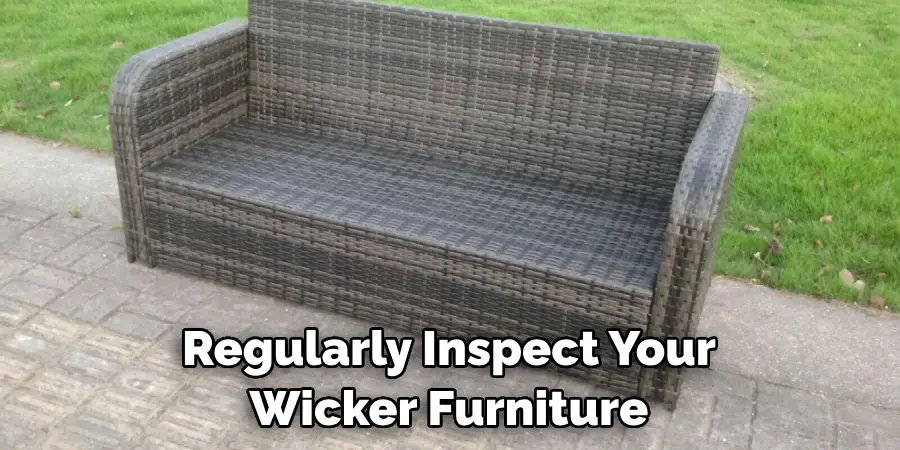
- Regular Checks: Regularly inspect your wicker furniture for any signs of damage or wear. Early detection will make your repair job much easier and prevent minor issues from becoming significant problems.
With these additional tips and tricks, you can ensure that your wicker patio furniture stays in top condition for years.
6 Things You Should Avoid
- Using Harsh Chemicals: Avoid harsh cleaners or chemicals on your wicker furniture. They can break down the material and cause it to deteriorate faster.
- Dragging the Furniture: Dragging wicker furniture can cause it to fray or split. Always be sure to lift it when moving it to prevent damage.
- Ignoring Loose Strands: If you notice loose strands of wicker, don’t ignore them. They can unravel and cause further damage to the furniture.
- Exposing to Extreme Temperatures: Wicker furniture can warp or crack in extremely hot or cold temperatures. Store your wicker furniture indoors during periods of extreme weather.
- Overloading: Wicker furniture is sturdy but is meant to hold something other than heavy weights. Avoid placing heavy objects on your wicker furniture to prevent it from breaking or becoming misshaped.
- Skipping Regular Maintenance: Like any other piece of furniture, wicker patio furniture needs regular maintenance to stay in good condition. Don’t neglect it, and you’ll be able to enjoy it for years to come.

By avoiding these common mistakes, you can help extend the lifespan of your wicker patio furniture and keep it looking beautiful for years to come.
Conclusion
After all, the last thing anyone wants is to have to purchase new patio furniture when a few simple steps can help keep their wicker set in good condition for years to come. So take heed of these tips, order the supplies you may need, and show off your handy skills by fixing your broken wicker furniture. And remember to share the wealth: pass it on and teach someone else how to repair wicker! Working together is the best way we can ensure our outdoor furniture stays happy and healthy.
Hopefully, the article on how to fix broken wicker patio furniture has provided you with the necessary information and tips to repair your outdoor wicker furniture successfully. With a little bit of effort and attention, you can keep your wicker furniture looking beautiful for years to come. Remember to regularly check for any signs of damage, clean it regularly, and avoid common mistakes that could cause further damage.