
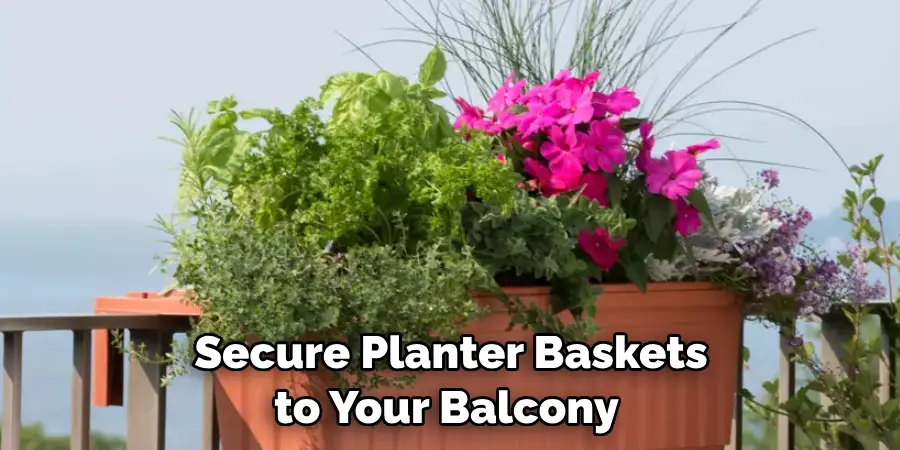
Are you one of the many homeowners living in a Tudor-style house and looking for ways to modernize its exterior? Updating an old house’s outside can be daunting, but it doesn’t have to be! We understand that it could seem complex and overwhelming, so we’ve compiled several ideas on how to secure planter baskets to balcony railings.
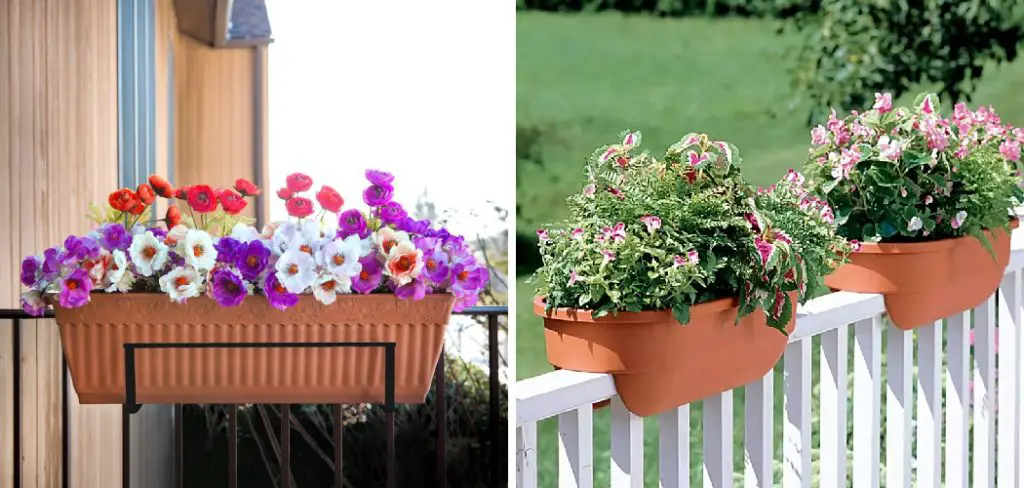
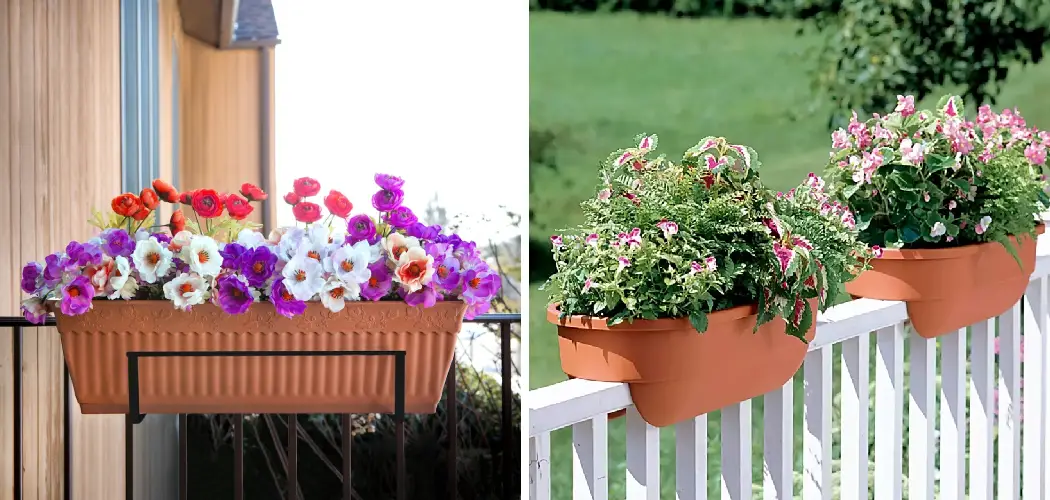
Whether your house is old or new, installing planters is one of the easiest and most effective ways to spruce up a home’s exterior. Not only do they add a touch of modernity to the house’s facade, but they can also serve as an outdoor oasis for growing flowers, vegetables, and herbs.
Read on for our easy steps, which will guide you through this process with ease and help you give your outdated exterior the boost it needs!
What Will You Need?
- Planter basket(s)
- Balcony railing
- Drill and drill bit
- Screws
- Measuring tape or ruler
Once you have all the supplies you need, you can begin securing your planter basket(s) to your balcony’s railing.
10 Easy Steps on How to Secure Planter Baskets to Balcony Railings
Step 1: Measure and Mark
The first step is to measure the width of your balcony railing. This will help you determine how wide a planter basket should be so that it fits properly onto the railing. Once you have the measurements of your balcony railing, use a ruler or measuring tape to mark on the planter basket where it should be patterned so that it fits against the railing perfectly.
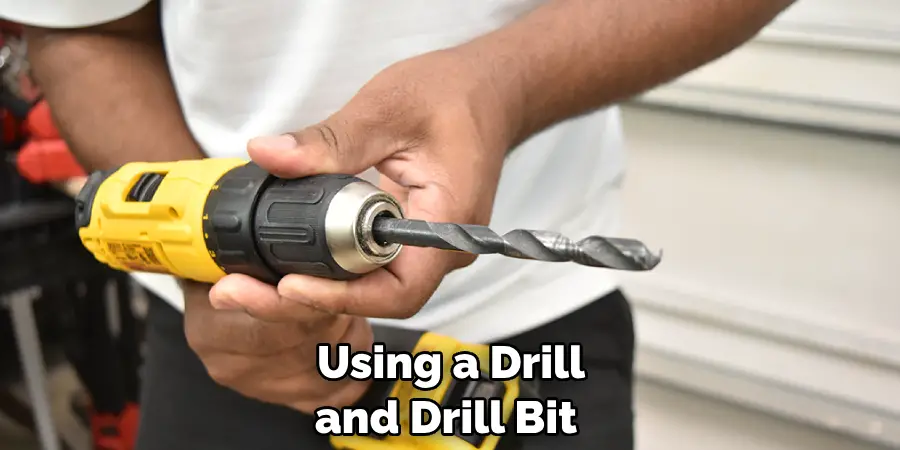
Step 2: Pre-drill Holes
Using a drill and drill bit, pre-drill two evenly spaced holes into the marked area of the planter basket. Ensure that the drill bit is slightly smaller than the screws you will use to secure the planter basket in its position against the railing. Try to keep the holes as close as possible to the railing so that it does not move or wobble when you attach the basket.
Step 3: Place the Planter Basket on the Railing
Once you have pre-drilled two holes into your planter basket, it is time to place the basket onto the balcony railing. Make sure that you place it in a spot where it will be able to get enough sunlight for your plants. Additionally, make sure that the basket is held firmly against the railing and does not move.
Step 4: Secure Planter Basket
Secure the planter basket to the balcony railing using screws that are slightly longer than the pre-drilled holes. Be sure not to over tighten the screws, as this could damage the basket, the railing, or both. Also, keep in mind that if the screws are too short, they may be unable to hold the planter basket in place.
Step 5: Fill with Soil
Once you have successfully secured your planter basket to your balcony railing, it is time to fill it with soil so you can plant in it! Make sure to fill the basket with a potting mix specifically for planting so your plants have everything they need to thrive. If you want to be extra cautious, it is also recommended to add a small layer of gravel at the bottom of your planter basket before adding in soil. This will help with draining excess water and keep your plants healthy.
Step 6: Plant Your Chosen Flora
Once the planter basket is filled with soil, you can place your chosen plants, flowers, or herbs in it. Be sure to arrange them in a way that allows each plant enough space to grow without overcrowding the others. Gently place the plants into the soil and add additional potting mix around them to secure them in place. Once you’re satisfied with the arrangement, water the plants thoroughly but gently to settle the soil around them.
Step 7: Monitor and Maintain
Regular upkeep of your planter basket is crucial for the health of your plants. Check the soil’s moisture level daily and water the plants as needed. Refrain from overwatering, as this can lead to root rot. Also, rotate the basket occasionally to ensure all plants receive adequate sunlight, promoting even growth. Prune dead or wilted leaves to keep the plants healthy and encourage new growth.
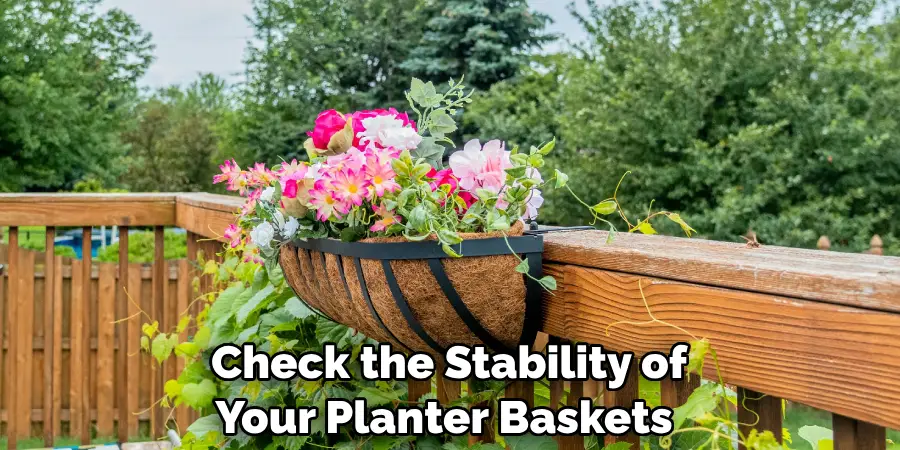
Step 8: Re-secure as Needed
Over time, your planter baskets may become less secure due to weather conditions, the weight of the growing plants, or general wear and tear of the materials. Regularly check the stability of your planter baskets and tighten the screws as needed. If you see any signs of damage to the basket or the balcony railing, address them promptly to prevent any mishaps. Maintaining the security of your planter baskets ensures the safety of your plants and the longevity of your balcony railing.
Step 9: Seasonal Care
Different seasons will require different care for your planter basket. Watering might need to be done more frequently during warmer seasons due to the increased evaporation rate. In contrast, during cooler seasons, care should be taken not to overwater plants as they are generally dormant and consume less water.
Furthermore, consider the type of plants you have in your planter basket. Some plants may require you to move the basket to a sheltered location during harsh weather conditions. Following these steps will ensure your plants stay healthy throughout the year.
Step 10: Enjoy Your Blooming Oasis
Finally, take a moment to enjoy the fruits of your labor. Your balcony is now adorned with a thriving, beautiful planter basket. Ensure you continue to monitor and nurture your plants, providing them with the care they need to flourish. This living ornament enhances the aesthetic appeal of your home and provides a sense of tranquility and connection with nature.
By following these ten easy steps, you can successfully hang a planter basket to your balcony railing. You can go through this process with ease, and it will help you give your outdated exterior the boost it needs! Proper planning and maintenance allow you to enjoy a blooming oasis in the comfort of your home.
5 Additional Tips and Tricks
- When securing planter baskets to balcony railings, be sure there is enough support for the weight of the plants and soil. If you are in doubt, consult a professional contractor for advice.
- To ensure your planters are secured safely, use high-quality anchors and brackets designed specifically for outdoor use.
- Make sure you measure correctly before drilling into the balcony railing and check for any electrical wiring or other obstructions that may be in the way.
- When drilling into the balcony railing, use a drill bit specifically designed for outdoor use.
- Attach a safety line to the planter basket and tie it off to a secure point on the balcony railing. This will provide added stability and prevent accidental tipping or falling.
With the right preparation and a few pointers, you can easily secure planter baskets to your balcony railing in no time. By keeping these tips and tricks in mind, you’ll be able to enjoy a beautiful outdoor oasis for years to come.
5 Things You Should Avoid
- Avoid using screws, nails, or other adhesives to secure planter baskets to balcony railings. These methods are not designed for outdoor use and may rust over time.
- Do not exceed the weight limit of your balcony railing when filling a planter basket with soil and plants. The added weight can cause structural damage or even collapse the railing altogether.
- Do not use a power drill on balcony railings, as this may damage the surface and cause rusting or corrosion.
- Never leave secured planter baskets unsupervised, especially in windy conditions, as they can become unstable and cause injury or property damage.
- Avoid using hangars or hooks to secure planter baskets to balcony railings, as these can easily slip off or cause other damage.
By keeping these tips in mind, you can ensure your balcony railing is kept safe and secure while displaying beautiful planter baskets.
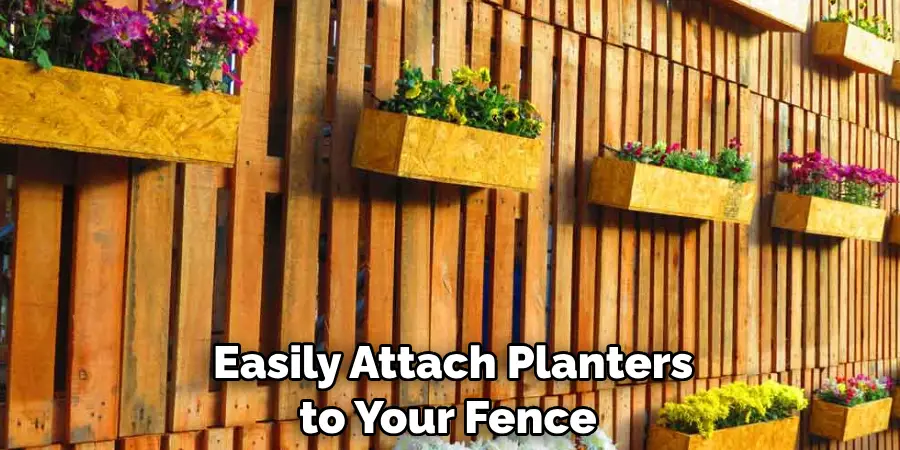
How Do You Attach a Planter to a Fence?
Attaching a planter to a fence can be as easy as attaching one to a balcony railing. However, there are some additional steps you will need to take.
- Choose the right type of anchor and bracket for your fence material, such as wood or metal.
- Measure twice before drilling into the fence and mark where each anchor should be placed.
- Use a drill specifically designed for the material of your fence when drilling holes for anchors.
- Secure the anchor to the fence and use washers and nuts, as needed, to ensure it is tight and secure.
- Place your planter basket into the bracket and fasten it securely with screws or bolts.
- To add extra stability, use a safety line to tie the planter basket to the fence and secure it in place.
With a few simple tools and some know-how, you can easily attach planters to your fence.
Conclusion
In conclusion, planter baskets present a great opportunity to add extra greenery and natural beauty to your balcony. Whether you choose to mount them on the railing or purchase railing planters, these types of baskets can offer a relaxing space for both yourself and any visitors that may come along.
With just a few simple steps, you can quickly and easily secure your planter basket to enjoy it with peace of mind. Don’t be afraid to get creative with how you hang the basket, as there are all kinds of solutions out there waiting for you to find and benefit from.
Hopefully, the article on how to secure planter baskets to balcony railings was helpful, and you now know to mount your planter basket safely and securely. Go on, let those green fingers do some work!
Happy planting!