
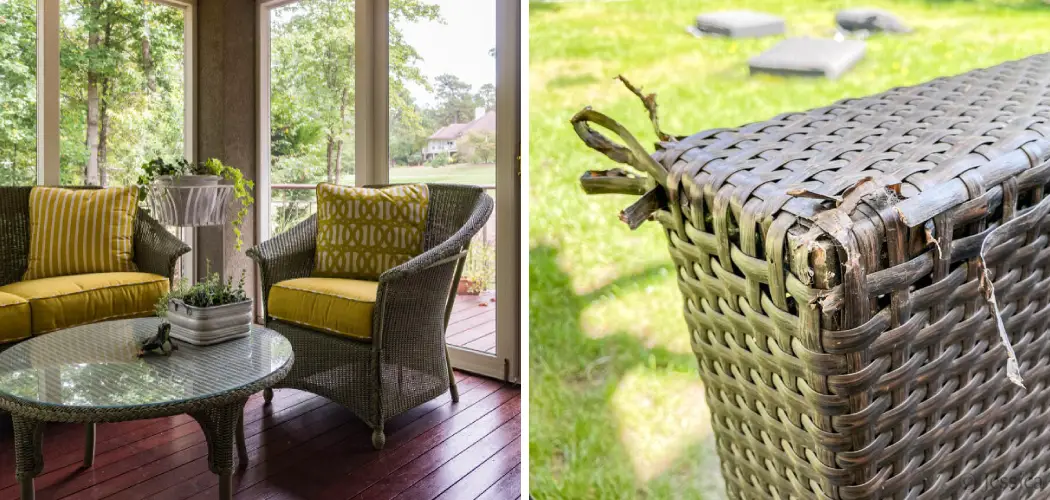
Are you looking to add more comfort and style to your outdoor space? Resin wicker furniture is a great option that offers durability, affordability, and unique visual appeal. After all, who wouldn’t want the convenience of enjoying coffee or reading a book outdoors in an inviting setting?

Unfortunately, over time, due to wear and tear from sun exposure or harsh weather conditions – resin wicker furniture can become discolored or weakened. Thankfully several repair methods are available that can help restore its original frame and make it look new again. These repairs can also be done at home with simple tools and materials.
In this blog post, we will discuss how to repair resin wicker furniture, so keep reading for tips on getting your outdoor oasis back up to par!
What Will You Need?
- Scrub brush
- Water
- Mild detergent or soap
- Bucket
- Soft cloth/Cotton rag
- Sandpaper
- Epoxy resin glue
Once you have these materials, you can repair your resin wicker furniture. Let’s get started!
10 Easy Steps on How to Repair Resin Wicker Furniture
Step 1: Clean the Furniture
The first and foremost step in repairing resin wicker furniture is to clean it thoroughly. Begin by removing any cushions or covers from the furniture. Then, give the furniture a good scrub using a scrub brush, water, and a mild detergent or soap. This will help remove any dirt, grime, or loose particles that could interfere with the repair process. Ensure that you reach all the nooks and corners. Once done, rinse the soap off and let the furniture dry completely before moving to the next step.
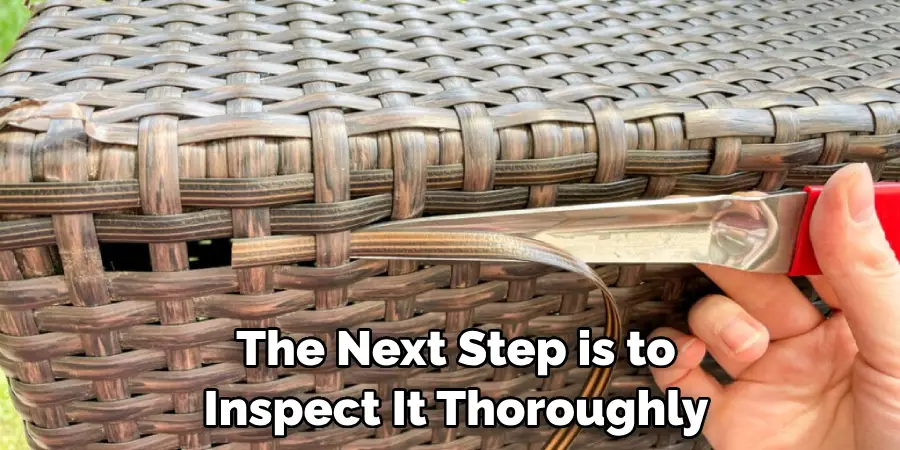
Step 2: Inspect and Identify Damaged Areas
After your furniture is clean and dry, the next step is to inspect it thoroughly. Look for signs of damage, such as cracked or frayed resin strips, loose ends, or discolored areas. Use your fingers to feel for any rough or uneven surfaces. This step is crucial as it helps you identify the areas that need repair and understand the extent of the damage. Jot down the damaged parts or use a marker to highlight these areas for easy reference during the repair process.
Step 3: Sand Down Rough Areas
Once you’ve identified the damaged areas, the next step is to sand them down using sandpaper. The goal is to smooth out any rough or uneven surfaces and prepare them for applying epoxy resin glue. When sanding, apply even pressure and work in one direction to prevent further damage. After sanding, wipe away the excess dust with a soft cloth or cotton rag. This step is crucial in ensuring a smooth and seamless finish when you apply the glue.
Step 4: Apply Epoxy Resin Glue
It’s time to apply the epoxy resin glue with the damaged areas sanded and prepared. Carefully squeeze the glue onto the damaged areas, ensuring it fills any cracks or gaps in the resin strips. Use a small spatula or toothpick to spread the glue evenly and push it into the cracks. Remember to work quickly as epoxy resin glue dries fast. Once you’ve applied the glue, let it dry according to the manufacturer’s instructions. Allowing the glue to dry thoroughly is essential before moving to the next step.
Step 5: Reapplication of Resin Strips
Once the glue has fully dried, it’s time to reapply the resin strips. If some resin strips are too damaged to be mended, they can be replaced. Purchase new resin strips from a home improvement store and cut them to match the size of the old ones. Apply some epoxy resin glue to the ends of the new strip and carefully place it where the old strip was. Ensure it sits flat and in line with the rest of the furniture. Allow it to dry entirely according to the manufacturer’s instructions before moving on to the next step.
Step 6: Polishing and Finishing
After the resin strips have dried in place, the final step is polishing and finishing. Start by lightly sanding the repaired areas once more. This will help blend the new strips with the old ones and create a smooth surface. After sanding, wipe away any dust or debris with a soft cloth. Then, apply a thin layer of outdoor furniture polish or wax, following the product’s instructions. This will not only give your resin wicker furniture a fresh, new look but also provide a protective layer against future wear and tear. Once the polish or wax has dried, your resin wicker furniture is ready for use again! Enjoy your renewed outdoor space.
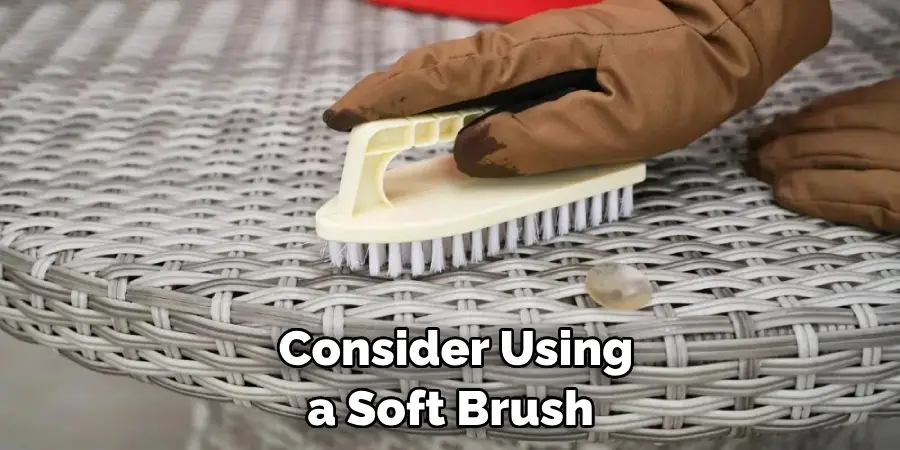
Step 7: Regular Maintenance
After you’ve successfully repaired your resin wicker furniture, it’s paramount to establish a regular maintenance routine to prevent further damage. Regular cleaning with mild soap and water is essential. Consider using a soft brush to get into the crevices and remove any accumulated dirt or dust for deeper cleaning. Additionally, to protect your furniture from the elements, consider using outdoor furniture covers when not in use or store the furniture in a sheltered area. During harsh winter conditions, if possible, store your resin wicker furniture indoors to prevent potential damage from freezing temperatures. Regular inspection for any signs of wear and tear can help you spot and address any minor damage before it becomes extensive.
Step 8: Replacing Severely Damaged Parts
In some cases, if the damage is too severe, you might need to replace certain parts of your resin-wicker furniture. This could be an entire seat, backrest, or even an armrest. Replacement parts can be found at your local home improvement store or online. Ensure that you purchase parts that match the color and pattern of your existing furniture. To replace the part, carefully remove the damaged piece from the furniture frame using the appropriate tools. Then, attach the new part, ensuring it is securely fixed to the frame. Once again, apply a layer of epoxy resin glue if needed to strengthen the connection and let it dry according to the manufacturer’s instructions.
Step 9: Painting or Staining
If your repaired resin wicker furniture doesn’t quite match the original color, or if you want a new look, consider painting or staining it. Ensure that the surface is clean and dry. Then, apply a high-quality outdoor primer to help the paint or stain adhere to the surface. Once the primer is dry, apply the paint or stain in thin, even coats, allowing each coat to dry thoroughly before applying the next. Use a brush to get into the crevices of the wicker. Be sure to choose a product designed for outdoor use to withstand the elements. Once your final coat is dry, your resin wicker furniture will have a fresh, renewed appearance.
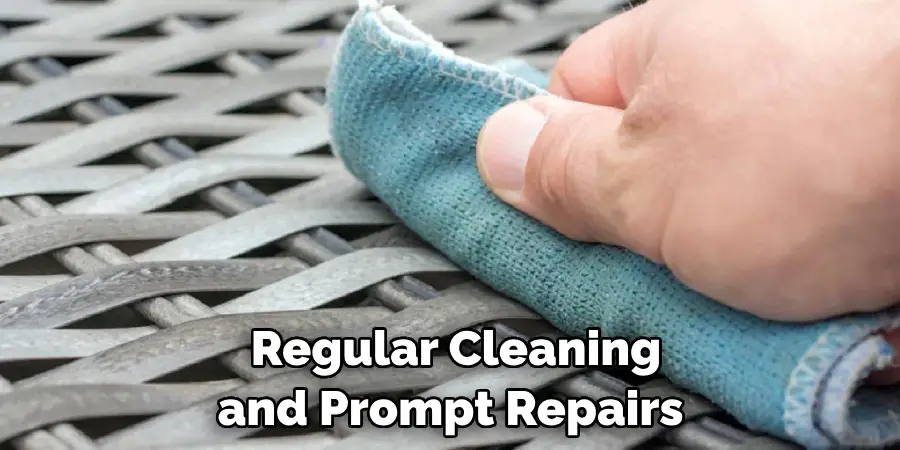
Step 10: Enjoy Your Restored Furniture
Finally, after painstakingly repairing, possibly replacing parts, and refreshing the look of your resin wicker furniture, it’s time to sit back, relax, and enjoy the fruits of your labor. Your restored furniture should now be ready to grace your outdoor space, be it a garden, patio, or balcony, adding comfort and style. Remember that maintenance is critical to prolonging the lifespan of your furniture. Regular cleaning and prompt repairs can prevent minor wear and tear from escalating into significant damage. Now, get out there and enjoy your refurbished resin wicker furniture, knowing you’ve given it a new lease of life.
By following these steps, you can repair your resin wicker furniture and prolong its lifespan, saving yourself the expense of replacing it.
5 Additional Tips and Tricks
- Use Protective Gear: Always remember to use protective gear such as gloves and eyewear when handling epoxy resin glue or sanding and painting the furniture. This will protect your skin and eyes from irritation.
- Work in a Well-Ventilated Area: When applying glue, paint, or varnish, ensure you are working in a well-ventilated area to avoid inhaling potentially harmful fumes.
- Use High-Quality Materials: Using high-quality resin strips and epoxy resin glue can significantly improve the longevity and durability of your repairs. Remember, the quality of your materials can directly affect the lifespan of your furniture.
- Consider a Professional for Larger Projects: If the damage involves extensive structural repairs, it may be worth considering a professional. While minor repairs can be done at home, a professional can ensure that more extensive repairs are done correctly and safely.
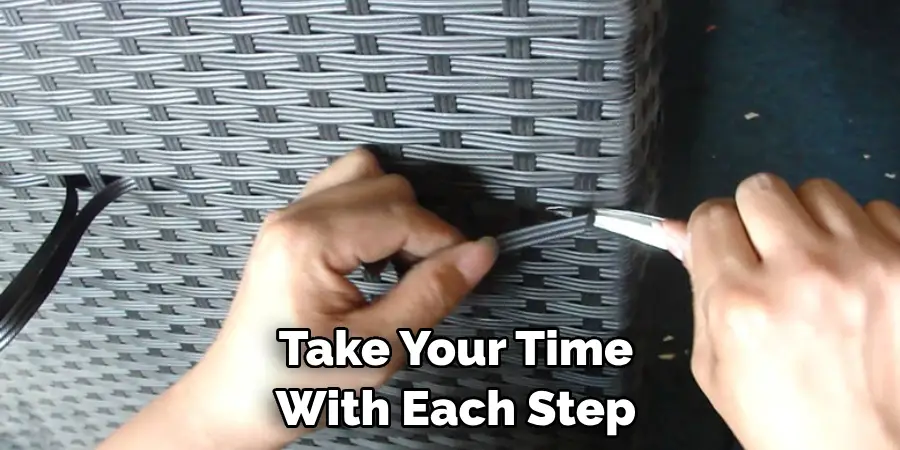
- Patience is Key: Restoring your resin wicker furniture is not a race. Take your time with each step, ensuring that each repair is done correctly and each layer of paint or varnish completely dries before proceeding to the next step. This will result in a much higher-quality finish.
With these additional tips and tricks, you can confidently repair your resin wicker furniture and enjoy its beauty for years.
Conclusion
To sum it up, caring for your resin wicker furniture doesn’t have to be complicated. With simple tips and tricks, you can keep your furniture looking fresh and new all year round. Spend some time each season giving the furniture a good cleaning and touching up any scratched areas; it will last you for years and years.
Hopefully, the article on how to repair resin wicker furniture has been helpful and informative. So don’t be afraid to take the time to care for your outdoor furniture today; it will reward you later in the long run!
If you ever feel too overwhelmed with repairing your resin wicker furniture, never hesitate to call a professional for help who can guide you through every step of the way. Now go forth and get that wicker looking perfect!