
Are you tired of seeing your once beautiful plastic rattan furniture deteriorating before your eyes? Don’t worry, you’re not alone. Plastic rattan furniture is popular for its durability and low maintenance, but over time, it can still succumb to wear and tear. If you’re eager to salvage your beloved rattan pieces, then you’ve come to the right place. In this blog post on how to repair plastic rattan furniture, we will guide you through the step-by-step process of repairing plastic rattan furniture, ensuring that it regains its former glory.

Whether it’s a broken chair, a cracked table, or a sagging sofa, we have the solutions that will make your furniture look brand new. So put on your DIY hat, gather your tools, and get ready to flex those repair skills. Let’s dive right in and bring your plastic rattan furniture back to life!
11 Step-by-step Guidelines on How to Repair Plastic Rattan Furniture
Step 1: Gather Your Tools
To start off, you’ll need a few basic tools to repair your plastic rattan furniture. These include:
- A Fine-toothed Saw
- Sandpaper
- Scissors
- Epoxy Glue or Hot Glue Gun (Depending on the Damage)
- Replacement Strands of Plastic Rattan
Step 2: Clean and Prepare the Furniture Surface
Before you begin any repairs, it’s important to clean the furniture thoroughly. Use a mild soap and water solution to remove any dirt or debris from the surface. Once clean, dry the furniture completely before moving on to the next step. It’s important to work with a clean and dry surface to ensure proper adhesion of any repairs. You may also need to sand down any rough edges or areas that require smoothing.
Step 3: Assess the Damage
Take a good look at your furniture and assess the damage. Is it a broken piece? Cracked or damaged strands? Sagging areas? Understanding the extent of the damage will help determine which repair method is best suited for your situation. It’s also a good idea to take note of the color and thickness of the rattan strands for when you need to source replacements. But don’t worry, we’ll guide you through that process as well.

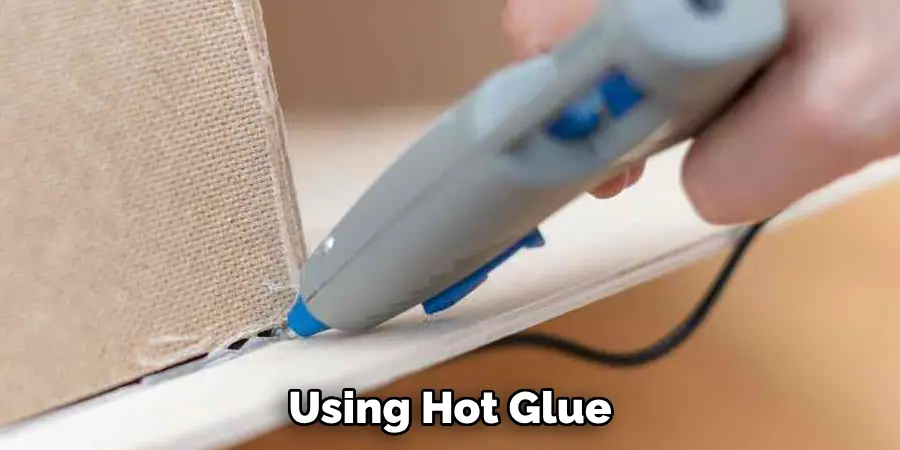
Step 4: Repair Broken Pieces
If you have any broken pieces, use a fine-toothed saw to cut off the damaged area. Sand down the edges until they are smooth and fit back into place. Use epoxy glue or a hot glue gun to secure the pieces back together. Hold them in place until the glue sets and dries completely. You may need to sand down any excess glue for a seamless finish. It’s a good idea to also reinforce the repair with a few wraps of rattan strands. You can also use this method for repairing loose or wobbly joints.
Step 5: Replace Damaged Strands
For cracked or damaged strands, use scissors to cut off the affected area. Again, sand down any rough edges and clean the surface. Measure the length of the replacement strand needed and cut it to size using a fine-toothed saw. Apply glue to the replacement strand and carefully weave it into place, following the same pattern as the surrounding strands. Allow the glue to dry completely before trimming any excess strands.
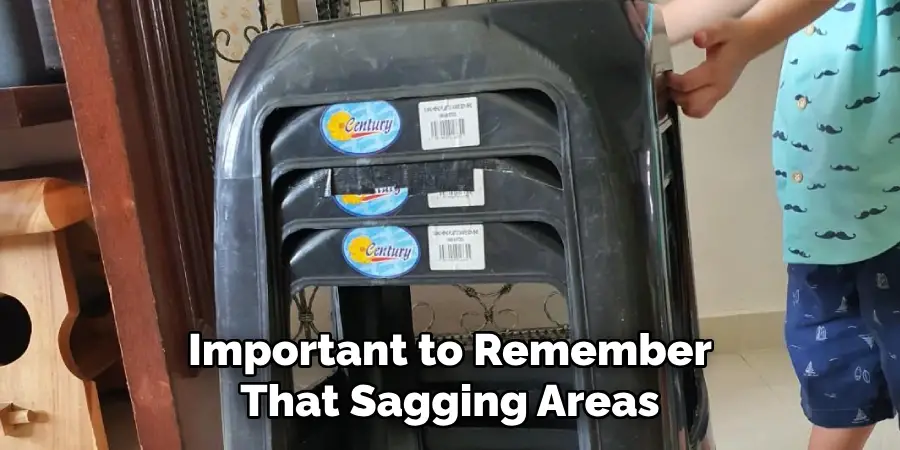
Step 6: Repair Sagging Areas
For sagging areas, you can use either of the two methods mentioned above, depending on the extent of the damage. For larger sagging areas, you may need to use additional reinforcement such as wooden dowels or metal braces underneath the furniture for support. But for smaller areas, the same repair methods can be used as mentioned above. Although, it’s important to remember that sagging areas may require more frequent repairs as they are prone to wear and tear over time.
Step 7: Source Replacement Strands
If you need to replace multiple strands or all of them, it’s important to source replacement strands that match in color and thickness. You can reach out to the manufacturer or check online for suppliers. If you’re unable to find an exact match, try blending different shades of rattan strands to create a unique look. But don’t worry, most repairs will only require a few strands to be replaced.
Step 8: Weave Replacement Strands
Once you have your replacement strands, it’s time to weave them into place. Carefully follow the same pattern as the existing strands and ensure that they are securely glued in place. It may take some patience and practice, but the end result will be worth it. It’s also a good idea to allow the glue to dry completely before using the furniture. You don’t want to undo all your hard work! You can also reinforce the newly replaced strands with a few wraps of rattan strands for added durability.
Step 9: Allow Repairs to Dry
After all repairs have been completed, allow the furniture to dry for at least 24 hours before using it. This will ensure that the glue has fully dried and the repairs have been set properly. But if you’re using hot glue, then it may only require a couple of hours to dry completely. You can also sand down any rough edges or excess glue for a smooth finish. You may also want to consider adding a protective coating to prevent future damage.
Step 10: Protect Your Furniture
To prolong the lifespan of your repaired furniture, ensure that you use protective coatings such as furniture wax or spray to protect it from harsh weather conditions. This will also help maintain its shine and prevent further damage. It’s important to periodically check and maintain your furniture to prevent any future repair needs. But with proper care and maintenance, your plastic rattan furniture should last for many years.
Step 11: Enjoy Your Repaired Furniture
Congratulations, you’ve successfully repaired your plastic rattan furniture! Take a step back and admire your handy work. Not only have you saved yourself money by not needing to purchase new furniture, but you’ve also kept it out of landfills. Now it’s time to sit back and enjoy your repaired furniture with a sense of pride and accomplishment. You can now confidently tackle any future repairs and keep your furniture looking like new.
Following these step-by-step guidelines on how to repair plastic rattan furniture will help you repair your plastic rattan furniture with ease and confidence. With a little bit of time, effort, and the right tools, you can give your furniture a new lease on life. So don’t throw away those damaged pieces just yet, instead pick up your tools and start repairing!
Frequently Asked Questions
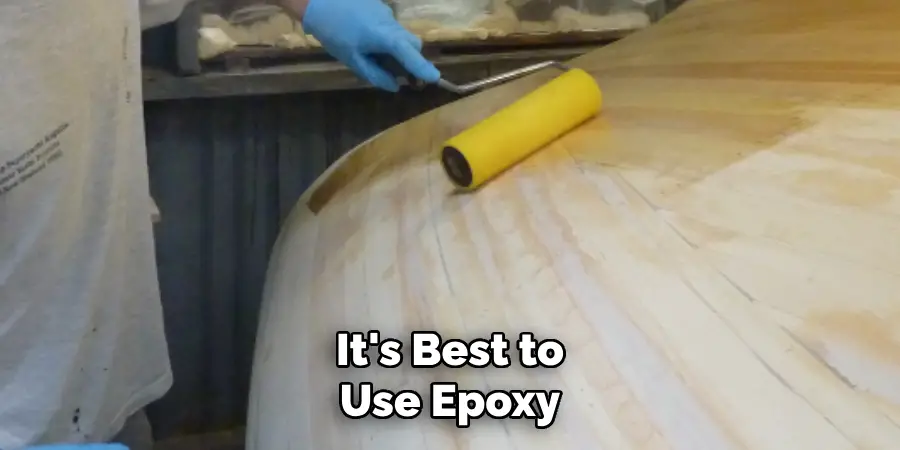
Q: Can I Use Any Type of Glue for Repairs?
A: It’s best to use epoxy glue or a hot glue gun for repairs as they provide strong and durable adhesion. You can also use other types of glue, just make sure they are suitable for plastic and outdoor use.
Q: Do I Need to Replace All the Strands or Just the Damaged Ones?
A: It depends on the extent of the damage. If there are only a few damaged strands, you can just replace those. But if there are multiple damaged areas, it’s best to replace all the strands for a uniform look.
Q: Is There a Way to Prevent Future Damage?
A: Yes, by regularly checking and maintaining your furniture, you can prevent future damage. This includes protecting it from harsh weather conditions and periodically cleaning and reapplying protective coatings. Remember to also avoid placing heavy objects on the furniture which may cause sagging. With proper care, your furniture should last for many years to come. Now you can enjoy your outdoor space with beautiful and sturdy plastic rattan furniture! Happy repairing!
Q: Can I Repair Other Types of Rattan Furniture Using These Steps?
A: Yes, these steps can also be applied to repair other types of synthetic or natural rattan furniture. Just make sure to adjust the materials and techniques accordingly for the best results. Always read and follow any manufacturer’s instructions for specific care and repair guidelines for your particular type of rattan furniture.
Conclusion
Now you know how to repair your plastic rattan furniture in no time. With this knowledge, there is no longer a need to instantly replace unsightly chairs or tables. All you need is some basic materials and tools, an understanding of the task at hand, and the confidence that you can tackle any DIY project. So get out there and start offering your outdoor area a new life with your own touch!
Don’t forget to take before and after pictures so that you can look back upon your work and be proud of what you accomplished. Moreover, don’t hesitate to share your creative solutions, tips, and tricks on how to repair plastic rattan furniture with other DIY enthusiasts as it may help them in their projects as well!