
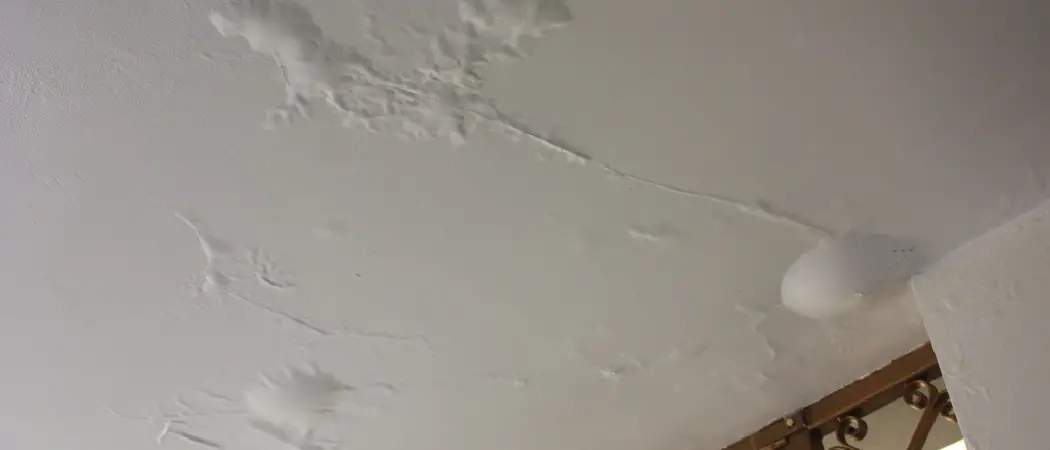
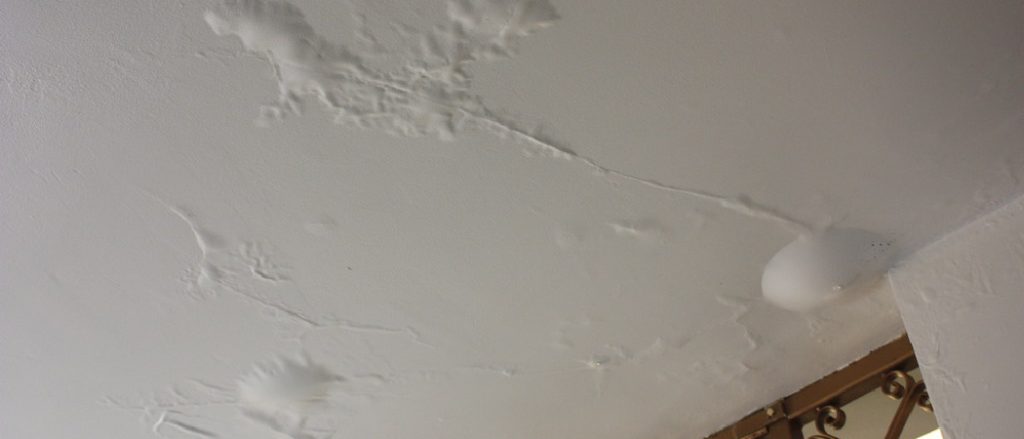
Have you ever experienced minor water damage on your drywall? Whether from a leaky roof or a burst pipe, even the smallest amount of water can cause significant headaches for homeowners. Not only does it create unsightly stains and discoloration, but if left unattended, it can lead to mold growth and structural issues. That’s why knowing how to repair minor water damaged drywall is essential for any homeowner. Not only is it a cost-effective solution, but it’s also a DIY project that can boost your confidence in tackling home repairs. In this guide, we’ll walk you through the steps to repair minor water damage on your drywall and get your walls looking like new again!
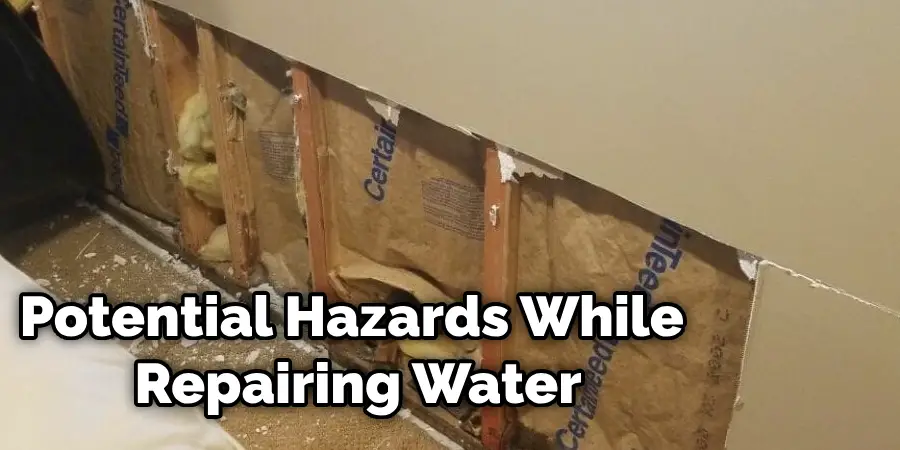
Assess the Damage: Before You Dive In
Identify the Source of Water Damage
The first step in repairing water-damaged drywall is to identify the source of the damage. This could be from a leaky roof, a burst pipe, or even an overflowing bathtub. It’s important to fix the root cause of the problem before repairing the drywall to prevent future damage.
Evaluate the Extent of Damage
Next, you’ll want to assess the extent of the water damage. Is it just a small area that needs repair, or is it a larger section of your wall? This will determine the necessary materials and tools needed for the job.
Address Potential Mold Concerns
If the water damage has been left untreated for more than 24 hours, there is a high chance of mold growth. Mold poses health risks and can cause further damage to your drywall. If you notice any signs of mold, it’s best to call a professional to handle the situation.
Exploring the Impact of Water Damage on Drywall
Types of Water Damage
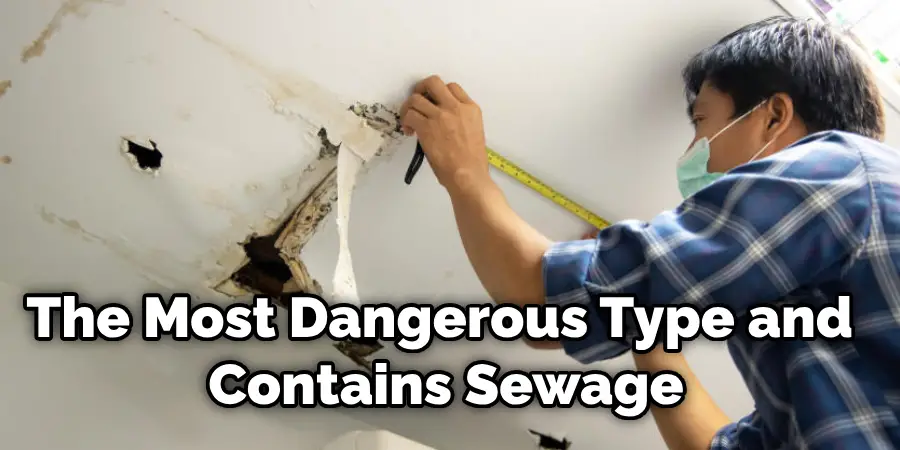
There are three types of water damage that can occur on drywall: clean water, grey water, and black water. Clean water is from a source such as a leaky pipe or rainwater. Grey water contains some contaminants and can come from sources such as dishwashers or washing machines. Black water is the most dangerous type and contains sewage or other harmful substances. It’s important to wear protective gear and take extra precautions when dealing with grey or black water.
Potential Risks of Water Damage
Water damage on drywall can lead to more than just unsightly stains. The moisture from the water can also weaken the structural integrity of your walls, leading to potential collapses or cracks. Additionally, if left untreated, mold can grow and cause health issues for you and your family.
Gather Your Tools & Materials: Become a Drywall Warrior
Essential Tools
- Safety Gears: Before you start any repair work, make sure to have the necessary safety gear, including gloves, goggles, and a mask to protect yourself from potential hazards.
- Cutting Tools: To repair the damaged drywall, you’ll need a utility knife to cut out any wet or damaged sections.
- Removal Tools: Prying tools such as a hammer, chisel, or putty knife will help remove any damaged drywall pieces.
- Measuring Tools: A tape measure and level will help you accurately measure and cut new drywall pieces.
- Application Tools: A putty knife and sanding block will assist in applying joint compound and smoothing out the surface of your drywall.
- Cleaning Tools: Lastly, make sure to have cleaning supplies on hand to clean up any debris or excess joint compound.
Essential Materials
- Drywall Patches: You can purchase pre-cut drywall patches at your local hardware store or cut your own from a sheet of drywall.
- Joint Compound: Also known as “mud,” this is used to fill in gaps and create a smooth surface on your drywall.
- Drywall Tape: This reinforces the joint compound and helps prevent cracks from developing.
- Drywall Screws: These will be used to secure the new drywall patches in place.
- Primer and Paint: Once you’ve completed the repairs, you’ll need primer and paint to match the color and texture of the rest of your wall.
Prepare the Battlefield: Clearing the Debris
Remove Damaged Drywall
Using your cutting and removal tools, carefully remove any damaged drywall pieces. Make sure to also check for any hidden damage behind the drywall.
Dry Out the Area
Before proceeding with repairs, make sure to thoroughly dry out the affected area. You can use fans or a dehumidifier to speed up the process. This will also help prevent mold growth.
Clean Up Debris
Once the area is dry, clean up any debris and dust from the damaged drywall removal. This will ensure a smooth surface for repairs.
Step-by-Step Guide: How to Repair Minor Water Damaged Drywall
Now that you have all the necessary tools and materials, it’s time to get started on repairing your drywall. Follow these steps for a successful repair:
Step 1: Cut Out Damaged Drywall
Using your utility knife, cut out the damaged drywall section. Make sure to cut beyond the damaged area to ensure a clean edge.
Step 2: Secure New Drywall Patch
Measure and cut a new drywall patch that is slightly smaller than the hole you just created. Using drywall screws, secure the patch in place.
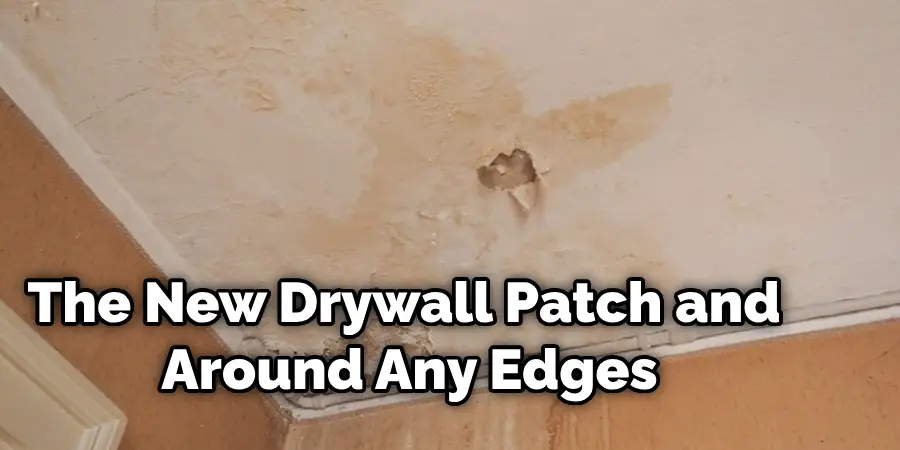
Step 3: Apply Joint Compound
Using your putty knife, apply a thin layer of joint compound over the seams of the new drywall patch and around any edges. Make sure also to cover the screw heads.
Step 4: Reinforce with Drywall Tape
Place drywall tape over the seams and smooth it out with your putty knife. This will reinforce the joint compound and prevent future cracks.
Step 5: Apply Additional Layers
Apply additional layers of joint compound, making each layer thicker than the last. Smooth out the surface with your putty knife and let it dry completely between each layer.
Step 6: Sand and Prime
Once the final layer of the joint compound is dry, sand down any rough spots and apply primer to the repaired area.
Step 7: Paint
Lastly, paint over the primed area to match the rest of your wall. You may need to apply multiple coats for a seamless finish.
Following these tips, you will accomplish what you have been contemplating on how to repair minor water damaged drywall.
Adding Finishing Touches to Your Repaired Drywall
Blend in Texture
If your walls have a textured finish, you may need to replicate the texture on the repaired area. This can be achieved by using a texture spray or a sponge.
Repaint the Entire Wall
To ensure a uniform look, it’s best to repaint the entire wall rather than just the repaired area. This will also help blend in any texture differences.
Check for Mold
After completing the repairs, make sure to check for any signs of mold. If you see any, it’s best to call a professional to handle the situation and prevent further damage.
Common Mistakes to Avoid While Repairing Drywall Damaged
Not Wearing Protective Gear
Protective gear is essential to keep yourself safe from potential hazards while repairing water-damaged drywall.
Rushing the Drying Process
Make sure to allow enough time for the affected area to fully dry before proceeding with repairs. Rushing this step can lead to mold growth and further damage.
Not Cutting a Clean Edge
When cutting out damaged drywall, make sure to cut beyond the damaged area for a clean edge. This will ensure a smooth surface for repairs.
Using Too Much Joint Compound
Applying too much joint compound can cause cracking and an uneven finish. Make sure to apply thin layers and let each one dry completely before adding another layer.
Not Reinforcing with Drywall Tape
Drywall tape is crucial for reinforcing the joint compound and preventing future cracks.
Skipping Additional Layers of Joint Compound
It’s important to apply multiple layers of joint compound, building up each layer to create a smooth surface.
Neglecting to Blend in Texture
For a seamless finish, make sure to blend in the texture of the repaired area with the rest of your wall. This will help hide any visible differences.
Preventing Future Water Damage on Drywall
The best way to deal with water damage on drywall is to prevent it from happening in the first place. Here are some tips to protect your drywall from potential water damage:
Regularly Check for Leaks
Inspect your plumbing and appliances regularly for any leaks. Promptly fix any issues to prevent them from causing damage to your drywall.
Use Water-Resistant Materials
In areas prone to moisture, such as bathrooms or basements, use water-resistant materials like mold-resistant drywall or paint.
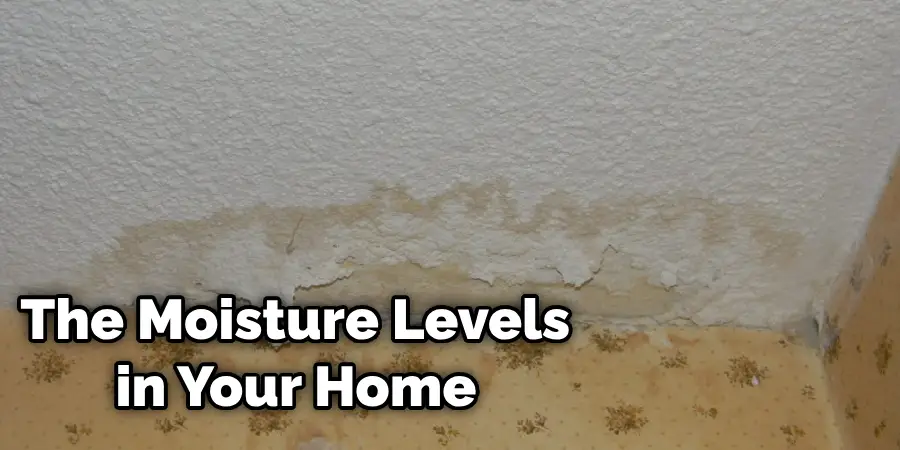
Address Humidity Issues
If you live in a humid climate, consider investing in a dehumidifier to control the moisture levels in your home and prevent water damage.
Act Fast
In the event of a leak or water damage, act quickly to dry out the affected area and prevent further damage.
With these tips, you can become a drywall warrior and tackle any minor water damage on your own.
When to Seek Professional Help
water-damagedExtensive Damage
If the water damage is extensive and has affected a large area, it may be best to seek professional help. They have the expertise and tools to handle large-scale repairs.
Mold Growth
If you notice any signs of mold, it’s best to call in professionals who can safely remove it and address the source of the issue.
Structural Damage
If the structural integrity of your drywall has been compromised, it’s important to seek professional help for proper repairs.
By following these steps and tips, you can successfully repair minor water-damaged drywall on your own. However, always remember to prioritize safety and seek professional help when needed. So go ahead and confidently tackle any small water damage issues in your home!
How to Prevent Mold Growth on Drywall
Control Humidity Levels
Mold thrives in moist environments, so it’s important to keep your home’s humidity levels below 60%. You can use a dehumidifier or open windows to improve air circulation and reduce moisture.
Fix Leaks Promptly
Leaks provide the perfect environment for mold growth. It’s crucial to address any leaks as soon as possible to prevent mold from forming on your drywall.
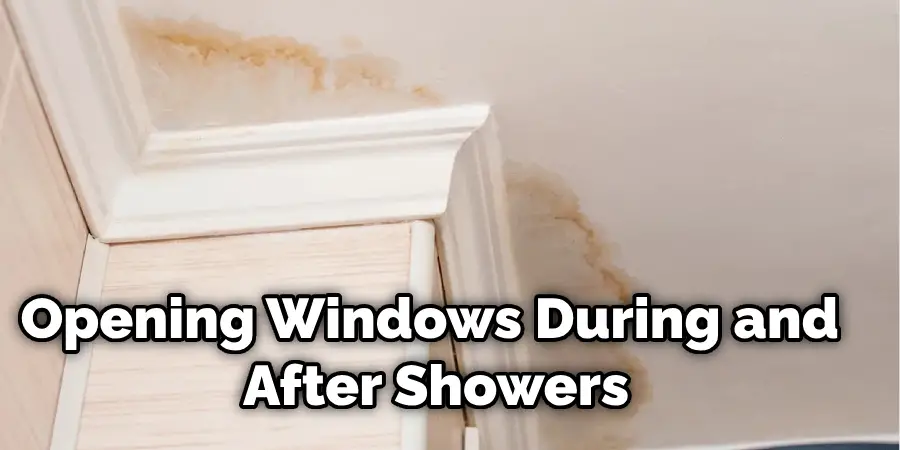
Properly Ventilate Bathrooms
Bathrooms are often a hot spot for mold growth due to the high humidity levels. Make sure to properly ventilate them by using exhaust fans or opening windows during and after showers.
Address Floods Immediately
In the event of a flood, it’s important to act fast and thoroughly dry out the affected area within 24-48 hours. This will prevent mold from growing on your walls and other surfaces.
Use Mold-Resistant Products
When renovating or building, consider using mold-resistant drywall, paint, and insulation to prevent mold growth in the future. These products contain anti-microbial properties that can inhibit mold growth.
By following these preventive measures, you can keep your drywall safe from mold and extend its lifespan.
What to Do When Mold is Present on Drywall
Assess the Extent of Damage
If you notice mold on your drywall, assess the extent of the damage. If it’s a small area, you can handle it on your own. However, if it’s a large or recurring issue, it’s best to call in professionals.
Wear Protective Gear
Before attempting to remove mold from your drywall, make sure to wear protective gear such as gloves, goggles, and a mask to avoid any health hazards.
Remove Mold with Appropriate Cleaning Solutions
Consult with professionals or do thorough research on the appropriate cleaning solutions for removing mold from drywall. Make sure to follow all safety precautions and instructions carefully.
Properly Dispose of Contaminated Materials
Any materials or items that have come into contact with mold should be properly disposed of to prevent further contamination.
Address the Source of Moisture
To prevent mold from returning, it’s essential to address the source of moisture. This could be a leak, high humidity levels, or poor ventilation.
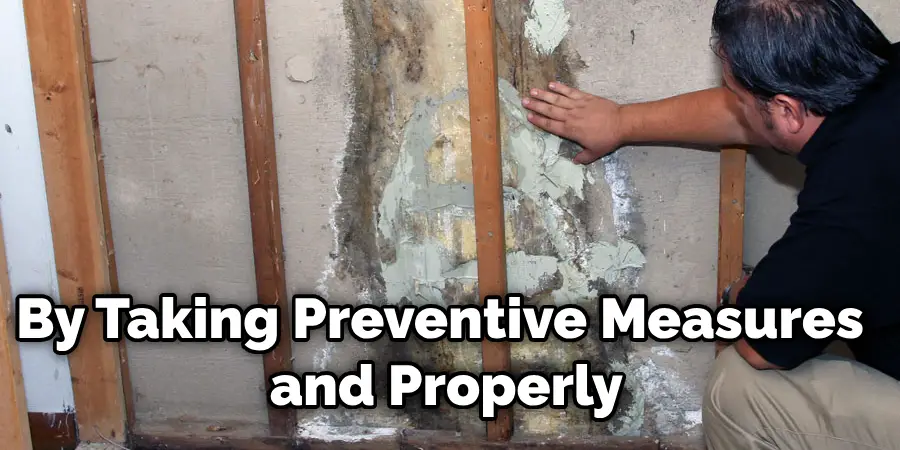
Remember, mold can be harmful to your health and should be handled with caution. If you’re unsure about how to handle mold on your drywall, it’s best to seek professional help. By taking preventive measures and properly addressing any water damage or moisture issues, you can keep your drywall looking clean and pristine for years to come.
Common Causes of Water Damage on Drywall and How to Avoid Them
Water damage on drywall can arise from various sources, often leading to unsightly damage and potential structural issues. Being aware of these causes is the first step in proactive prevention.
Plumbing Failures
One of the most frequent culprits behind water-damaged drywall is failing plumbing. Regularly inspect pipes for signs of wear and tear and replace old or rusted pipes before they burst.
Poor Sealing Around Water Fixtures
Water can seep through unsealed or poorly sealed areas around sinks, showers, and tubs, leading to damage. Ensure that all fixtures are well-sealed with silicone caulk to prevent leaks.
Roof Leaks
A damaged or aging roof can allow water to trickle down into the walls. Conduct routine roof inspections, especially after severe weather, to catch and fix any problems early on.
Improperly Installed Drywall
If drywall is installed without a moisture barrier in areas with high humidity, such as bathrooms or kitchens, water vapor can condense and cause damage. Use a vapor barrier during installation to inhibit moisture buildup.
By addressing these common issues, homeowners can significantly reduce the risk of water damage to drywall and maintain the integrity of their walls over time.
Conclusion
In conclusion, being vigilant and informed about the potential threats to drywall can go a long way in preserving the aesthetics and structural integrity of your home. Whether it’s addressing minor water damage with DIY solutions, understanding when to seek professional assistance, preventing mold growth through various strategies, or being proactive about common causes of water damage, each step is crucial.
Home maintenance may seem daunting, but with the right knowledge and approach, you can protect your living space against these unwelcome occurrences. By taking these preventative measures and responding promptly to any signs of damage, you ensure that your home remains safe, healthy, and comfortable for all who dwell within. Thanks for reading this article about how to repair minor water damaged drywall.