

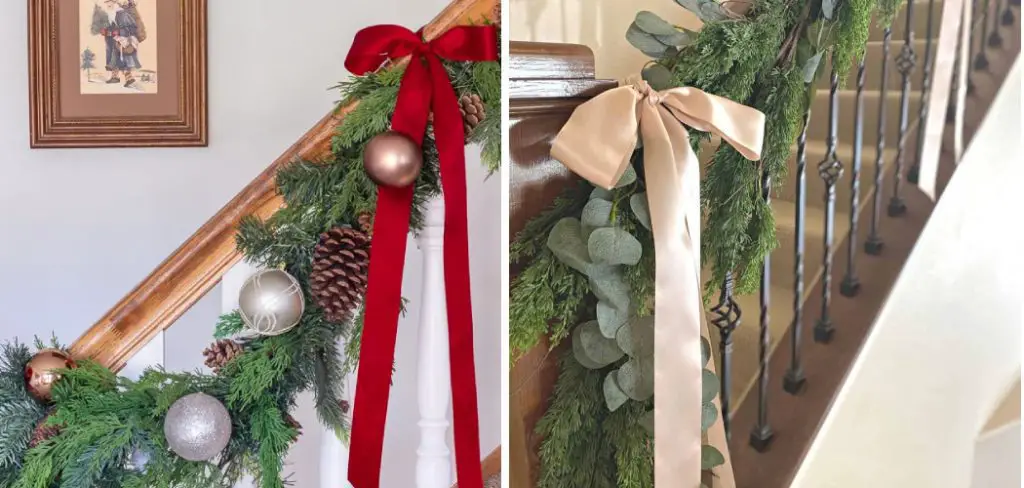
Are you decorating your home for the holidays? Nothing says warmth and festivity like garland on the banister of your staircase! But it doesn’t quite feel finished, does it? Adding a ribbon to your staircase garland is an easy way to transform this classic winter decoration into something truly special.
And don’t worry, we’ll make this task stress-free and fun! In our blog post, we will go over how to put ribbon on staircase garland so that even novice holiday decorators can achieve great results with minimal effort. So get out those rolls of beautiful fabric ribbons – let’s start crafting!
What Will You Need?
Before you begin, make sure that you have the following items to hand:
- Ribbon in desired colors
- Scissors
- Stapler and staples (optional)
- Staircase garland of your choice
Once you have all of the necessary supplies, you’re ready to start adding ribbon to your staircase garland.
10 Easy Steps on How to Put Ribbon on Staircase Garland
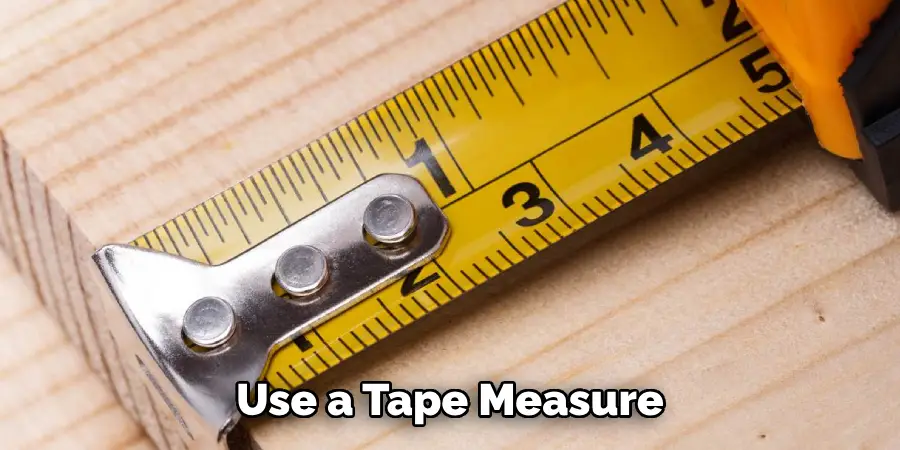
Step 1: Measure Your Ribbon
Start by measuring out how much ribbon you will need. Use a tape measure or ruler, and then cut the ribbon to the desired length with scissors. You can also use an iron and an appropriate fabric to press the ribbon ends, ensuring a clean and even cut.
Step 2: Secure Your Ribbon
Once you have the correct length of ribbon, you can start securing it to the garland. You may use pins or staples depending on your preference (a stapler is helpful here). Start by pinning or stapling one end of the ribbon to the garland and continue until the entire length is secured.
Step 3: Make Bows
Next, take your remaining ribbon and make bows to add extra decoration. To do this, gather equal lengths of the ribbon together in a loop shape and secure it in place with a piece of thread or wire. You can also use a hot glue gun if you prefer.
Step 4: Attach the Bows
Once your bows are ready, attach them to the garland with pins or staples. Make sure you place them evenly along the length of the garland for a more symmetrical look. You can add other accessories, such as bells or stars, as an additional embellishment for more festive flair.
Step 5: Hang the Garland
Once your staircase garland is decorated with ribbon and bows, it’s time to hang it on your stairs! You can use hooks attached to the railing or stair spindles for support. Ensure the garland is evenly spaced and secured tight so it won’t fall off.
Step 6: Adjust and Arrange
After the garland is hung, look at the entire staircase. Adjust and arrange the ribbons, bows, and other decorations as needed. The goal is to ensure that the ribbon is draped beautifully and the bows are positioned in a way that creates an appealing visual balance. Don’t forget to fluff up the bows and straighten the ribbon strands for the best look. Feel free to add or remove elements to achieve your desired aesthetic.
Step 7: Add Finishing Touches
The final step is all about the details. Once your garland is arranged to your satisfaction, consider adding a few finishing touches. This could be additional bows, small ornaments, fairy lights, or even pine cones for a natural, rustic look. Be creative and remember, this is your staircase garland, so personalize it to reflect your style and taste. You could also sprinkle some artificial snow on the garland for a festive winter touch. When you’re happy with the final look, step back, admire your work, and enjoy the festive cheer it brings to your staircase.
Step 8: Enjoy and Maintain
Once you’ve added your finishing touches, take a moment to enjoy your beautifully decorated staircase. Make it a focal point for photos, or let it add a festive touch to your daily activities. However, maintenance is key to keeping it looking great throughout the festive season. Regularly check the securements to ensure they are still in place, and gently dust the garland to keep it fresh and vibrant. With these steps, your staircase garland will bring holiday joy all season long.
Step 9: Safety Check
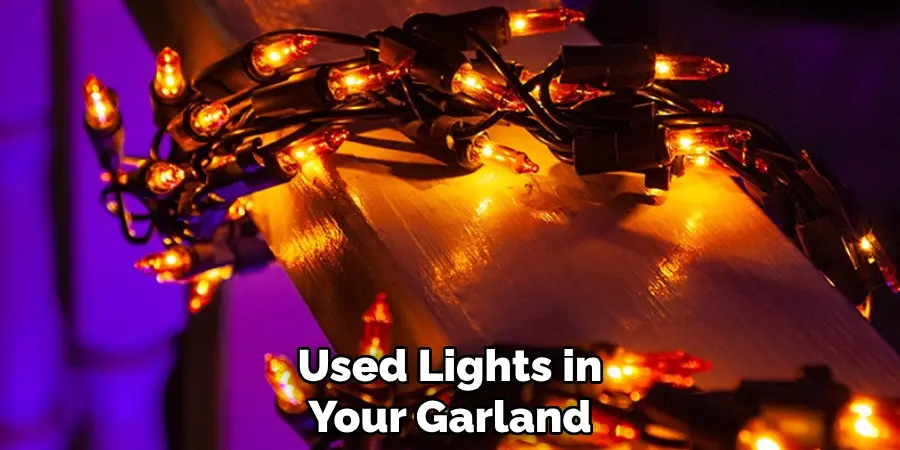
It’s essential to ensure the safety of your staircase garland. Ensure that all decorations and ribbons are firmly attached and that the garland is secure. Ensure it doesn’t obstruct the stairway or pose a tripping hazard. If you’ve used lights in your garland, confirm they’re suitable for the location and all wiring is properly covered and not at risk of tripping anyone. By prioritizing safety, you can ensure your festive display will be a source of joy and not an accidental mishap.
Step 10: Dismantle and Store
After the festive season, it’s time to dismantle and store your staircase garland for the next year. Start by gently removing the ribbons, bows, and any additional decorations. Store these in a dry, cool place to prevent any damage. Next, carefully remove the garland from the staircase, ensuring not to damage the fence or stairs.
If possible, store the garland in a container or bag to protect it from dust and pests. Label the container for easy identification next year. By dismantling and storing your staircase garland, you can ensure it will continue bringing holiday cheer for years.
Following these simple steps, you can easily create a festive and beautiful display of ribbons and bows on your staircase garland. Have fun with the process, and get creative with your styling. Add extra decorations or switch up the colors to make it unique to you! You can transform any staircase into a merry masterpiece with some ribbon, scissors, and creativity. Enjoy the season, and happy decorating!
5 Additional Tips and Tricks
- If you’re having difficulty tying the ribbon around the fence, connect the ends with a piece of string. This will make it easier for you to pull and secure the ribbon.
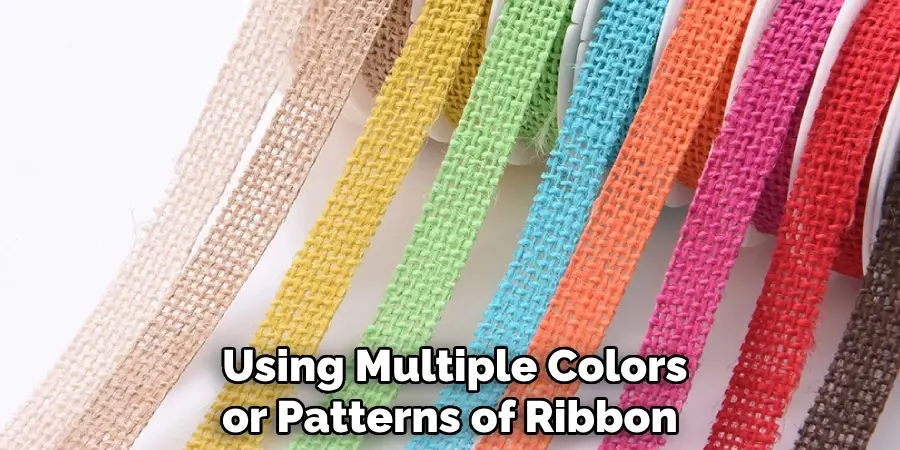
- To create more interesting designs with your garland, consider using multiple colors or patterns of ribbon. This can give your staircase garland a unique look.
- Be sure to use a secure knot when tying the ribbon to the fence, as this will help ensure it stays in place during use.
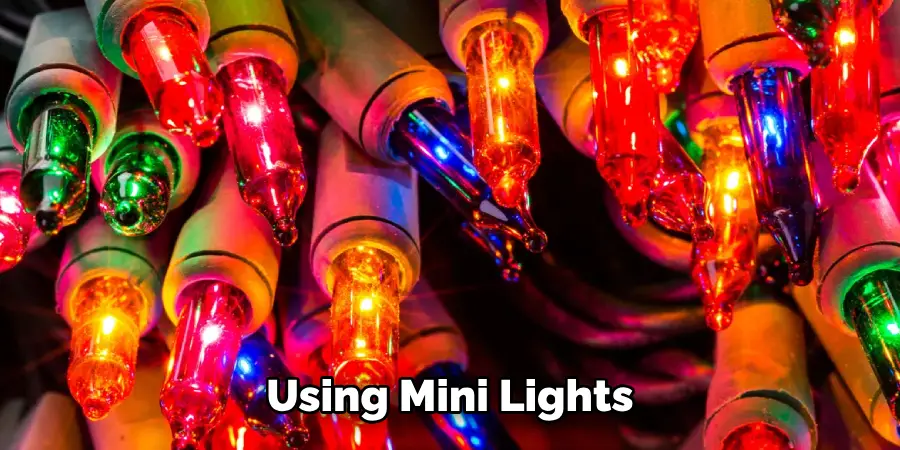
- To add extra sparkle and shine, consider attaching small ornaments, such as strings of mini lights, to the garland. This can make your staircase look even more festive!
- For a more professional look, tightly wrap the ribbon around the fence and use generous amounts of garland. This will create a beautiful display that will impress your guests!
With these tips and tricks, you can easily put ribbon on staircase garland for any special occasion. Whether it’s a holiday or a special gathering, your staircase garland will look festive and elegant for years.
6 Things You Should Avoid
- Don’t be tempted to skimp on the amount of garland you use. While it may save some money upfront, the inadequate garland will make your staircase look less impressive and won’t last as long.
- Avoid using too much ribbon, creating a cluttered and messy look. Try to keep the colors and patterns of the ribbon to a minimum for the best look.
- Avoid overloading the garland with too many decorations when using mini lights or other ornaments. A few carefully chosen pieces will do the trick and add a subtle touch of sparkle.
- Don’t forget about safety when putting up your staircase garland. Always ensure the ribbon is tied securely and the ornaments are firmly attached.
- Finally, avoid using low-quality materials for your staircase garland decorations. Quality products will last longer and look better than items made with cheaper materials.
- Don’t forget to take the time to enjoy your festive staircase garland! Take a few minutes daily to appreciate the beauty and festivity it adds to your home. You can also use it as an excuse for family photos or special gatherings.
By following these tips and tricks, you can easily put ribbon on the staircase garland without any problems. With the right materials and patience, you’ll create a beautiful display that will wow your guests and make your staircase look festive and elegant. Have fun with it, and enjoy creating the perfect garland for any occasion!
Adding Personal Touches to The Garland
Adding personal touches to your staircase garland can elevate its beauty and make it uniquely yours. Consider incorporating elements that reflect your family’s traditions or interests. For instance, you could add handmade ornaments or family photos in small, durable frames. If you’re a nature lover, consider integrating elements like pinecones, holly sprigs, or dried oranges for a traditional, rustic feel.
Alternatively, if your home has a modern aesthetic, consider using metallic or geometric ornaments for a sleek look. Remember, the goal is to create a garland that represents your style and brings joy to your home during the festive season. With creativity and a handful of personal items, your staircase garland can become a memorable part of your holiday celebrations.
Incorporating Other Decorations
Adding other elements, such as pinecones, berries, or flowers, can give your staircase garland an extra touch of charm.
Step 1: Select Your Decorations
Choose additional elements that complement your existing garland and the overall decor of your home. Natural elements like pinecones, berries, or artificial flowers work well for a rustic or traditional design.
Step 2: Prepare Your Decorations
For pinecones, ensure they are clean and dry. You can also add a touch of white paint for a snowy effect. For berries and flowers, check for any loose pieces that may fall off.
Step 3: Attach Your Decorations
Using floral wire or hot glue, securely attach your chosen decorations to the garland. Ensure they are well-spaced to create a balanced look. Pinecones can be nestled in the curves of the garland, while berries and flowers can be scattered throughout for pops of color.
Step 4: Check the Overall Look
Step back and check your work. Adjust any decorations as needed to create a pleasing visual flow.
By incorporating these additional decorations, your staircase garland will have added depth and character, making your holiday display even more memorable.
Different Styles of Ribbons and Bows for Your Staircase Garland
- Satin Ribbon: Satin ribbon is probably the most popular choice for staircase garlands. Its smooth, glossy finish exudes elegance and sophistication. Satin ribbons are available in many colors and widths, making it easy to match your holiday décor.
- Velvet Ribbon: For a luxurious and plush feel, consider using velvet ribbon. Its rich texture and deep colors can add a touch of opulence to your staircase garland.
- Grosgrain Ribbon: Grosgrain ribbon has a unique ribbed appearance. It’s sturdy and holds shapes well, making it ideal for creating bows with well-defined loops.
- Organza Ribbon: This transparent ribbon is lightweight and adds a delicate, ethereal touch to your garland.
- Burlap Ribbon: If you’re going for a rustic or farmhouse style, burlap ribbon is a perfect choice. It adds a natural, earthy touch to your decorations.
- Patterned Ribbon: Patterned ribbons, like those with polka dots, stripes, or holiday-themed prints, can add a fun and festive touch.
When it comes to bows, there are as many styles as there are types of ribbon. Some popular styles include:
- Classic Bow: This is the traditional, symmetrical bow that comes to mind when most people think of bows. It’s versatile and works well with most types of ribbon.
- Layered Bow: This involves layering several loops of ribbon to create a more voluminous, eye-catching bow.
- Floral Bow: This bow style resembles a flower and gives a creative twist to your staircase decoration.
- Single Loop Bow: Also known as the “Tiffany bow,” this simple and elegant bow works especially well with wide, thick ribbons.
Remember, the choice of ribbon and bow style for your staircase garland ultimately depends on your personal preference and the overall style of your holiday décor. So, have fun, be creative, and use ribbons and bows to express your holiday spirit!
Conclusion
With the right materials and a few simple tips, how to put ribbon on a staircase garland can be a surprisingly easy task. Congratulations – you have just completed something most holiday decorators feel intimidated by! Decorating with staircase garland is an absolute must to add winter cheer to your home.
Now, when friends and family come to visit during the holiday season, they will be impressed with your beautifully wrapped staircase garland! So embrace the challenge and start wrapping away–your stairway will thank you.
And, remember those little finishing touches that make all the difference: festive ribbon bows at the end of each piece of garland on every step. So kick off your holiday season with one less thing to worry about as you bask in the beauty of this wonderful creation!