
Are you looking to spruce up your home decor without breaking the bank? Have you been eyeing that beautiful piece of Pottery Barn furniture without committing to the price tag?

Look no further – now you can learn how to paint pottery barn furniture at home with minimal effort! Painting your furnishing has become a popular way for people everywhere to enhance their living space and add a personal touch. With these easy steps and DIY tips, we’ll show you exactly how it’s done!
Whether you have old, outdated furniture that needs a fresh coat of paint or simply want to give a new look to your existing Pottery Barn pieces, painting is a great way to achieve the desired aesthetic without spending hundreds of dollars. Plus, it’s an enjoyable and creative activity that can be done alone or with friends and family.
What Will You Need?
To start painting your Pottery Barn furniture, here are a few essential items you’ll need to prepare beforehand:
- Sandpaper
- Primer
- Acrylic or latex paint (depending on the material of your furniture)
- Paintbrushes in various sizes
- Painter’s tape
- Drop cloths or old sheets
Make sure to check the label of your furniture to determine the appropriate type of paint and primer to use. If it’s a glossy finish, you may need to sand it down first before applying any primer.
8 Easy Steps on How to Paint Pottery Barn Furniture
Step 1. Preparation:
Begin by clearing a workspace where you can easily maneuver around the furniture. This should preferably be a well-ventilated area. Lay down your drop cloths or old sheets to protect the floor from any paint drops. If your furniture has removable parts like drawers, handles, or knobs, remove them before starting.
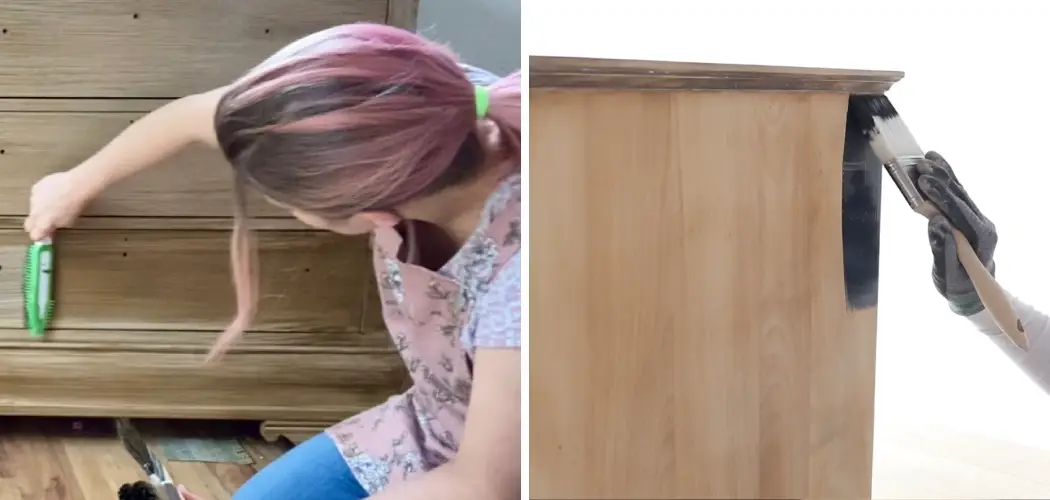
Step 2. Sanding:
Sanding is a crucial step in the painting process. Start by using the sandpaper to roughen the surface of your Pottery Barn furniture lightly. This will help the primer and paint stick to the furniture more efficiently. Focus on the corners and edges where paint tends to chip first. After sanding, wipe away any dust or debris with a damp cloth and allow the furniture to dry thoroughly before moving to the next step.

Step 3. Priming:
Priming the furniture sets the stage for smooth painting. Apply a thin, even coat all over the furniture’s surface using a suitable primer and a paintbrush. The primer serves as a base for the paint and helps achieve a long-lasting finish. Let the primer dry completely, depending on the brand, which may take a few hours or overnight. Remember, patience is vital for a flawless finish.
Step 4. Painting:
After completely drying the primer, it’s time to bring color to your furniture. Stir your chosen paint thoroughly before application to ensure even color distribution. Using a clean paintbrush, apply the paint in thin, even strokes following the wood grain. It’s better to apply multiple thin coats rather than one thick one. After the first coat, allow the paint to dry thoroughly. This could take a few hours or need to be left overnight. Once the first coat is completely dry, assess if you need a second coat. If so, repeat the process. Remember to let each coat dry fully before applying the next to avoid any streaks or drips.
Step 5. Finishing Touches:
Once your final coat of paint is thoroughly dry, it’s time for the finishing touches. If your Pottery Barn furniture had any removable parts, now is the time to put them back on. If you’d like, you can also seal your paint job with a clear protective finish to ensure durability and longevity. Simply follow the manufacturer’s instructions for the best results. Congratulations, you have successfully painted your Pottery Barn furniture! Now, it’s time to sit back and admire your hard work.
Step 6. Maintenance:
Now that your Pottery Barn furniture has a fresh and personal touch, you’ll want to keep it looking beautiful for as long as possible. Regular cleaning with a soft, damp cloth will keep dust and dirt from building up. It’s also important to immediately clean up any spills to prevent staining. If your furniture is in a sunny spot, consider using blinds or curtains during the brightest part of the day to protect the paint from fading. Your painted Pottery Barn furniture can look new for years with proper care and attention!
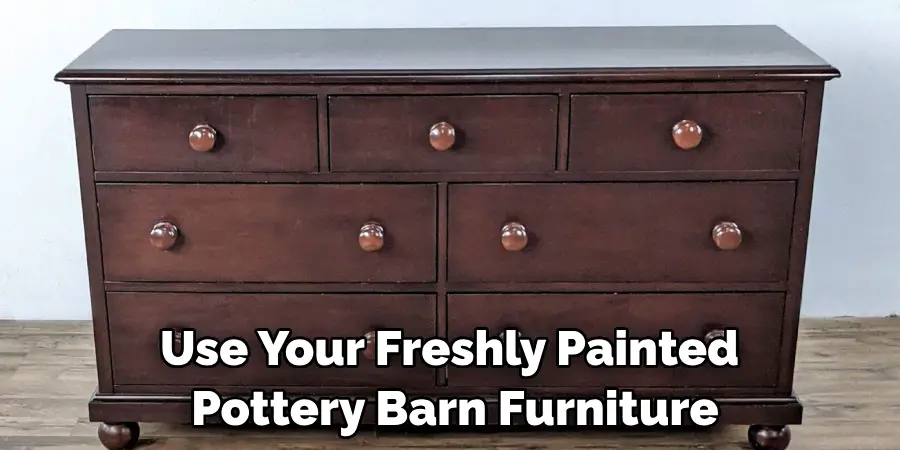
Step 7. Enjoy Your Piece:
Finally, it’s time to use your freshly painted Pottery Barn furniture. Arrange it in your preferred space and complement it with matching decor or contrasting accents to bring out its beauty. Whether it’s a coffee table, bookshelf, or an accent chair, enjoy the sense of accomplishment that comes from having personalized your furniture. Don’t forget to share your DIY project with your friends and family or even on social media – who knows, you may inspire others to embark on their furniture painting ventures!
Step 8. Share Your Work:
After you’ve enjoyed your beautiful, personalized Pottery Barn furniture, consider sharing your process and final result. You can inspire others with your DIY project by posting before-and-after photos on social media and briefly describing your painting process. Don’t shy away from sharing any challenges you encountered and how you overcame them – it will benefit others who might want to undertake a similar project. Remember, your creative journey might just inspire someone else to start their own.
Following these simple steps, you can quickly transform your Pottery Barn furniture into a unique and customized piece. With some patience, creativity, and the suitable materials, you’ll have beautiful painted furniture that will enhance the overall aesthetic of your home.
5 Additional Tips and Tricks
Tip 1. Testing Paint Colors:
Before you start painting your entire piece, test the paint color on a small, inconspicuous furniture area first. This will give you a better sense of what the color will look like when applied and dried.
Tip 2. Choosing the Right Brush:
The brush you choose will have a significant impact on the final result. A high-quality brush will leave fewer brush marks and provide a smoother finish. Foam brushes or rollers work best for flat surfaces, while angled brushes are ideal for reaching corners and edges.
Tip 3. Try Distressing Techniques:
If you prefer a rustic or vintage look, consider distressing your furniture after painting it. This technique involves sanding down certain areas to reveal the wood underneath, creating a worn and weathered appearance.
Tip 4. Add Stencils or Patterns:
For a more intricate design, consider using stencils or patterns to create unique details on your painted furniture. You can find various stencils at craft stores or make your own using cardstock or cardboard.
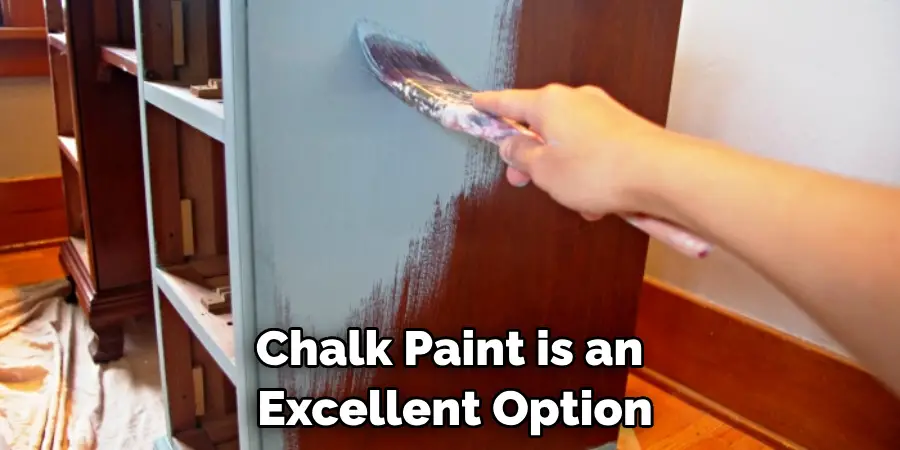
Tip 5. Use Chalk Paint for a Shabby Chic Look:
If you’re aiming for a shabby, chic, or distressed look, chalk paint is an excellent option. This type of paint adheres well to most surfaces and dries with a matte finish, perfect for achieving that vintage aesthetic. Plus, it’s easy to distress with sandpaper for a rustic touch.
Experiment with different techniques and have fun creating your
5 Things You Should Avoid
1. Skipping Sanding and Priming:
Both these steps prepare the surface for painting and ensure better paint adhesion. Skipping these can lead to uneven finishes and earlier chipping or peeling of paint.
2. Using Cheap Brushes:
Investing in quality brushes is essential. Cheaper brushes may leave visible streaks and bristles in your paint job, ruining the smooth finish.
3. Ignoring Drying Times:
It can be tempting to rush the process, but ignoring recommended drying times can result in a finish that could be more durable and may require touch-ups sooner than expected.
4. Neglecting Proper Maintenance:
Even after successfully painting your furniture, it’s crucial to maintain it. Avoid harsh chemicals or abrasive cleaning techniques, as these can damage the paint and finish.

5. Overlooking Safety Precautions:
Always take appropriate precautions when painting. Work in a well-ventilated area, wear protective clothing and avoid contact with eyes or skin when handling paint and other supplies.
Avoiding these common mistakes can ensure a successful and long-lasting painted furniture project.
5 Different Theme Ideas
1. Beachy:
Create a calming and coastal vibe by painting your Pottery Barn furniture in shades of blue, white, or beige. Consider adding some weathered distressing for an extra beachy touch.
2. Bohemian:
Go bold and vibrant with a bohemian-inspired theme for your painted furniture. Think bright colors, geometric patterns, and even some metallic accents for a funky and eclectic look.
3. Farmhouse:
Opt for a farmhouse theme with distressed white or muted pastel colors for a cozy and inviting feel. Add some stenciled farm animal designs or rooster prints for added charm.
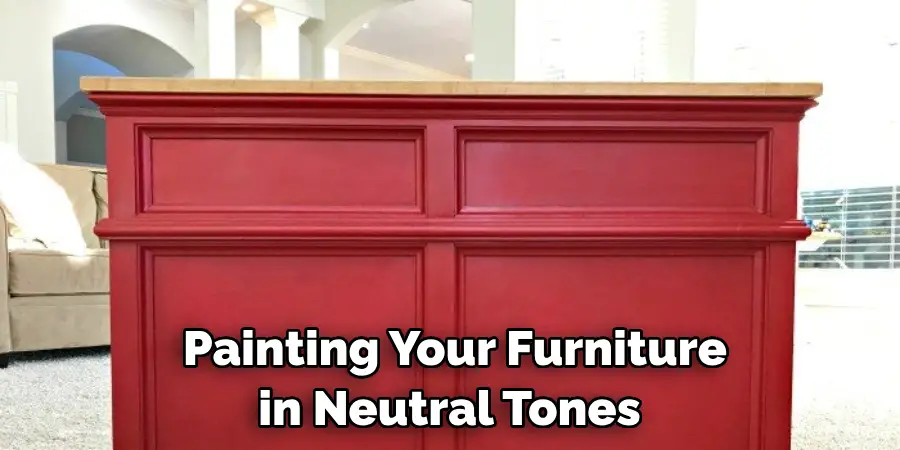
4. Modern Minimalism:
Keep it sleek and minimalistic by painting your furniture in neutral tones like black, white, or grey. Add some geometric designs or clean lines for a modern touch.
5. Floral Garden:
Bring the outdoors inside with a floral garden theme for your painted furniture. Choose light and airy colors like pastel pinks and greens, and add hand-painted floral designs or stencils to complete the look.
These are just a few ideas to get your creative juices flowing. Feel free to mix and match different themes or come up with your own unique designs for a truly personalized piece of furniture.
Conclusion
As you can see, painting your furniture to look like pottery barn furniture is a simple and rewarding task. With the right tools, paint, and technique, anyone can paint their furniture and add personality to their home. All you need to do now is grab some supplies and get started! You may be surprised by how your furniture looks when you’re done, so take it slow and pay attention to even the tiniest details.
Hopefully, the article on how to paint pottery barn furniture has been helpful and inspiring for you. Remember to have fun with the process, and don’t be afraid to experiment with different styles and techniques.
Once you’ve finished your project, you’ll have saved yourself time and money while creating something extraordinary that will add a personal touch to your home. So what are you waiting for? Get out there and start painting!