
To make outlets tighter, you can use outlet shims or a longer screw. Additionally, you can tighten the outlet by using electrical tape or by replacing the worn-out outlet plate.
Assessment Of Loose Outlets
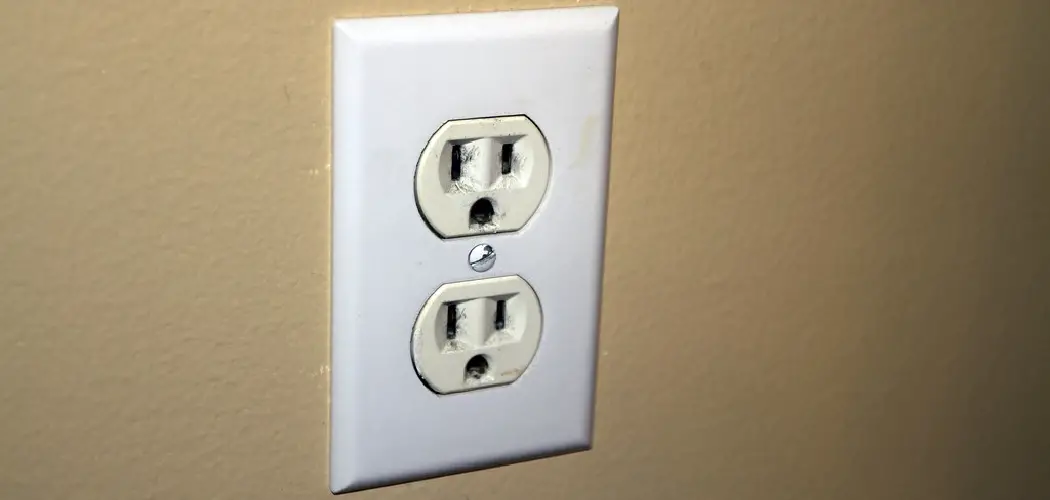
Assessment of Loose Outlets: Before tightening outlets, you need to assess if they are loose. Loose outlets pose safety risks and can lead to electrical issues. Identifying loose outlets and checking safety risks is crucial for a secure electrical system.
Identifying Loose Outlets:
- Inspect for noticeable gaps between the outlet and the wall.
- Observe if plugs slide out easily or seem loose.
- Test if the outlet cover plate moves when touched.
Checking Safety Risks:
- Look for any scorch marks or discoloration near the outlet.
- Smell for any burning odors around the outlet.
- Listen for crackling or buzzing sounds when using the outlet.
Tools And Materials Needed
For making outlets tighter, you will need a voltage tester, screwdriver, outlet shims, and wire nuts. These tools and materials are essential for ensuring a secure and stable electrical connection, allowing you to easily fix loose outlets and prevent potential hazards.
To make outlets tighter in your home, there are a few essential tools and recommended materials that you’ll need.
Essential Tools
When it comes to tightening outlets, having the right tools can make the job much easier. Here are some essential tools you’ll need:
1. Flathead Screwdriver: A flathead screwdriver is a must-have tool for removing the outlet plate and tightening the screws inside.
2. Needle-nose Pliers: Needle-nose pliers are handy for gripping and turning screws that may be hard to reach with a screwdriver.
3. Voltage Tester: A voltage tester is essential for ensuring the outlet is turned off before you begin working on it. Safety should always be a priority!
Recommended Materials
In addition to the necessary tools, there are a few recommended materials that can help you achieve a tighter outlet connection. Consider having the following on hand:
1. Outlet Shims: Outlet shims are small plastic pieces that can be inserted behind the outlet to help snugly fit it into the electrical box.
2. Electrical Tape: Electrical tape can be used to secure loose wires and provide added insulation within the outlet.
3. Outlet Spacers: Outlet spacers are foam or plastic inserts that fill the gap between the outlet and the wall, preventing it from moving around.
Remember, it’s essential to always turn off the power to the outlet before working on it. Safety should be your top priority! With the right tools and materials, you can ensure your outlets are securely tightened, providing better electrical connections in your home.
Techniques To Tighten Outlets
Tightening Loose Screws
To tighten loose screws, use a screwdriver to securely tighten the screws holding the outlet cover in place. Make sure not to overtighten to avoid damaging the outlet.
Using Outlet Shims
Outlet shims, or spacers, can be used to fill the gap between the outlet box and the wall for a snug fit. Simply place the shim behind the outlet before securing it to the wall to improve the fit.
Replacing Outlets
Replacing outlets is an essential aspect of maintaining the safety and functionality of your electrical system. Over time, outlets can become loose or worn out, posing a potential hazard. By ensuring that your outlets are tight and secure, you can prevent electrical issues and improve the overall safety of your home. One effective method to achieve this is by replacing old outlets with new ones that provide a snug fit. In this section, we’ll discuss when to replace old outlets and provide a step-by-step guide for a seamless replacement process.
When To Replace Old Outlets
Old outlets should be replaced when they become loose or show signs of damage. Loose outlets can result in poor connections, increasing the risk of electrical fires. Additionally, visible damage such as cracks or discoloration may indicate underlying issues that warrant replacement. Regularly inspecting your outlets for these signs can help prevent potential hazards and ensure a safe electrical system.
Step-by-step Replacement Guide
When replacing outlets, it’s essential to follow a systematic approach to ensure a successful and secure installation. Below is a comprehensive guide to help you through the replacement process. Before starting, always remember to turn off the power supply to the outlet you’re working on to avoid any electrical accidents.
- Turn off the power to the outlet at the circuit breaker.
- Use a voltage tester to ensure that the power is indeed off.
- Remove the outlet cover plate and unscrew the outlet from the junction box.
- Carefully disconnect the wires from the old outlet.
- Attach the wires to the corresponding terminals on the new outlet.
- Secure the outlet back into the junction box and attach the cover plate.
- Turn the power back on and test the outlet to ensure proper functionality.
Safety Considerations
When it comes to making outlets tighter, it is essential to prioritize safety. Taking the necessary precautions will not only protect you from potential electrocution but also ensure a successful repair or replacement. In this section, we will look at the safety considerations you need to keep in mind before working on outlets.
Turning Off Power
Before you begin any work on your outlets, it is vital to turn off the power supply. This step will prevent the risk of electrical shock or injury. To turn off the power, follow these simple steps:
- Locate the circuit breaker box in your home.
- Identify the breaker that controls the power to the specific outlet you will be working on.
- Flip the switch for that breaker to the “off” position.
- Ensure the power is truly off by using a non-contact voltage tester. This small device will indicate whether electricity is still flowing through the outlet.
Remember, safety should always be your top priority when working with electrical outlets. Taking the time to turn off the power will significantly reduce the risk of accidents and ensure your well-being.
Avoiding Common Mistakes
To ensure a smooth and safe process, it is essential to be aware of common mistakes that many people make when working with outlets. By avoiding these errors, you can save yourself from unnecessary complications. Here are the most common mistakes to watch out for:
- Not testing the power before starting the repair or replacement process. This step is crucial to avoid accidental contact with live wires.
- Overlooking safety gear, such as gloves and safety goggles. These items protect your hands and eyes from potential harm.
- Using improper tools for the job. Make sure you have the right tools for the specific task at hand to avoid damaging the outlet or causing unnecessary delays.
- Forgetting to double-check the connections once the repair or replacement is complete. This step ensures the outlet is securely tightened and prevents any loose connections.
By being aware of these common mistakes and taking the necessary precautions, you can make your outlet tightening process smoother and safer.
Professional Help Vs. Diy
Choosing between professional help and DIY methods for tightening outlets is a crucial decision homeowners often face. Let’s explore the key factors to consider under the headings of When to Call an Electrician and Benefits of DIY.
When To Call An Electrician
- If outlets are loose despite DIY attempts
- When facing frequent electrical issues
- For safety concerns regarding electrical work
Benefits Of Diy
- Gain hands-on experience
- Save on professional fees
- Convenience of fixing minor issues promptly
Remember, safety is paramount when dealing with electricals. Depending on the complexity of the task, weigh the pros and cons before making a decision.
Maintenance Tips
Regular inspections: Consistent checks can prevent future issues.
Preventive measures: Taking proactive steps can save time and money.
Regular Inspections
Perform visual checks for loose outlets on a monthly basis.
- Look for any discoloration around the outlet.
- Ensure the outlet cover is securely in place.
Preventive Measures
Keep outlets clear of dust and debris to maintain a tight connection.
- Use outlet covers to protect against foreign objects.
- Test outlets periodically to check for any looseness.

Frequently Asked Questions Of How To Make Outlets Tighter
Why Do My Outlets Feel Loose?
Outlet can feel loose due to worn-out or damaged socket contacts, loose connection screws, or aging of the outlet itself. This can lead to intermittent power loss, faulty appliance operation, or even electrical hazards. It is important to fix loose outlets promptly by tightening the screws or replacing them to ensure safety and proper functioning.
How Do You Tighten A Loose Wall Plug?
To tighten a loose wall plug, use a screwdriver to turn it clockwise until secure. If needed, add a toothpick or matchstick for a tighter fit before screwing back in.
How Do You Fix A Loose Outlet Box?
To fix a loose outlet box, turn off power, tighten screws, add spacers if needed, and secure box firmly.
Why Are My Outlets So Hard To Plug Into?
The outlets may be worn out or have debris, making it hard to plug. Additionally, outdated or loose receptacles can also cause difficulty. Regular maintenance and inspection of outlets can help prevent these issues.
Conclusion
To sum up, tightening outlets is a simple yet crucial step in maintaining electrical safety at home. By following the tips mentioned in this blog post, you can easily ensure that your outlets are properly tightened, reducing the risk of electrical hazards.
Remember to turn off the power before working on outlets, use the right tools, and seek professional help if needed. Taking these precautions will not only protect your home and loved ones but also provide you with peace of mind.
Stay safe and keep those outlets tight!