
Do you love the scent and ambiance of a lit candle but don’t like the dangers of burning wax? If so, why not try making some beautiful fake candles that are just as aesthetically pleasing and void of any safety hazards? With a few simple supplies and creativity, you can learn how to make fake candles that add charm to any room.
Whether you’re looking to decorate for a special event or just want to spruce up your home décor, here is an easy guide on how to make it. Remember, you can always get creative with your supplies and use different colors and textures to make each candle even more unique!
So get ready – let’s put our crafting skills to work and start creating these decorative faux flame-free fixtures!
What Will You Need?
The great thing about making fake candles is that you don’t need to have any special tools or supplies. Here’s what you’ll need:
- A container of your choice (glass jars, tin cans, vases)
- Mod Podge (or glue)
- Glitter or sequins (optional)
- Tissue paper
- Cardstock (for making a flame shape)
- Decorative ribbon or twine (optional)
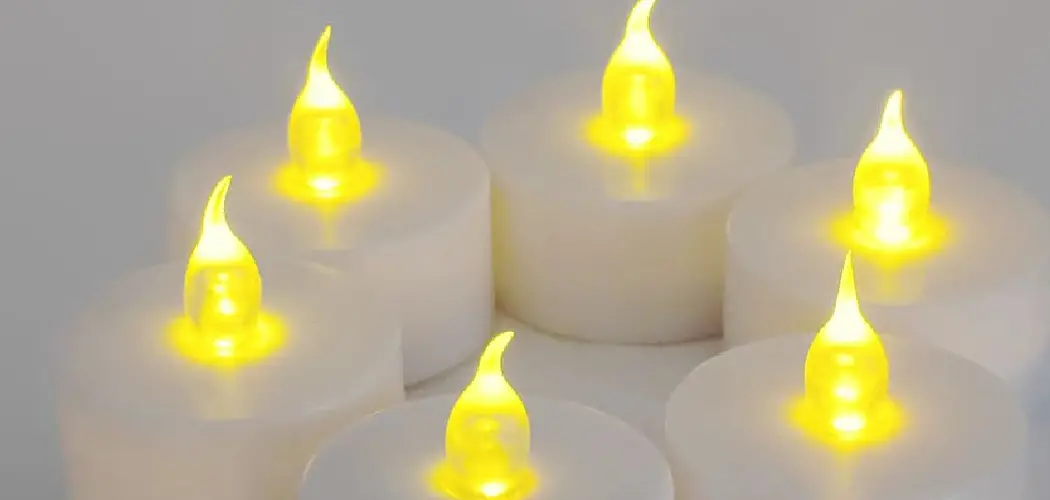
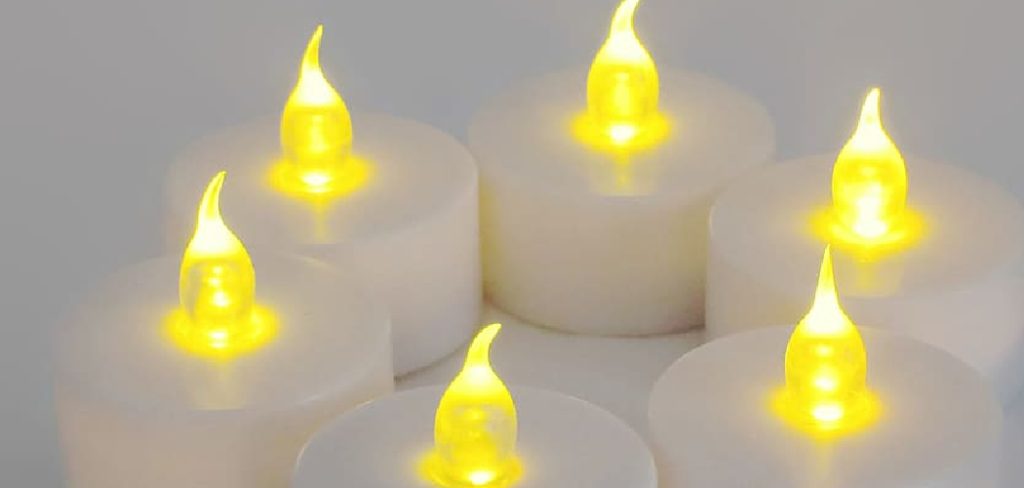
- Battery operated tea light candles
Once you’ve gathered your supplies, it’s time to get started!
10 Easy Steps on How to Make Fake Candles
Step 1: Preparing the Container
The first step to creating your fake candle is to prepare the container. Thoroughly clean and dry it so that the glue and tissue paper adhere properly. If you’d like, you can also use Mod Podge or glue to reinforce the edges and ensure that the candles will last for a long time.
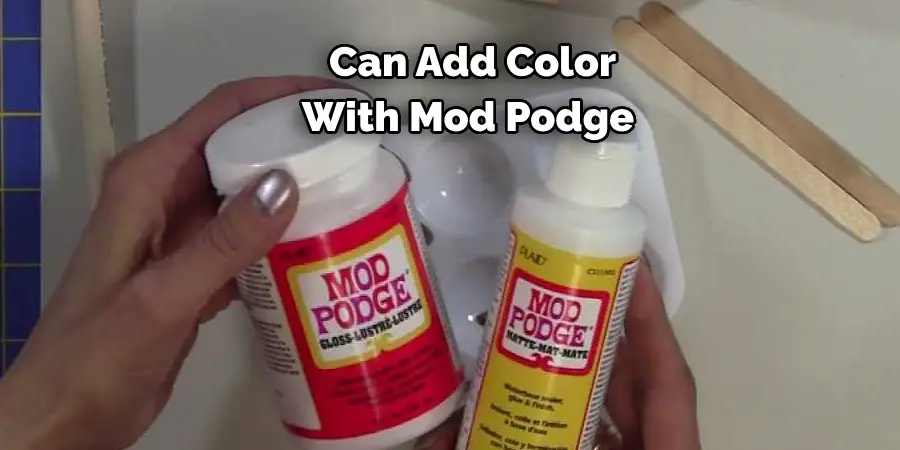
Step 2: Adding Color to the Container
You can keep it simple by leaving your container plain, or you can add color with Mod Podge. If you choose to add color, start by brushing a thin layer of Mod Podge onto the inside and outside of the container. Let it dry for at least 15 minutes before adding a second layer.
Step 3: Applying Tissue Paper
To give the appearance of wax, we will use tissue paper. Cut the tissue paper into small squares or strips. Apply a layer of Mod Podge to the outside of the container, then carefully place the tissue paper onto it. Overlap the pieces to provide full coverage. Once you’ve covered the entire surface, seal it with another layer of Mod Podge. Allow it to dry.
Step 4: Adding Glitter or Sequins (Optional)
If you want your fake candle to sparkle, you can add glitter or sequins while the Mod Podge is still wet. Sprinkle them on, then allow everything to dry completely before moving to the next step. Remember, this step is optional, depending on your aesthetic preference.
Step 5: Creating the Flame
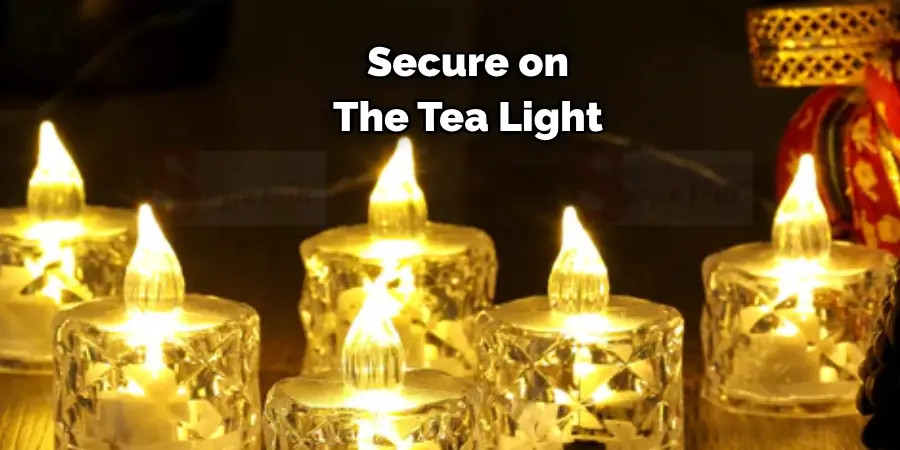
Now it’s time to make the fake candle flame. Cut out a teardrop shape from the cardstock, this will act as your flame. Color it with yellow and orange markers or crayons to make it look realistic. Attach this cardstock flame to the battery-operated tea light with some glue. Make sure it’s secure and let it dry completely before the next step.
Step 6: Placing the Flame inside the Container
Once your flame is dry and secure on the tea light, it’s time to place it inside the container. To do this, simply turn on the tea light and place it in the center of your container. Make sure it fits snugly and sits at the right height. Your fake candle is starting to take shape!
Step 7: Decorating the Container (Optional)
Consider decorating the container to add a final touch to your fake candle. You can use a decorative ribbon or twine to wrap around the outside of the container. Secure it with a little glue or a knot. Remember, this step is optional and depends on your personal preference. Once you are satisfied with your decoration, allow any added elements to dry before moving on to the final step.
Step 8: Finishing Your Fake Candle
Now that all the elements of your fake candle are in place and any decorative additions have dried, your creation is almost ready to display. If you wish, you can add a final layer of Mod Podge over any decorations to secure them firmly. Allow this final layer to dry completely. Congratulations! You now know how to make a fake candle. Enjoy the cozy ambiance it brings to your space without any of the associated risks of a real candle.
Step 9: Maintaining Your Fake Candle
Maintaining your fake candle is just as important as creating it. Dust it regularly using a soft feather duster or a dry cloth to keep it looking its best. Avoid wet wipes or damp cloths as they might damage the tissue paper and decorations. If the battery of the tea light dies, simply replace it with a new one. With proper care, your fake candle can last a long time and continue to enhance the ambiance of your space.
Step 10: Displaying Your Fake Candle
Finally, it’s time to display your beautiful, handmade fake candle! You can place it on a shelf, a mantelpiece, or any other surface to enhance the décor of your room. You could also group several fake candles for a striking centerpiece or spread them around your home for a harmonious feel. Remember, these candles are not only safe but they add a warm and charming touch to any space. Enjoy the glow and ambiance they bring to your home.
By following these 10 easy steps, you have just created a beautiful fake candle to enhance your décor.
5 Additional Tips and Tricks
- Choose the Right Materials: Always opt for high-quality wax and wicks when crafting your fake candles. These materials will not only ensure that your candles look realistic but also last longer. Wax options include beeswax, paraffin, or soy, while cotton wicks are generally considered the best option.
- Craft with Precision: Making fake candles requires careful and precise handling. Ensure to maintain a steady hand, especially when pouring wax into the mold. Even the slightest shake can create bubbles in the wax, resulting in an unrealistic look. Furthermore, when setting the wick, make sure it is centered and straight.
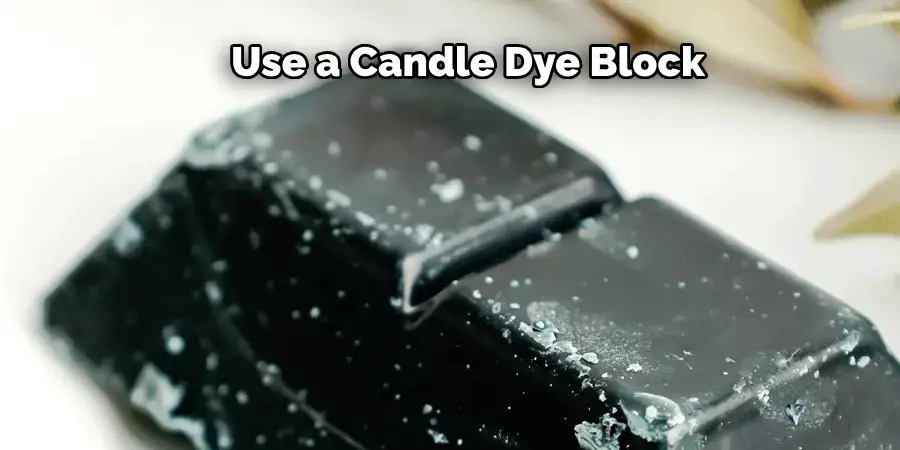
- Color Up: Fake candles can be made to look more realistic by adding color. This can be done with dyes or crayons, which melt when exposed to the heat of the wax as you are pouring it. Alternatively, use a candle dye block or powdered pigment to achieve desired colors.
- Enhance Aroma: To make your fake candles smell like a natural thing, you can add essential oils or fragrance oil. When using these oils, remember to use a low concentration as too much will cause your candles to smoke when lit.
- Keep it Steady: One thing to keep in mind is that your candles will not be able to hold their shape if they are held or stored under extreme heat. Store them at room temperature and avoid exposing them to direct sunlight. Doing so will help maintain the authenticity of your fake candles for a longer period of time.
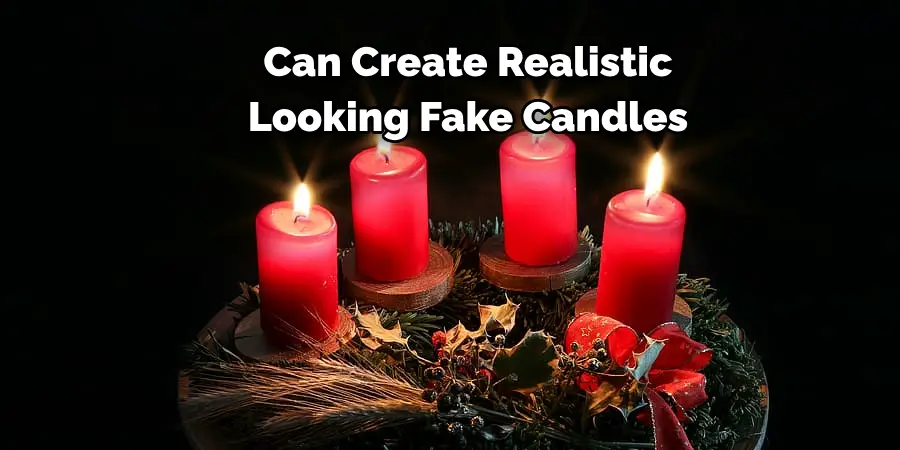
Now that you know how to make fake candles, you are ready to start crafting your own! With these tips and tricks, you will be able to create realistic-looking candles that can serve as an elegant centerpieces for
5 Things You Should Avoid
- Avoid Cheap Materials: Investing in cheap wax or wicks affects not only the appearance of your fake candles but their durability as well. Low-quality wax may melt unevenly or present a cloudy appearance, while substandard wicks could cause burning issues. Always prioritize quality over cost.
- Do Not Rush the Process: Each step in the candle-making process requires patience. Rushing might lead to a sloppy result with visible flaws, such as air bubbles in the wax or misaligned wicks.
- Over-scenting is a No-No: It’s tempting to add a lot of fragrance to achieve a strong scent, but this could lead to the fake candles producing smoke when lit. Always adhere to the recommended scent load for the type of wax you’re using.
- Say No to Direct Sunlight: Never leave your candles in direct sunlight or in overheated areas. This can cause the wax to soften or warp, altering the shape of your candle. It is recommended to store candles at room temperature in a cool, dark place.
- Avoid Unsafe Additives: Although adding glitter or other decorations to your candles might be tempting, these can create a fire hazard. Stick to safe, approved candle dyes and always follow the manufacturer’s instructions.
Avoiding these pitfalls will help you make the most of your candle-making experience. With some practice and patience, you, too, can create realistic-looking fake candles that are a perfect addition to any space!
Conclusion
As you can see, how to make fake candles is fairly straightforward, and you can get creative with the results. With the right supplies and tools, you could create a realistic candle that would look perfect in any setting. Perhaps even better than the real thing!
Now that you know what supplies and equipment are needed, take a trip to your local craft store and start creating beautiful, unique DIY candles. With a bit of patience and creativity, you can make amazing faux candles that will captivate anyone who admires them.
So go ahead; turn on your favorite tunes and get crafting! Who knows – your next masterpiece may gain some well-deserved “oohs” and “ahhs” from friends and family!