In the heat of summer, a cooling towel can be your savior, providing instant relief and comfort. But did you know that creating your own cooling towel is a straightforward DIY task? In this blog post, we’re going to delve into the simple yet effective process of how to make a cooling towel.
This tutorial is designed to help you create a cooling accessory that not only keeps you refreshed but also is customizable to your style and preferences. Let’s turn down the heat and bring in the cool!
Understanding Cooling Towels
Cooling towels are a marvel of simple science that harnesses the natural process of evaporation for heat relief.
A. How Cooling Towels Work
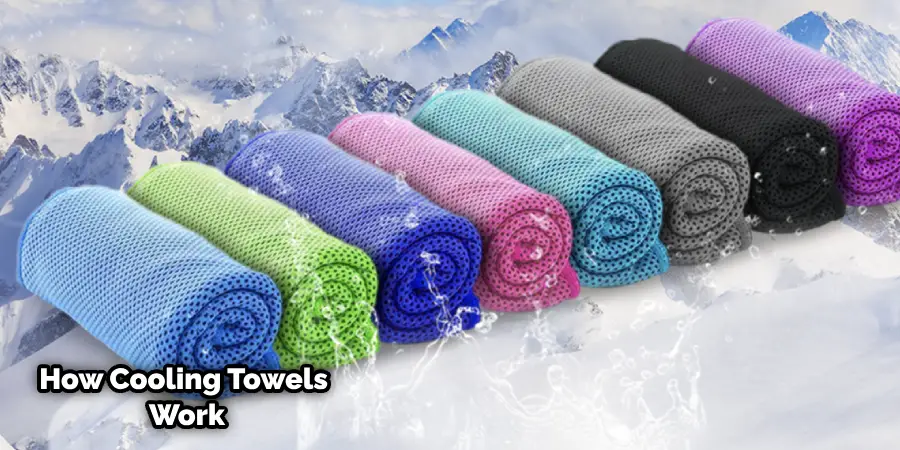
- Evaporation Process: When a cooling towel is wet, the water within it begins to evaporate. This evaporation process draws heat from your skin, leading to a cooling sensation. The continuous evaporation process keeps the towel cooler than the air temperature, giving you a long-lasting cooling effect.
- Material Properties: The material of the cooling towel plays a significant role. Most cooling towels are made from a hyper-evaporative material that retains water while staying dry to the touch. These specially designed fabrics increase the rate of evaporation, enhancing the cooling effect.
B. Commercially Available Options
Although there are many commercially available cooling towels, they might only cater to some people’s individual needs and preferences. Some may prefer a particular size, color, or style that isn’t readily available on the market. Moreover, commercial cooling towels can vary significantly in quality and effectiveness.
C. Cost-Effectiveness of DIY Cooling Towels
Making your own cooling towel is a cost-effective solution that offers the same level of relief as commercial options. By selecting your own materials, you control the quality and can personalize the towel to match your style. Additionally, DIY cooling towels are reusable and easy to reactivate, simply by re-wetting and wringing out, resulting in savings over time.
Required Materials and Tools
Before we begin, it’s crucial to gather all the necessary materials and tools. Below are the items you’ll need for this DIY project.
A. Materials Required
- Fabric Choices: Consider using a hyper-evaporative material like microfiber or PVA (Polyvinyl Acetate). These fabrics are ideal for cooling towels as they can retain a significant amount of water without feeling overly damp.
- Water-Absorbing Polymers: While not mandatory, water-absorbing polymers are an optional addition. These non-toxic crystals absorb water and slowly release it over time, enhancing the longevity of your cooling towel’s effect.
B. Tools Needed
- Scissors: You’ll need a pair of sharp scissors for cutting your chosen fabric to the desired size.
- Sewing Machine or Needle and Thread: A sewing machine is ideal, but if you do not have one, a simple needle and thread will also get the job done. You’ll be using these to stitch the edges of your cooling towel.
- Measuring Tape: To ensure your cooling towel is the perfect size, a measuring tape is essential. This will allow you to measure and cut your fabric accurately.
Step-By-Step Guides on How to Make a Cooling Towel
A. Preparing the Fabric
- Choosing the Right Size and Shape: First, decide on the size and shape of your cooling towel. A common size is 12″ x 36″, but feel free to adjust based on your preference. Consider a longer towel for draping around your neck or a smaller one for easy portability.
- Cutting the Fabric to the Desired Dimensions: Once you’ve settled on a size, mark these dimensions on your chosen fabric. Use a ruler for accurate measurements and a fabric marker for clear, visible lines. Then, using a pair of fabric scissors, cut along the lines to get your desired towel dimensions.
B. Sewing the Edges
- Hemming the Edges for a Polished Look: To prevent the fabric from fraying and to give your cooling towel a polished look, hem the edges. You can do this by folding each edge over twice (about 1/4 inch each time) and then pinning them in place.
- Using a Sewing Machine for Efficiency: Once you have the hems pinned, take your fabric to the sewing machine. Sew along each pinned edge, removing the pins as you go.
C. Adding Water-Absorbing Polymers (Optional)
- Choosing the Right Type and Quantity: If you want your towel to retain moisture for longer, consider adding water-absorbing polymers. These are available online or at gardening stores. The quantity will depend on the size of your towel, but a tablespoon should suffice for a standard-sized towel.
- Ensuring Even Distribution Within the Fabric: Sprinkle the polymers evenly across one side of the towel. Then, fold the towel in half and sew along the edges to keep the polymers in place.
D. Activating the Cooling Towel
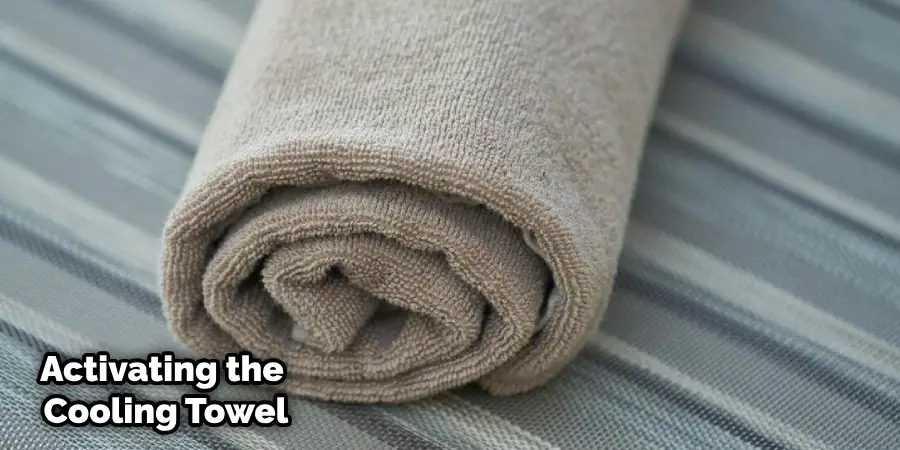
- Soaking it in Water: To activate your cooling towel, fully immerse it in water. You can use a bowl or sink for this purpose. Ensure every part of the towel gets wet.
- Squeezing Out Excess Water: Once thoroughly soaked, squeeze the towel to remove excess water. It should be damp but not dripping. Your cooling towel is now ready to use! Simply lay it over your skin for a refreshing, cooling effect.
Customization Options
A. Coloring and Design
Cooling towels can be a fashion statement, so why not customize yours with your favorite colors and designs? You can use fabric dyes or markers to add color or even sew on patches for a unique touch.
B. Adding Essential Oils (Optional)
For an extra touch of relaxation, consider adding a few drops of your favorite essential oils to the water you use to soak your towel. Lavender, peppermint, and eucalyptus are popular options for their cooling and calming properties.
C. Embellishments for Personalization
If you have basic sewing skills, you can add some embellishments to your cooling towel. This could include adding a pocket for holding ice packs or attaching a clip for easy carrying.
Tips for Effectiveness
A. Properly Hydrating the Towel
To ensure maximum cooling effect, it’s crucial to hydrate your DIY cooling towel properly. Fully immerse it in cold water, then wring it out to remove excess water. Remember, it should be damp but not soaking wet. Rehydrate it as needed to maintain the cooling effect.
B. Storing the Towel When Not In Use
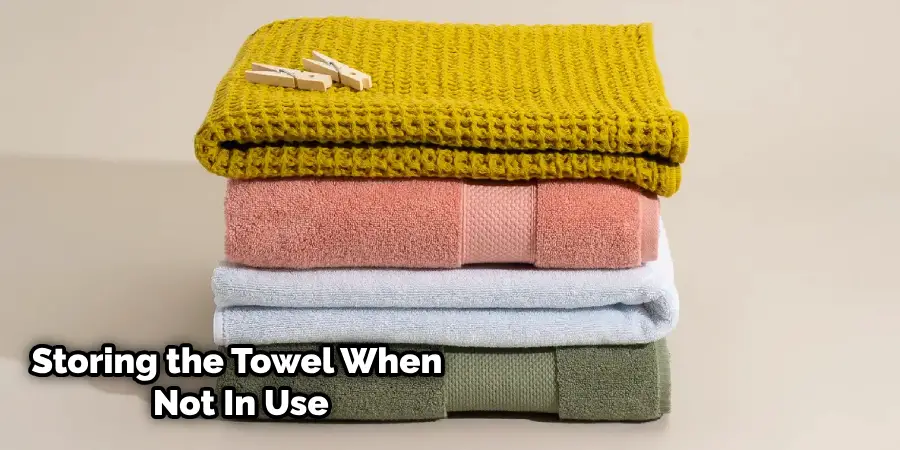
Proper storage is key to preserving your cooling towel’s efficacy and lifespan. When it’s not in use, store it in a clean, breathable container or bag to keep it damp and ready for use. Avoid airtight containers as they can encourage mold growth. If the towel dries out completely, simply rehydrate it before use.
C. Washing and Maintaining the Cooling Towel for Longevity
Regular washing is integral to maintaining your cooling towel’s freshness and effectiveness. Hand wash the towel in cold water with mild soap after each use, then rinse thoroughly. Avoid using bleach or fabric softeners, as they can affect the towel’s cooling properties. Hang it out to air dry; do not use a tumble dryer, as extreme heat can damage the fabric. Proper care and maintenance can significantly prolong your cooling towel’s life, keeping it fresh and optimally cooling for years to come.
Care and Maintenance Tips
Proper care is essential to ensure your cooling towel lasts as long as possible. Here are a few tips:
A. Washing Instructions
- Wash your hands with cold water and mild soap after each use.
- Rinse thoroughly to remove all soap residue.
- Do not use bleach or fabric softeners.
- Air dry; do not tumble dry in extreme heat.
B. Storage Tips
- Store your towel in a clean, breathable container or bag when not in use.
- Avoid airtight containers to prevent mold growth.
- If the towel dries out completely, rehydrate it before use.
C. Additional Tips
- Do not expose your cooling towel to extreme heat or direct sunlight for extended periods. This can damage the fabric and affect its cooling properties.
- Avoid using sharp objects near your towel as they can cause tears or punctures.
- If your towel becomes damaged or worn out, consider making a new one following the steps outlined above.
Safety Considerations
It’s important to ensure the safety of your DIY cooling towel. Here are some considerations:
A. Checking for Skin Allergies to Chosen Materials
Before you begin using your cooling towel, take a moment to ensure that you’re not allergic to any of the materials used in its creation. This includes the fabric, dyes, and any other additives like essential oils. You can do this by rubbing a small piece of the material or a drop of the oil onto a small patch of skin, then waiting 24 hours to see if any reaction occurs. If irritation or allergy symptoms manifest, you should not proceed with using those materials.
B. Monitoring the Condition of the Towel for Wear and Tear
To ensure the cooling towel remains safe to use, monitor its condition regularly for any signs of wear and tear. This includes fraying edges, thinning material, or damage from sharp objects like pins or scissors. Damaged towels should be mended or replaced promptly to avoid skin irritation or other health risks. Regular inspection will also help you maintain the towel’s effectiveness and lifespan.
Conclusion
In conclusion, creating your own DIY cooling towel is not only a cost-effective solution for beating the heat, but it also allows for customization and personalization to fit your individual needs and style. With careful attention to the type of fabric and polymers used, proper hydration, and regular maintenance, your cooling towel can provide refreshing relief for years to come.
Adding a personal touch through color, design, and even scent can turn a functional item into a unique accessory. As with any DIY project, safety is paramount, so make sure the materials used are safe for your skin, and the towel is regularly inspected for wear and tear. With the help of this guide, you’re well on your way to designing and creating a cooling towel that’s perfect for you. Thanks for reading this article about how to make a cooling towel.

