
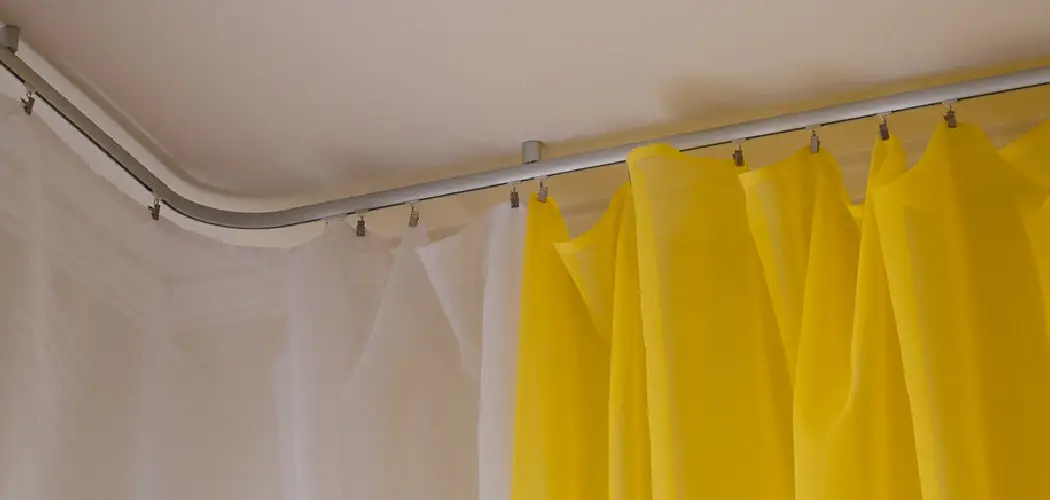
Are you looking for an easy way to add a decorative touch to your shower doors? If so, then consider installing curtain tracks on the ceiling. A track-mounted curtain is an attractive alternative to shower curtains and door hardware, offering privacy without sacrificing style.
Curtain tracks are also a great option for hanging curtains in other parts of your home, such as above large windows, or to create room dividers. They are versatile, easy to install, and can be used with various types of curtains, including sheer, blackout, and decorative ones. Additionally, installing curtain tracks on the ceiling can make a room appear taller and more spacious.

In this blog post, we’ll go over how to install curtain tracks on ceiling in order to decorate your shower doors with a beautiful new look.
What Will You Need?
Before you begin, make sure you have all the necessary tools and materials on hand. Here’s what you’ll need to install curtain tracks on the ceiling:
- Measuring tape
- Pencil
- Drill with a metal drill bit
- Screws and anchors (if not included with your curtain track set)
- Screwdriver or power drill with screwdriver bit
- Level
- Curtains with hooks or rings (if not included with your curtain track set)
Once you have everything you need, follow these steps to install your curtain tracks on the ceiling.
10 Easy Steps on How to Install Curtain Tracks on Ceiling
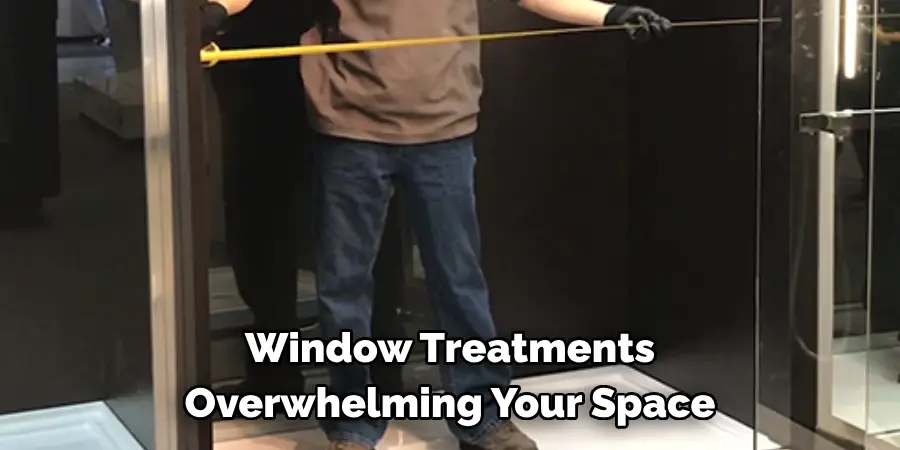
Step 1: Measure and Mark
Using a measuring tape, measure the width of your shower door or window where you want to install the curtain track. Make sure to take into account any overlap for full coverage. Once you have your measurements, use a pencil to mark the placement of the track on the ceiling.
Step 2: Pre-Drill Holes
Using a drill with a metal drill bit, pre-drill holes in the marked spots on your ceiling. This will make it easier to insert screws later on and prevent the ceiling material from cracking or splitting when you install the curtain tracks. Make sure to wear protective eyewear while drilling to protect your eyes from any debris.
Step 3: Install Anchors
After pre-drilling the holes, it’s time to install the anchors. These devices will secure the screws in the ceiling and ensure the curtain track is firmly held in place. Push the anchor into each hole you’ve pre-drilled, then lightly tap it with a hammer until it fits snugly. Remember to do this gently to avoid any damage to the ceiling.
Step 4: Attach the Curtain Track
Now, align the holes in the curtain track with the installed anchors on your ceiling. Insert the screws provided with your curtain track into the holes and the anchors. Use a screwdriver or power drill to tighten the screws, ensuring the curtain track is secure. Be careful not to overtighten the screws, as this could damage the track or the ceiling. Once the track is secure, use a level to check if it’s straight. If not, adjust it accordingly.
Step 5: Prepare the Curtains
Next, prepare your curtains by attaching the hooks or rings. These should be evenly spaced along the top edge of your curtain. If your curtains come with hooks or rings, follow the manufacturer’s instructions on attaching them. If not, you can purchase these separately at a home goods store. You are ready to hang your curtains once all hooks or rings are attached.
Step 6: Hang the Curtains
With your curtains prepared, it’s now time to hang them. Start at one end of the curtain track and begin attaching the hooks or rings to the track. Slide each hook or ring along the track as you go. Continue this process until all hooks or rings are securely attached to the track. Make sure the curtains hang evenly and straight before moving forward.

Step 7: Testing and Adjustments
After the curtains are in place, gently pull them back and forth to ensure they move smoothly along the track. Adjust the hooks or rings as necessary if you notice any resistance or uneven pulling. Also, check that the curtains hang at the desired length. Adjustments may be needed if they are too long or too short, such as hemming the curtains or moving the rings or hooks.
Step 8: Final Inspection
Once you’ve made all the necessary adjustments, step back and view your curtains from different angles in the room. Check to see if they hang straight and evenly. Make sure the curtain track is fully secure, and the curtains move smoothly along it. The final appearance should be pleasing to the eye, enhancing the beauty of your room. This is the time to make any final adjustments for the perfect fit and look.
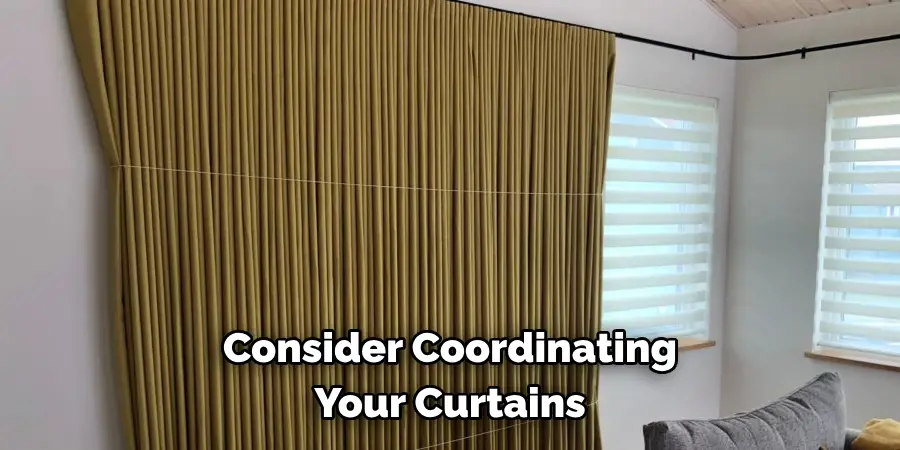
Step 9: Room Decoration
With your curtain tracks and curtains now perfectly installed, you can proceed with the rest of your room decoration. Consider coordinating your curtains with other elements in the room, such as the color of the walls, carpet, or furniture. Adding decorative tie-backs or finials to your curtain track can also provide a touch of elegance. Remember, your curtains are not just functional, but they also add to the room’s overall aesthetic.
Step 10: Maintenance
Maintaining your curtains is key to prolonging their lifespan. Regularly clean your curtains according to the manufacturer’s instructions. Ensure the curtain track is kept clean and dust-free for smooth operation. If you notice any issues, such as resistance in curtain movement over time, recheck the track installation and make any necessary adjustments. This will ensure that your curtains continue to function well and look great for years.
And there you have it – you’ve successfully installed curtain tracks on your ceiling. Enjoy your beautiful, practical, and stylish new look!
5 Additional Tips and Tricks
- Measure Twice, Drill Once: Before installing the curtain tracks, measure the length and width of your window accurately. The tracks should run the full width of the window and possibly extend a bit further if you’d like the curtains to clear the window when open fully.
- Choose the Right Hardware: Affix the tracks to the ceiling using the appropriate hardware. Plaster and drywall ceilings will require different fixtures than wooden or concrete ones. Always ensure to use the correct drill bits and screws.
- Use Brackets for Support: If your curtain tracks are long, you might need additional brackets for extra support. This prevents sagging and ensures that your curtains will slide smoothly.
- Consider the Curtain Weight: The weight of your curtains can place considerable strain on the track. When choosing your track, ensure it can withstand the weight of the curtains it will hold.
- Regular Maintenance: Regularly inspect your curtain tracks for any wear and tear. Keep them clean and occasionally lubricate the track to ensure smooth operation of the curtains.
With these additional tips and tricks, you are now well-equipped to install your curtain tracks on the ceiling. Remember to follow all safety precautions and double-check measurements before drilling into any surface.

5 Things You Should Avoid
- Rushing Through the Process: While you may be eager to get your curtains up and look good, taking your time is important. Rushing through the process can lead to mistakes, such as uneven tracks or misaligned brackets.
- Ignoring the Manufacturer’s Instructions: Pay attention to the instructions with your curtain tracks. These guides are specifically designed to help you correctly install your product.
- Forgetting to Account for Obstacles: Watch for ceiling fixtures, moldings, or vents that may interfere with your track. Plan your curtain tracks’ path to avoid these obstacles for smooth operation.
- Using Inadequate Tools: Don’t try to make do with inappropriate tools. This can lead to damage to both the curtain track and your ceiling. Use the correct drill bits, screws, and other necessary tools.
- Neglecting Safety Precautions: Always follow safety recommendations when working with tools. Wear protective eyewear to guard against debris, and ensure your ladder is sturdy and stable.
By avoiding these common mistakes, you can ensure a smooth and successful installation of your curtain tracks on the ceiling. With patience and attention to detail, you’ll have beautiful curtains hanging in no time!
Conclusion
After taking the time to review how to install curtain tracks on the ceiling properly, it is essential to take into consideration all aspects of the installation process. From the professional tools needed to using assistance when necessary, following these steps will result in a secure and successful installation. Although installing curtain tracks may seem intimidating initially, it doesn’t have to be if you take all the necessary precautions.
Be sure take your safety into account and take your time performing this task. Now that you know how easy this project can be, it’s time to start shopping for supplies and transform your space with the perfect linen curtains.
Hopefully, the article on how to install curtain tracks on ceiling provided a better understanding of the process and made it more approachable. Now, you can confidently add beautiful curtains to any room in your home! So, get started on transforming your space into a cozy haven. Happy decorating!
You can check it out Hang Curtains on Windows With Crown Molding