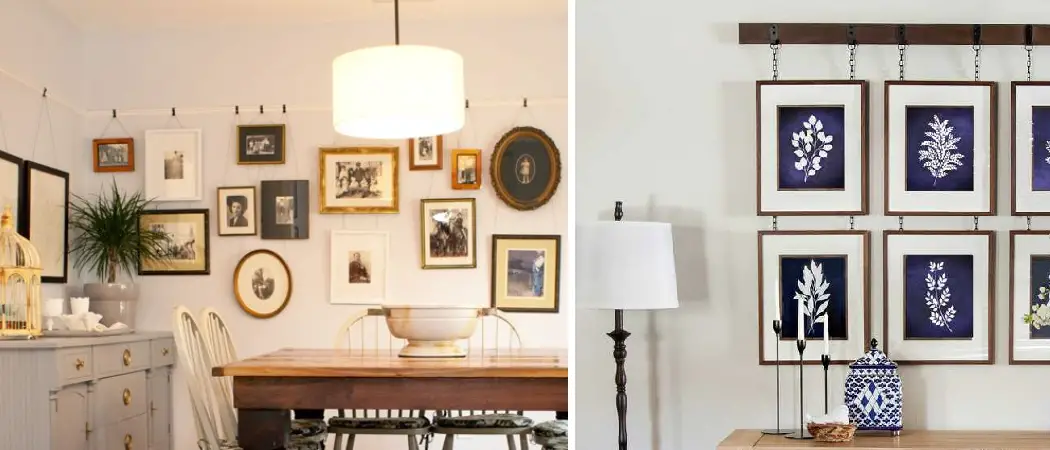
You’ve got an upcoming project that you’re ready to tackle, and this time, it’s something that requires special attention and finesse – learning how to hang picture from picture rail.
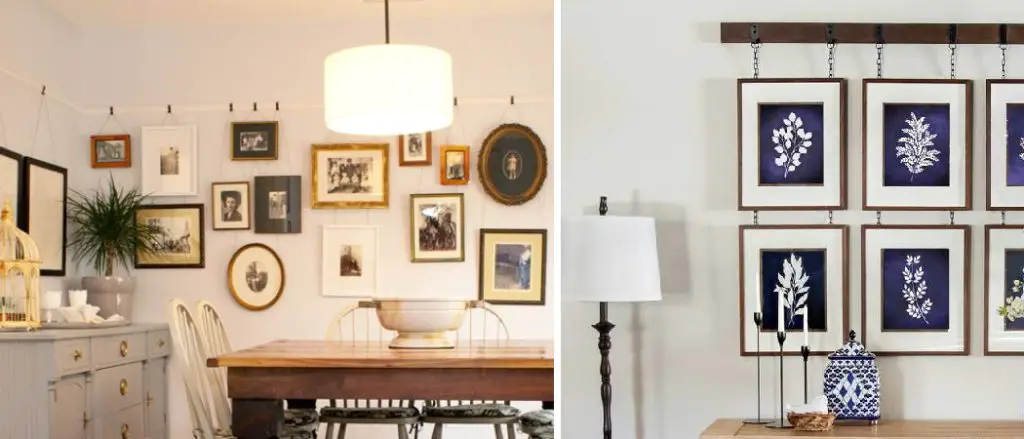
Whether you’re planning on redecorating your living room, sprucing up the family photo wall, or simply introducing a new piece of artwork into your space – hanging pictures securely from a rail makes for an eye-catching look that is sure to elevate the aesthetic of any home.
With all the details involved in properly securing items to walls, there can be quite a bit to consider, but with our guide, you’ll have everything you need for success!
Understanding Picture Rails
1. Definition and Purpose of Picture Rails
Picture rails are molding strips attached high up on a wall, designed to display artwork or photographs without having to nail or screw into the wall itself directly. Originally used in Victorian-era homes to protect the plaster walls, picture rails have seen a resurgence in modern design as an adaptable, stylish, and efficient way to display wall decor.
2. Different Types of Picture Rails
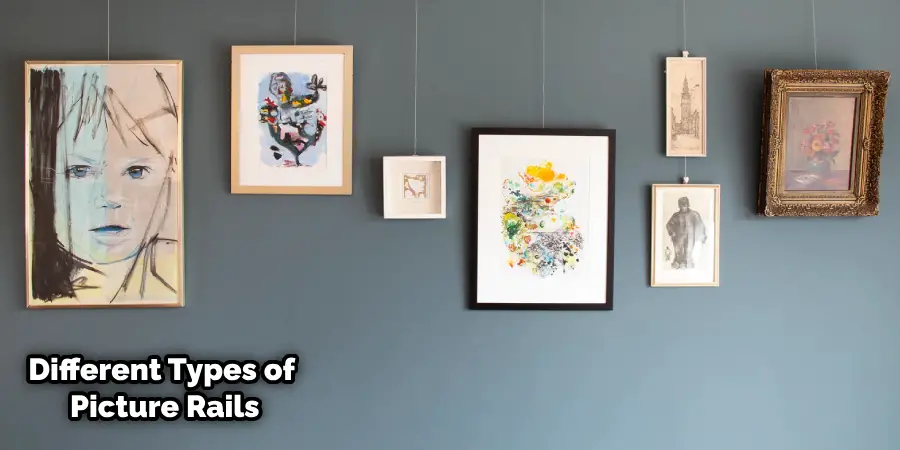
There are several types of picture rails, each with its unique style and usage. The traditional picture rail has a narrow ledge for resting frames with a curved top and flat bottom. The modern picture rail, on the other hand, features a minimalist design with a slim, flat appearance that works well in contemporary homes. There are also gallery rails that consist of a continuous slot with clips for hanging a wire and decorative picture rails that incorporate ornamental design elements.
3. Benefits of Using Picture Rails for Hanging Pictures
Using picture rails to hang your artwork offers numerous benefits. Firstly, it eliminates the need for wall damage caused by nails or screws. Additionally, picture rails provide flexibility, allowing you to rearrange your artwork anytime without worry. Moreover, they add an architectural element to your space, offering a classic or modern aesthetic depending on your choice of rail. Lastly, picture rails make it easier to hang pictures at a higher level, drawing the eye upwards and making the room feel larger.
Gathering the Necessary Tools and Materials
To successfully hang pictures from a picture rail, you will need the following tools and materials:
- Picture rails: Choose the type of picture rail that best suits your needs, style preferences, and budget.
- Picture hanging hooks or wires: These are necessary for attaching your artwork to the picture rail. Make sure to select hooks or wires that can support the weight of your picture.
- Measuring tape: To ensure accurate placement and spacing of your pictures on the rail.
- Pencil: For marking the spot to install hooks or wires.
- Hammer or drill: Depending on the type of picture rail you have, you may need a hammer or drill to secure it onto the wall.
Tips on Choosing the Right Hardware
1. Choosing the Right Picture Hooks or Wires
When selecting picture-hanging hardware, it’s essential to consider the weight of your artwork and how you want it to be displayed. For larger pieces, use two hooks or wires for optimal support. Additionally, make sure the hook or wire is compatible with your picture rail type.
2. Measuring and Spacing for Proper Display
To ensure a balanced and visually appealing arrangement, measure the distance from the top of your picture to where you want it to hang on the picture rail. Then, use that measurement to determine how far down from the rail you should place your hook or wire. For multiple pictures, consider measuring and marking out all points before hanging.
3. Testing Your Hook or Wire
Before hanging your artwork, test your hook or wire by gently pulling downwards to ensure it can support the weight of the picture. If you’re not confident in its strength, opt for a sturdier hook or wire.
Step-By-Step Guide on How to Hang Picture from Picture Rail
Step 1: Measure and Mark
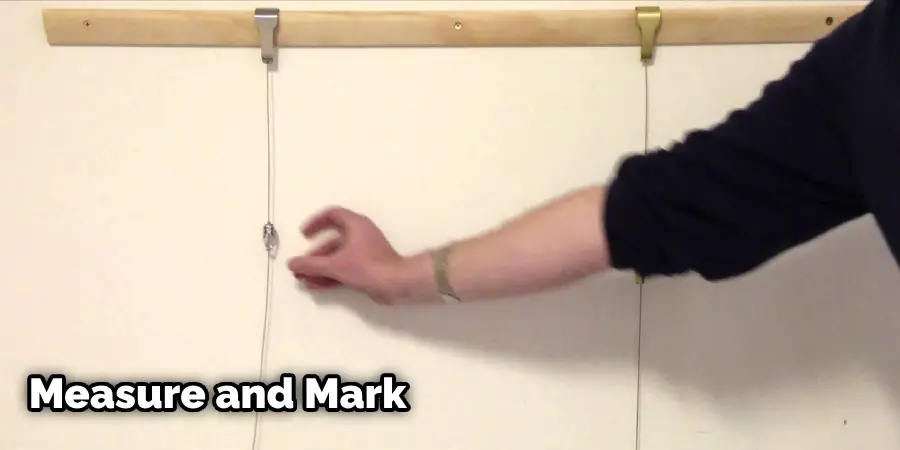
Using a measuring tape, determine the desired placement of your picture on the rail. Mark this spot with a pencil.
Step 2: Attach Hook or Wire to Picture Frame
Attach the appropriate hook or wire to your picture frame, depending on its weight and size. Make sure it is securely attached.
Step 3: Install Picture Rail onto Wall
Using a hammer or drill, secure the picture rail onto the wall, making sure it is level.
Step 4: Hang Picture from Rail
Gently hook or loop the wire over the picture rail and adjust as needed to ensure the frame hangs straight and securely.
Congratulations! You have successfully hung your picture from a picture rail. Repeat these steps for each picture you want to hang.
Additional Tips and Tricks for Hanging Pictures from Picture Rails
1. Always Double-Check the Weight of Your Picture:
Before attaching your hook or wire, double-check the weight of your picture to ensure the hardware can support it.
2. Mix and Match:
Feel free to mix and match different types of picture rails for a unique and personalized look.
3. Use Multiple Rails for Larger Pieces:
For larger pieces of art, consider using multiple rails to create an interesting and dynamic display.
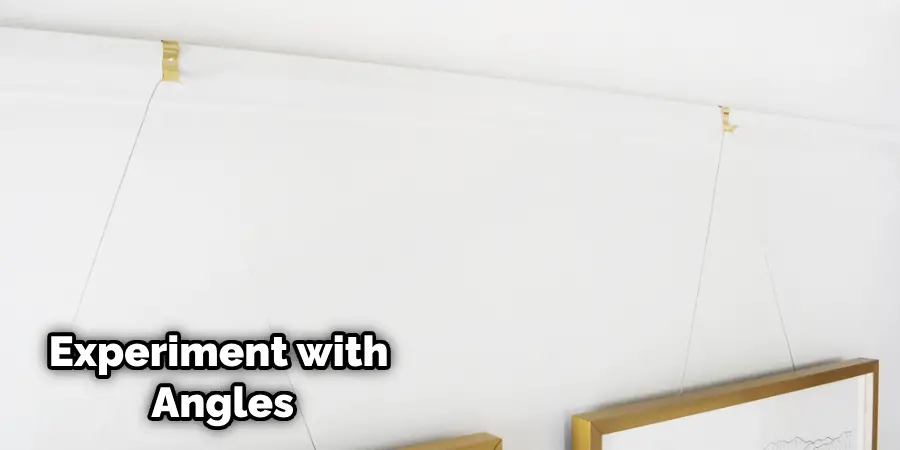
4. Experiment with Angles:
Instead of hanging pictures straight, try experimenting with different angles for a more visually appealing arrangement.
5. Incorporate Lighting:
Adding lighting above the rail can enhance the overall look of your displayed artwork.
7 Creative Display Ideas
1. Grid Layout:
Create a clean and modern look by hanging pictures in a grid pattern using evenly spaced picture rails.
2. Asymmetrical Arrangement:
For a more eclectic and dynamic display, mix and match different sizes of frames and hang them at varying heights on the rail.
3. Floor-to-Ceiling Gallery:
Use multiple picture rails covering the entire length of a wall to create a dramatic floor-to-ceiling gallery display.
4. Stairway Gallery:
Use picture rails along a staircase to showcase a collection of pictures or artwork in an unexpected and eye-catching way.
5. Seasonal Display:
Switch out pictures and artwork on your picture rails seasonally to keep your home decor fresh and updated.
6. Themed Display:
Create a themed display on your picture rails, such as a travel-themed gallery or a nature-inspired collection.
7. Mix Media:
Don’t limit yourself to just hanging pictures – incorporate other elements like plants, decorative objects, and mirrors for an interesting and unique display.
Overall, picture rails offer a versatile and stylish way to showcase your artwork while also protecting your walls from damage. With a variety of types, styles, and display options, they are an excellent addition to any home decor. Get creative and have fun experimenting with different ways to hang pictures from picture rails in your space!
Maintenance and Care
Maintaining your picture rails and the artwork they display is crucial in preserving the aesthetics of your space and the longevity of your items. Here are some tips and guidance on how to care for them:
A. Tips for Maintaining Picture Rails and Hardware
- Regularly inspect the picture rails and hardware for any signs of wear or damage. This includes checking for any loose screws, signs of rust, or weakening of the rails.
- When cleaning, avoid using harsh chemicals or abrasive materials, which could damage the finish of the rails and hooks. Instead, use a soft, damp cloth to wipe down the surface.
- If you notice any signs of damage, replace the parts immediately to prevent potential falls or further damage to your artwork.
- Ensure that your pictures are evenly distributed along the rail to avoid unnecessary strain on any one section.
B. How to Clean and Protect Pictures from Dust and Damage
- To clean the pictures, gently dust them regularly with a soft, non-abrasive cloth or a feather duster. Avoid using any damp or wet materials, as moisture can cause damage to the artwork.
- Hang your pictures away from direct sunlight, heat sources, and areas of high humidity. These can cause fading, warping, or other types of damage.
- If your pictures are framed behind glass, consider using UV-protective glass to prevent fading from sunlight exposure.
- When handling artwork, consider wearing gloves to avoid transferring oils or dirt from your hands onto the artwork.
Caring for your picture rails and the artwork they display will ensure they continue to enhance your space for many years to come.
C. Troubleshooting maintenance issues
- If you notice your pictures are not hanging straight, adjust the hooks or wires accordingly.
- If there is sagging in your artwork, consider using two hooks or wires to distribute the weight more evenly.
- If the picture rail starts to loosen from the wall, tighten any loose screws or use wall anchors for added support.
By following these tips and tricks, you can easily maintain and care for your picture rails and artwork, keeping them looking beautiful and secure.
Hanging Multiple Pictures in a Gallery Wall
1. Plan the Layout
Before hanging your pictures, plan out the layout by arranging them on the floor or a large table. This will help you determine the best placement and spacing for your gallery wall.
2. Use a Level and Measuring Tools
To ensure your pictures are hung straight and evenly spaced, use a level and measuring tools to mark where each picture should be placed on the rail.
3. Start with the Centerpiece
Start by hanging your largest or most prominent picture in the center of the gallery wall. This will serve as the focal point and guide for placing the other pictures around it.
4. Mix Up Sizes and Shapes
Don’t be afraid to mix up sizes and shapes when creating a gallery wall. This will add visual interest and create a dynamic display.
5. Use Different Types of Picture Rails
Consider using different types of picture rails for a unique and eclectic look, such as mixing wood, metal, or acrylic rails.
6. Experiment with Arrangement
Try experimenting with different arrangements before hanging your pictures on the rail. This will help you find the most visually appealing layout for your space.
7. Step Back and Adjust as Needed
After hanging each picture, step back and take a look at the overall display. Make any necessary adjustments to ensure everything is evenly spaced and aesthetically pleasing.
Creating a gallery wall with multiple pictures on picture rails allows for endless possibilities in displaying your artwork. Have fun experimenting with different layouts and arrangements to find the perfect look for your space.
Considerations for Heavy or Oversized Pictures
1. Use Extra Support
For heavier or oversized pictures, consider using additional support in the form of multiple hooks, wires, or specialized picture-hanging hardware.
2. Distribute Weight Evenly
To avoid putting too much weight on one section of the rail, use multiple hooks or wires to distribute the weight of the picture evenly.
3. Check Weight Limits
Be sure to check the weight limits for your specific picture rail and hardware, and choose appropriate options that can support the weight of your artwork.
4. Consider Professional Installation
For extremely heavy or oversized pictures, it may be best to seek professional installation services to ensure they are hung securely and safely.
By taking these considerations into account, you can confidently hang heavier or oversized pictures on your picture rails without worrying about damage or accidents.
Safety and Security Tips
1. Regularly Check for Wear and Tear
As mentioned earlier, regularly inspecting your picture rails and hardware is crucial in maintaining their safety and security. Look out for any signs of wear or damage that may need to be addressed.
2. Use Appropriate Hardware
Be sure to use appropriate hardware explicitly designed for hanging pictures on a rail. This will ensure the pieces are securely attached and can support the weight of your artwork.
3. Avoid Overloading
Avoid overloading your picture rails with too many pictures or heavy artwork. This can put unnecessary strain on the rails and increase the risk of accidents.
4. Keep Children and Pets in Mind
If you have children or pets in your home, consider using child-proofing measures to secure your picture rails and prevent any accidents or injuries.
5. Seek Professional Help
If you are unsure about the safety and security of your picture-hanging setup, do not hesitate to seek professional help for installation or maintenance. It is better to be safe than sorry.
Following these tips ensures that your pictures and picture rails are safely and securely displayed in your home or space.
Frequently Asked Questions
1. Can I paint my picture rails?
Yes, painting your picture rails to match your walls or to add a pop of color is common and can enhance your decor. Ensure the paint type is suitable for the material of your rails, and remember to remove any artwork before painting to avoid accidental damage.
2. What if the picture rail doesn’t fit the length of my wall?
Picture rails usually come in standard lengths, but you can cut them down to size using a handsaw or miter saw. Make sure to measure your wall accurately before cutting.
3. Can I use picture rails in rooms with high humidity, like bathrooms?
While it’s possible to use picture rails in high-humidity areas, it’s crucial to choose materials resistant to moisture, like plastic or powder-coated metal. Also, ensure that your artwork is adequately protected from dampness.
Conclusion
In conclusion, picture rails provide a versatile, stylish, and practical solution for displaying artwork and photos in your home. They not only enhance the aesthetic appeal of your space but also safeguard your walls from damage.
The versatility of picture rails allows for a plethora of creative display ideas, from grid layouts to themed displays. Maintaining and caring for your picture rails and the artwork they display is fundamental for their longevity and for preserving the aesthetics of your space. With an understanding of techniques for maintenance and troubleshooting, you will be well-equipped to handle any potential issues.
Finally, remember that the ultimate goal is to express your personal style and to create a space that feels like home. So don’t hesitate to experiment and have fun with it! Thanks for reading this article about how to hang picture from picture rail.

