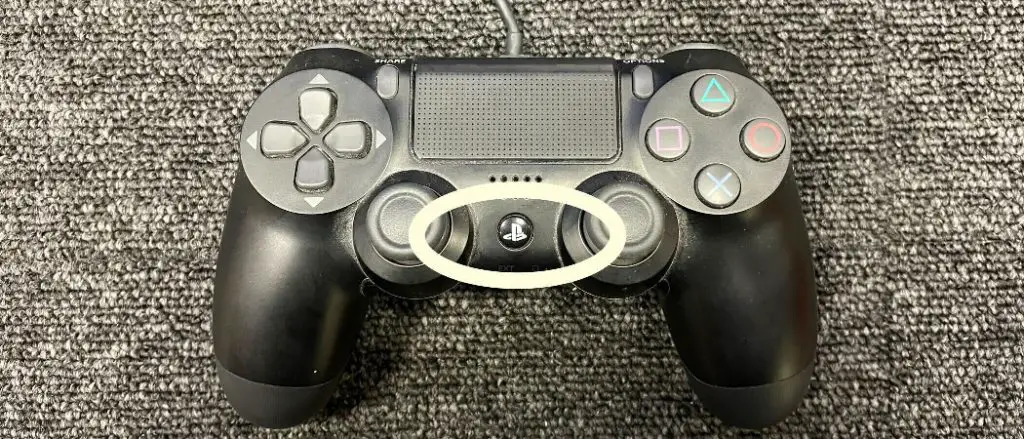
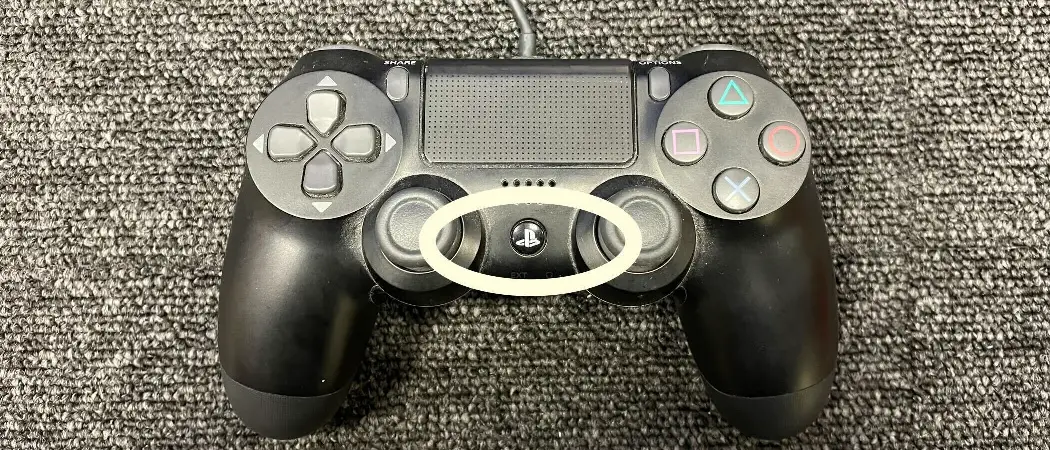
To fix the X button on the PS4 controller, you can follow these simple steps. Firstly, gently remove the controller’s faceplate using a small plastic tool.
Then, clean the button and the contact point beneath it with a microfiber cloth and isopropyl alcohol. Next, check for any loose or damaged components and repair or replace them accordingly. Finally, reassemble the controller and test the X button to ensure it functions properly.

Common Issues With The X Button
If you are a PlayStation 4 user, you might have encountered issues with the X button on your controller. The X button is crucial for various in-game actions, so encountering problems with it can be frustrating. In this section, we will address common issues that users face with the X button and provide solutions to fix them.
Button Not Registering Press
If your X button is not registering when you press it, it can disrupt your gaming experience. This issue is often caused by either physical obstruction or a software glitch.
Button Sticking
Another common problem is the X button sticking, making it difficult to press or release. This can happen due to dirt, debris, or general wear and tear on the controller.

Tools You Will Need
To fix the X button on your Ps4 controller, gather the necessary tools like a small screwdriver, tweezers, and a replacement button. Follow step-by-step instructions for a quick and easy repair.
Screwdriver
If you’re experiencing issues with the X button on your PS4 controller, don’t worry – there’s a simple fix! To get started, you’ll need a screwdriver to open up the controller. Make sure you have the correct size and type of screwdriver handy. A small Phillips head screwdriver is usually sufficient for this task. Now, let’s move on to the next essential tool.
Compressed Air Can
Another tool you’ll need is a compressed air can. This handy device will help you remove any dust or debris that may be interfering with the proper functioning of the X button. Dust can accumulate over time, causing buttons to become sticky or unresponsive. Using a compressed air can is an effective way to clean the internal components of your controllers without causing any damage. Now that you have the necessary tools, let’s move on to the step-by-step process of fixing the X button.
Before we continue, it’s important to note that opening up your PS4 controller may void any warranties you have, so proceed with caution. If you’re unsure about performing these steps yourself, consider seeking professional help.
To fix the X button on your PS4 controller, follow these steps:
1. Turn off your PS4 console and unplug the controller from any power sources.
2. Carefully remove the screws on the back of the controller using the screwdriver.
3. Gently pry open the controller, being mindful of any ribbon cables or delicate components inside.
4. Locate the X button and check for any visible dirt, dust, or debris.
5. Hold the compressed air can upright and press the nozzle to release bursts of air onto the X button.
6. Move the nozzle around the button, ensuring that you cover all angles to dislodge any particles.
7. Once you’ve thoroughly cleaned the button, reassemble the controller by carefully reconnecting any ribbon cables and snapping the housing back together.
8. Secure the screws back into place using the screwdriver.
9. Turn on your PS4 console and test the X button to ensure it is functioning properly.
By following these simple steps and utilizing the necessary tools, you can fix the X button on your PS4 controller and get back to gaming without any interruptions. Remember, regular maintenance like clearing out dust and debris can help extend the life of your controller and enhance your gaming experience. So grab that screwdriver and compressed air can, and get your PS4 controller back in tip-top shape!
Step-by-step Fix For Button Not Registering Press
Opening The Controller Casing
Step 1: Gather necessary tools like small screwdriver.
Step 2: Turn off PS4 and remove batteries from the controller.
Step 3: Locate and remove the screws on the back of the controller.
Step 4: Carefully separate the casing to access the X button.
Cleaning The X Button Contact
Step 1: Use a cotton swab and rubbing alcohol to clean around the X button.
Step 2: Gently lift the X button to clean underneath it.
Step 3: Let the controller dry completely before reassembling.

Step-by-step Fix For Button Sticking
Sticky buttons on your PS4 controller can be extremely frustrating, especially when it comes to the X button.
Disassembling The X Button
To fix the X button on your PS4 controller, follow these quick and easy steps:
- Prepare a clean, flat surface to work on.
- Use a small screwdriver to carefully remove the screws on the back of the controller.
- Gently separate the controller casing to access the button mechanisms.
Cleaning And Reassembling
Now it’s time to clean and reassemble the X button to ensure smooth functionality:
- Wipe the X button and the surrounding area with a lint-free cloth dampened with rubbing alcohol.
- Use a can of compressed air to remove any debris or dust trapped around the button.
- Check for any visible damage or wear on the button and replace if necessary.
Advanced Troubleshooting Tips
Advanced Troubleshooting Tips:
Checking For Physical Damage
Inspect your PS4 controller for any signs of physical damage.
- Check for cracks or loose pieces around the X button.
- Look for any visible wear and tear that may affect button functionality.
Replacing X Button Components
If physical damage is found, consider replacing the X button components.
- Order a replacement X button from an official retailer or online store.
- Follow online tutorials or refer to the PS4 controller manual for step-by-step instructions.
- Be sure to double-check that you have the necessary tools before starting the replacement process.
Ensuring Long-term Maintenance
Proper maintenance is essential to keep your PS4 controller’s X button in top working condition. By implementing a regular cleaning routine and avoiding common causes of button issues, you can ensure that your controller remains functional for an extended period.
Regular Cleaning Routine
Regularly cleaning your PS4 controller, including the X button, can help prevent the buildup of debris and dirt that may affect its performance. Follow these steps to maintain a clean controller:
- Disconnect the controller from the PS4 to avoid accidental input during the cleaning process.
- Use a soft, dry microfiber cloth to gently wipe the controller’s surface, including the X button, to remove dust and fingerprints.
- If there are stubborn residues, dampen the cloth slightly with water or a mild soap solution, ensuring it’s not too wet to prevent damage to the controller.
- Avoid using harsh chemicals or abrasive materials that could damage the controller’s surface.
- After cleaning, allow the controller to air dry completely before reconnecting it to the console.
Avoiding Common Causes Of Button Issues
Preventative measures can help safeguard the X button from potential issues. By being mindful of common causes of button malfunctions, you can prolong the lifespan of your controller. Here are some tips to avoid common button issues:
- Handle the controller with care to avoid impacts or drops that could damage the X button.
- Avoid exposing the controller to extreme temperatures or humidity, as these conditions can impact its functionality.
- Store the controller in a clean and dust-free environment when not in use to prevent debris from accumulating around the buttons.
- Regularly inspect the controller for any signs of wear or damage, such as worn-out buttons or loose components, and address any issues promptly.
Additional Resources For Support
Additional resources can be invaluable when troubleshooting the X button on your PS4 controller. Sometimes, you might need a little extra help to fix the issue. Fortunately, there are several sources of support available to guide you through the process.
Online Tutorials And Videos
If you are a visual learner, online tutorials and videos can be incredibly helpful when attempting to fix the X button on your PS4 controller. YouTube, for example, is a treasure trove of step-by-step tutorials to visually guide you through the troubleshooting process. These resources can provide useful tips to tackle the problem effectively.
Community Forums For Troubleshooting
Community forums are another excellent source of support for troubleshooting PS4 controller issues. You can find dedicated communities where fellow gamers share their experiences and solutions. By participating in these forums, you can ask questions and receive advice from people who have encountered and successfully resolved similar problems.

Conclusion And Final Checks
Testing The X Button Functionality
Before concluding the fixing process of the X button on your PS4 controller, it is essential to test its functionality. Here’s a straightforward method to ensure it’s working properly:
- Power on your PS4 console.
- Connect the PS4 controller to the console using a USB cable.
- Launch a game or navigate to the PS4 home screen.
- Press the X button on your controller multiple times to check if it registers the inputs accurately.
- If the button responds consistently and without any issues, then congratulations! You have successfully fixed the X button on your PS4 controller.
- If you still experience problems or notice any inconsistencies, it may be necessary to repeat the steps mentioned earlier or seek professional assistance.
Reassembly And Final Tips
After confirming the X button’s functionality, it’s time to reassemble your PS4 controller following the disassembly steps in the earlier sections. Remember the following tips to ensure a smooth reassembly process:
- Organize the screws and other components carefully to avoid losing or misplacing any parts.
- Refer to the disassembly instructions in reverse order to put everything back together correctly.
- Double-check all connections and make sure nothing is loose or improperly placed.
- Verify the buttons, including the X button, are aligned correctly and have proper contact with the underlying circuitry.
- Take your time while reassembling to avoid any accidental damage to the controller or its components.
Once you have completed the reassembly process, perform another test to ensure all buttons, including the X button, are working as expected. If everything is functioning correctly, you are ready to enjoy uninterrupted gaming sessions with your fully functional PS4 controller!
Frequently Asked Questions On How To Fix The X Button On The Ps4 Controller
How Do You Fix A Stuck X Button On Ps4?
To fix a stuck X button on your PS4, try cleaning around the button using compressed air. If that doesn’t work, carefully remove the button and clean underneath it. Avoid using excessive force to prevent damaging the button or controller.
If the issue persists, consider seeking professional repair services.
How Do I Fix My Ps4 Controller Button?
To fix your PS4 controller button, you can try resetting the controller or cleaning the button. If that doesn’t work, you may need to replace the button or get a new controller.
What Does The X Button Do On A Ps4 Controller?
The X button on a PS4 controller is primarily used for selecting or confirming actions in games or menus.
How Do I Fix My Controller Button Not Working?
To fix a controller button that isn’t working, try these steps: 1. Check if the controller is properly connected to the console. 2. Restart the console and controller. 3. Clean the button and controller with compressed air or rubbing alcohol.
4. Update the controller’s firmware. 5. If all else fails, consider replacing the controller.
Conclusion
To fix the X button on your PS4 controller, follow the simple steps we’ve discussed in this blog post. By cleaning the controller, checking for any loose connections, and updating the firmware, you can restore the X button’s functionality. Remember to be gentle and take your time during the process to avoid causing further damage.
Now you can get back to enjoying your gaming experience without any button-related issues. Happy gaming!

