

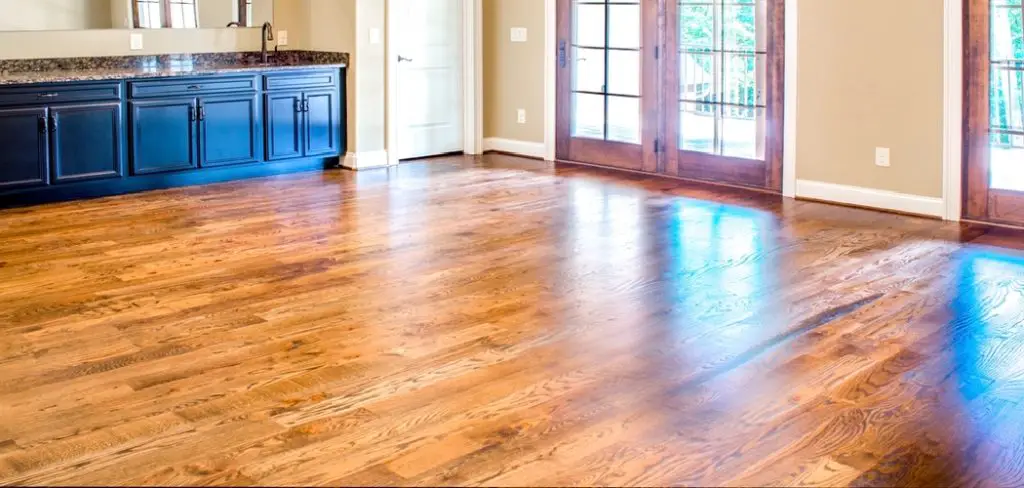
To fix patchy varnish, sand the surface lightly, clean it thoroughly, and apply a new coat of varnish evenly. Patchy varnish can be easily fixed by following these steps.
Patchy varnish can be an eyesore and can ruin the overall appearance of a wooden surface. However, with the right approach, it can be quickly remedied. The first step is to lightly sand the affected area using fine-grit sandpaper to remove any imperfections.
Then, ensure that the surface is clean and free of any dust or debris by wiping it down with a cloth or vacuuming. Finally, apply a new coat of varnish evenly using a brush or spray, following the manufacturer’s instructions. By taking these simple steps, you can restore the smooth and flawless finish to your varnished surface.
Causes Of Patchy Varnish
When it comes to achieving a smooth and flawless finish on wood surfaces, varnish is often the go-to choice. However, sometimes you may find that your varnish application results in a patchy finish, leaving your project looking less than perfect. To ensure this doesn’t happen, it’s crucial to understand the primary causes of patchy varnish. By addressing these issues, you can achieve a more uniform and professional-looking outcome.
Inadequate Preparation
Proper preparation is essential to achieving a smooth and even varnish finish. Inadequate preparation can lead to patchy results. Common reasons for inadequate preparation include:
- Failure to properly clean the surface before application
- Not sanding the surface to remove imperfections
- Lack of priming or using an unsuitable primer
Before applying varnish, it’s crucial to ensure that the surface is clean and free from dust, dirt, and oils. Sanding the surface will help to remove any rough areas and create a smooth and level playing field for the varnish. Additionally, using a suitable primer will enhance the varnish’s adhesion and provide a more even surface for application.
Improper Application Techniques
Even if you’ve adequately prepared the surface, improper application techniques can result in patchy varnish. Key factors that contribute to this issue include:
- Applying too much varnish in one coat
- Using a worn-out or incorrect brush or applicator
- Failure to maintain a consistent application speed and pressure
When applying varnish, it’s important to remember that multiple thin coats are better than one thick coat. This allows each layer to dry and cure properly, resulting in a more consistent finish. Additionally, using a high-quality brush or applicator and maintaining a steady and even application speed and pressure will help to prevent patchiness.
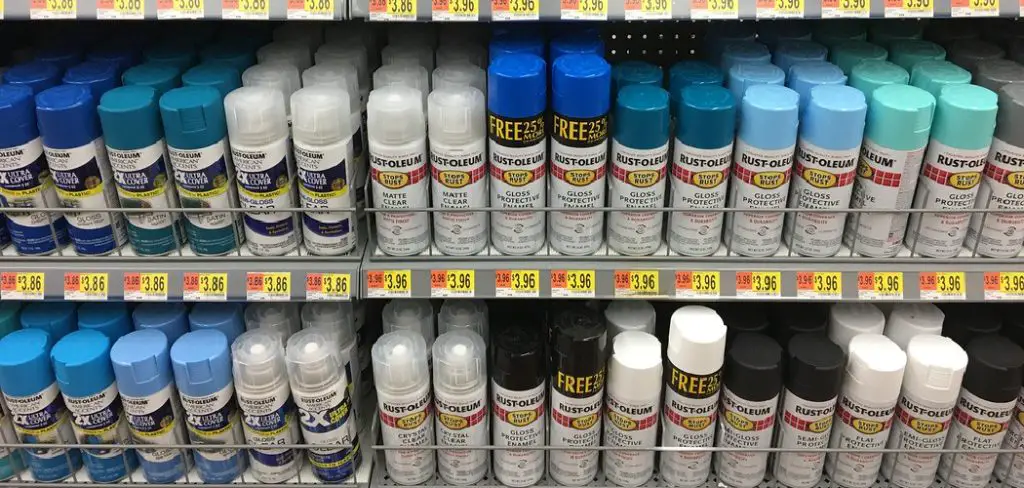
Low-quality Materials
The quality of the materials used can also impact the final result of your varnish application. Opting for low-quality varnish or using expired varnish can lead to inferior outcomes. Additionally, using subpar brushes or applicators can result in uneven coverage and patchiness.
To ensure a smooth and professional finish, it’s essential to invest in high-quality varnish and applicator tools. Quality varnish will have good flow and leveling properties, allowing it to spread evenly and self-level for a smoother appearance. Using high-quality brushes or applicators will also help achieve more even coverage and minimize the risk of patchiness.
Steps To Fix Patchy Varnish
Varnishing woodwork brings a beautiful, glossy finish to your furniture, doors, or cabinets. However, sometimes you may face patchy areas that mar the overall look. Don’t worry, here are a few simple steps you can follow to fix your patchy varnish and bring back the smooth and even appearance you desire.
Evaluate The Varnished Surface
The first step to fixing patchy varnish is to evaluate the surface. Identify the areas that have inconsistencies in color or texture. This will help you determine the extent of the problem and plan your approach accordingly.
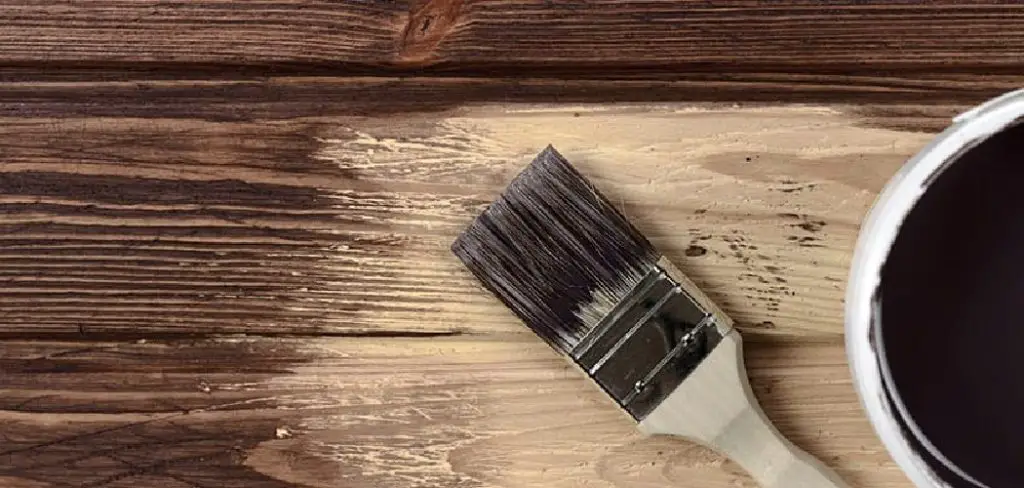
Sand Down The Patchy Areas
Once you have identified the patchy areas, it’s time to start fixing them. Use a fine-grit sandpaper to gently sand down the patchy spots. Make sure to sand in the direction of the wood grain to avoid further damage. Sanding will help remove the old varnish and create a smooth, even surface for the new coat to adhere to.
Apply A New Coat Of Varnish
After sanding, it’s time to apply a fresh coat of varnish. Choose a high-quality varnish that matches the original finish. Apply the varnish evenly using a brush or a sponge, ensuring full coverage on the patchy areas. Allow the varnish to dry completely according to the manufacturer’s instructions.
Once the varnish is dry, inspect the surface carefully. If you still notice any patchy areas, repeat the process of sanding and applying a new coat of varnish until you achieve the desired result.
Remember, fixing patchy varnish requires patience and attention to detail. Take the necessary time and care to ensure a professional-looking finish that will bring new life to your woodwork.
Frequently Asked Questions Of How To Fix Patchy Varnish
How Can I Fix Patchy Varnish On Wooden Furniture?
To fix patchy varnish on wooden furniture, start by sanding the affected area lightly to remove the existing varnish. Then, apply a new coat of varnish using a brush or roller, making sure to follow the manufacturer’s instructions for drying time and application.
Finally, sand the entire surface of the furniture to create a smooth finish.
Why Does Varnish Become Patchy?
Varnish can become patchy due to various reasons, including improper surface preparation, inadequate mixing of the varnish, inconsistent application, or using old or expired varnish. It is important to ensure a clean and smooth surface before applying varnish and to follow proper application techniques for a uniform finish.
Can I Fix Patchy Varnish Without Sanding?
In some cases, patchy varnish can be fixed without sanding. One option is to apply a new layer of varnish over the existing patchy areas, making sure to blend the edges for a more seamless finish. Another option is to use a varnish stripper or remover to remove the patchy varnish and then apply a new coat following proper application techniques.
How Do I Prevent Patchy Varnish?
To prevent patchy varnish, ensure that the wooden surface is properly prepared by sanding it to remove any previous varnish or imperfections. Take care to mix the varnish thoroughly and apply it evenly using long, smooth strokes. It is also important to work in a well-ventilated area and follow the manufacturer’s instructions for drying time and application techniques.
Conclusion
To wrap things up, fixing patchy varnish doesn’t have to be a daunting task. By following the steps outlined in this guide, you can restore the beauty of your wood surfaces and ensure a smooth and even finish. Remember to prep the surface properly, apply thin coats, sand between layers, and use quality tools and materials.
With a little patience and attention to detail, your varnish woes will be a thing of the past. So go ahead, tackle that patchy varnish and bring out the natural beauty of your woodwork!