

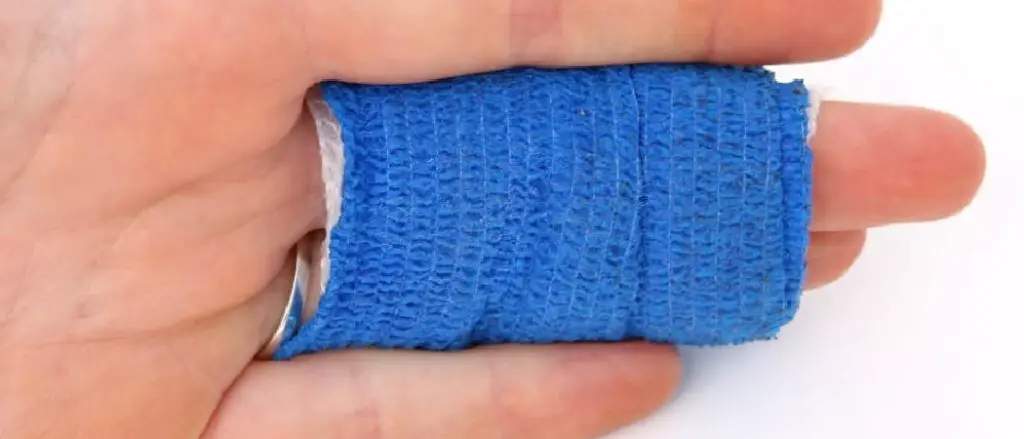
To fix paint bleed under tape, use a putty knife to score the edge of the tape before removing it. Then touch up the areas with a small brush or sponge.
Paint bleed can ruin the clean lines of your project, but with these simple steps, you can achieve professional-looking results. Whether you are a DIY enthusiast or a professional painter, addressing paint bleed promptly is essential for a flawless finish.
By following these tips, you can tackle paint bleed issues effectively and ensure a smooth and polished paint job every time. Keep reading to discover more helpful techniques and tricks for fixing paint bleed under tape efficiently.
Identifying The Problem
Recognizing Paint Bleed
One of the first steps in fixing paint bleed under tape is to recognize the issue. Paint bleed occurs when the paint seeps underneath the painter’s tape, resulting in uneven edges and smudged lines. It can be identified by blurred lines and uneven color distribution along the edges. Identifying this problem is crucial in ensuring a smooth and professional finish.
Understanding The Causes
To effectively address paint bleed, it’s important to understand the potential causes. Oftentimes, insufficient adhesion of the painter’s tape to the surface, rough or porous surfaces, and excessive paint application can lead to this issue. Poor quality or aged painter’s tape may also contribute to unwanted paint bleeding. By understanding these causes, you can take proactive steps to prevent paint bleed and achieve clean, crisp lines.
Preparation And Prevention
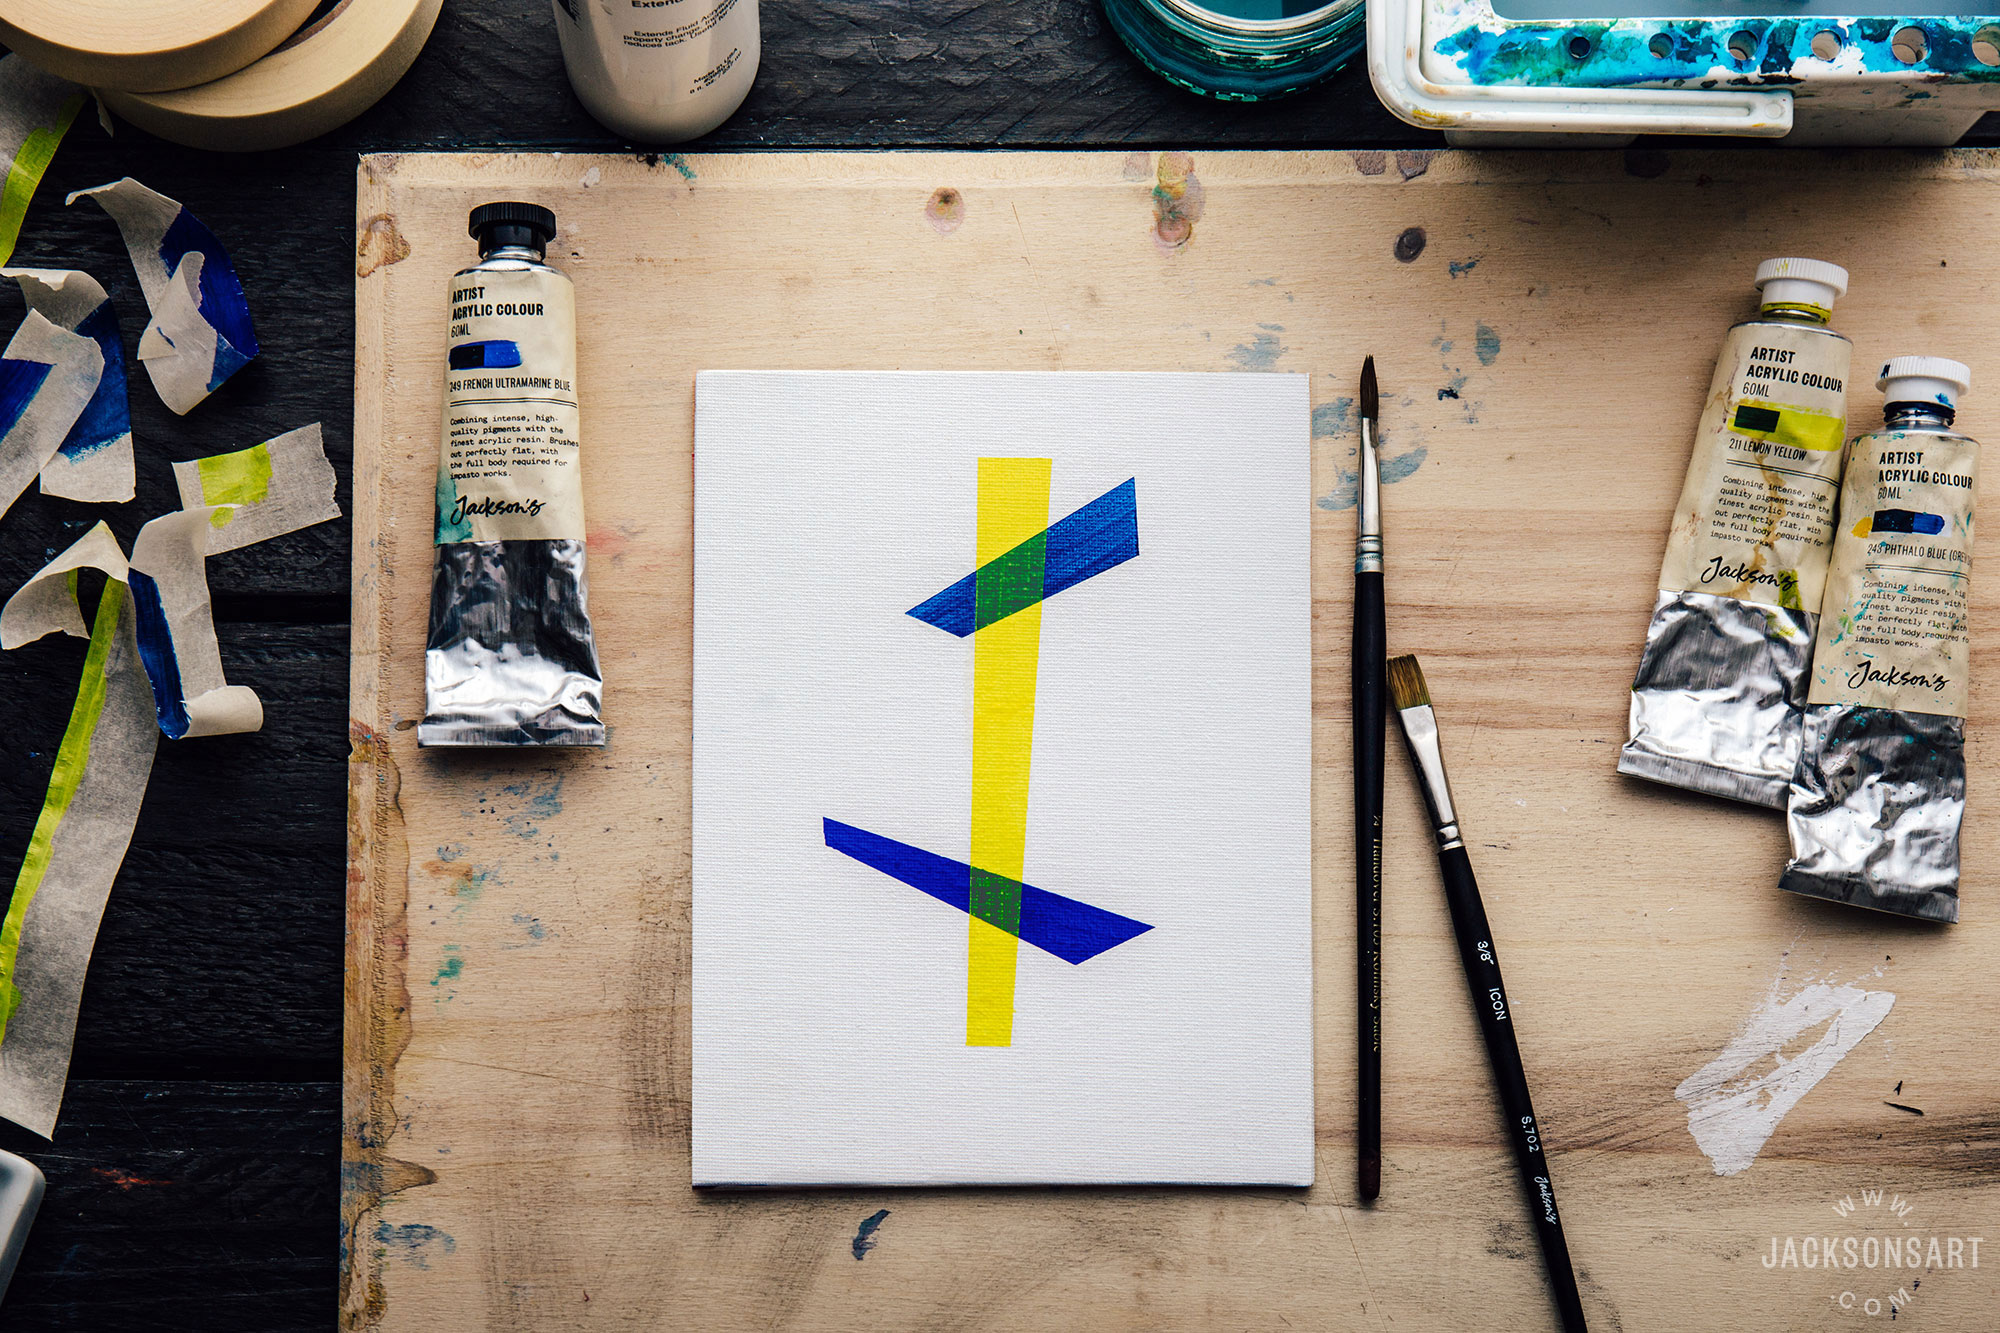
To fix paint bleed under tape, prep the area by ensuring it’s clean and dry. Apply a fresh coat of paint to prevent bleeding. Use a high-quality painter’s tape for precise lines and avoid pulling off the tape too quickly to achieve a clean finish.
Choosing The Right Tape
Selecting painter’s tape suited for the surface decreases chances of bleed.
Ensure tape adheres well without leaving sticky residue post-removal.
Surface Preparation Techniques
- Clean the surface where tape will be applied using mild soap and water.
- Dry completely to avoid moisture causing tape to lose adhesion.
- Avoid applying tape on rough or dirty surfaces to enhance adhesion.
Quick Fixes For Paint Bleed
If you’ve ever tackled a painting project, you know that getting crisp, clean lines can sometimes be a challenge. Paint bleed under tape is a common issue that can leave your project looking messy and unprofessional. But don’t worry, there are quick fixes you can try to remedy the problem. In this article, we will explore two effective techniques you can use to fix paint bleed under tape: using a sealant or primer and tape removal techniques. Let’s dive in!
Using A Sealant Or Primer
One of the simplest ways to fix paint bleed under tape is to use a sealant or primer before applying your paint. A sealant or primer creates a barrier between the tape and the paint, preventing bleed and ensuring sharp lines. Here’s how to do it:
- Clean the area: Begin by cleaning the surface where the tape will be applied. Remove any dust, dirt, or debris using a damp cloth. Allow the area to dry completely before moving on.
- Apply the sealant or primer: Using a small brush or roller, apply a thin coat of sealant or primer along the edges of the tape. Be sure to cover the areas where the bleed occurred.
- Let it dry: Allow the sealant or primer to dry completely before proceeding with your painting. Follow the manufacturer’s instructions for drying time.
- Paint over the tape: Once the sealant or primer is dry, you can proceed with your paint job. Apply your desired color over the tape, being careful not to go beyond the edges.
- Remove the tape: After painting, while the paint is still wet, carefully remove the tape at a 45-degree angle. This will help prevent any additional bleeding. Dispose of the tape properly.
Tape Removal Techniques
Tape removal is another critical step when addressing paint bleed under tape. Improper tape removal can cause additional smudging and smearing, resulting in a less than desirable outcome. Follow these simple techniques to ensure clean, sharp lines:
- Remove the tape while the paint is still wet: To prevent any further bleed, it’s best to remove the tape while the paint is still wet. This technique helps to separate the paint from the tape, resulting in cleaner lines.
- Peel the tape at a 45-degree angle: When removing the tape, peel it back at a 45-degree angle. This angle helps to minimize any pulling or tearing of the paint film.
- Go slow and steady: Take your time when removing the tape. Pull too quickly, and you risk damaging the paint or creating jagged edges. Slow and steady wins the race!
- Touch up if necessary: Once the tape is removed, inspect your work. If there are any areas that require touch-up, use a small brush to carefully fix any imperfections.
Advanced Solutions
Fixing paint bleed under tape can be challenging, especially when using regular painting techniques. However, there are advanced solutions that can help you achieve clean, crisp lines without any smudges or bleeding. In this section, we will explore two key advanced solutions: advanced tape application techniques and specialized tools and materials.
Advanced Tape Application Techniques
When it comes to preventing paint bleed, proper tape application is crucial. By following these advanced tape application techniques, you can greatly minimize the chances of paint bleeding under the tape:
- Make sure the surface is clean and dry before applying the tape. Any dirt or moisture can compromise the adhesive and lead to paint bleed.
- Apply the tape with even pressure, ensuring it is firmly adhered to the surface. Press down on the edges to create a tight seal.
- If you are working on a textured surface, consider using a flexible tape that can conform to the texture and create a tight barrier against paint bleed.
- For intricate designs or curved surfaces, use a low-tack tape that is easy to reposition. This will allow you to adjust the tape as needed and minimize paint bleed.
- Remove the tape while the paint is still slightly wet. This will help prevent the paint from drying and forming a seal with the tape, which can result in paint bleed when the tape is removed.
Specialized Tools And Materials
In addition to advanced tape application techniques, using specialized tools and materials can further enhance your ability to fix paint bleed. Consider incorporating these tools and materials into your painting process:
- Painter’s Tape: Invest in high-quality painter’s tape that is specifically designed to produce clean lines and prevent paint bleed. Look for tapes with advanced adhesive properties and a strong backing that resists paint seepage.
- Edge Sealer: An edge sealer is a liquid product that can be applied along the edges of the tape. It creates a barrier that prevents paint from bleeding under the tape. Simply brush or spray the edge sealer onto the tape and let it dry before painting.
- Abrasive Pad: If you notice any paint bleeding after removing the tape, use a fine-grit abrasive pad to gently sand away the excess paint. Be careful not to damage the surrounding paintwork.
- Artist’s Brush: For precise touch-ups, keep a small artist’s brush on hand. Use it to carefully correct any areas where paint bleed has occurred, ensuring a flawless finish.
By implementing these advanced solutions, you can significantly improve your ability to fix paint bleed under tape. Remember to practice patience and precision during the painting process, and don’t be afraid to experiment with different techniques and materials to achieve the best results.
Expert Tips And Tricks
In this section, we will provide you with expert tips and tricks to fix paint bleed under tape. Whether you are a professional painter or a DIY enthusiast, these insights will help you achieve clean and professional-looking paint lines. Read on to discover the recommendations from professionals and the valuable insights from fellow DIY enthusiasts.
Professional Painter Recommendations
If you want to avoid paint bleed under tape like a pro, consider following these recommendations:
- Make sure the surface is clean and properly prepared before applying the tape. Remove any dust, dirt or loose paint that could interfere with the adhesion of the tape.
- Choose high-quality painter’s tape that is designed specifically for clean paint lines. This will help minimize bleeding and ensure sharp edges.
- Use a putty knife or a similar tool to press down the edges of the tape firmly onto the surface. This will create a tight seal and prevent paint from seeping under the tape.
- Apply a thin coat of the base color over the edges of the tape. This will help seal any gaps and prevent the top color from bleeding through.
- Paint in thin, even layers. Avoid applying too much paint at once, as it can seep under the tape. Allow each coat to dry before applying the next one.
Diy Enthusiast Insights
If you love taking on DIY painting projects, here are some valuable insights from fellow enthusiasts:
- Invest in good-quality tape that is specifically designed for painting. Cheap tape may not adhere properly or provide clean paint lines.
- Before applying the tape, ensure that the surface is completely dry to avoid any moisture from causing the tape to lose its adhesive properties.
- When applying the tape, press it down firmly but be careful not to stretch it, as this can cause it to lift and create gaps for paint bleed.
- If you notice any paint bleed after removing the tape, use a small brush and touch up the affected areas with the base or trim color.
- Take your time and work in sections, removing the tape while the paint is still slightly wet to achieve neater edges.
Troubleshooting Common Issues
Troubleshooting common issues such as paint bleed under tape is a crucial step in achieving clean and professional-looking paint lines. Dealing with stubborn bleed areas and addressing tape adhesion problems are common challenges that DIY enthusiasts and professionals encounter. By mastering these troubleshooting techniques, you can elevate the quality of your painting projects and achieve flawless results.
Dealing With Stubborn Bleed Areas
When faced with stubborn bleed areas, it’s essential to address the issue promptly to prevent further damage to your paint job. Start by gently removing the tape and identifying the extent of the bleed. Use a small brush to touch up the affected areas with matching paint, ensuring a seamless blend with the surrounding surface. Additionally, applying a paint sealant along the tape line before painting can help prevent bleed and ensure crisp edges.
Addressing Tape Adhesion Problems
Proper adhesion of the tape is crucial in preventing paint bleed. If you encounter tape adhesion problems, ensure that the surface is clean and dry before applying the tape. Consider using high-quality painter’s tape specifically designed for delicate surfaces to minimize the risk of bleed. Press the tape firmly to secure adhesion, and if necessary, use a putty knife to ensure the tape is properly sealed to the surface, creating a barrier for the paint.
Final Touches And Clean-up
After addressing the paint bleed under the tape, it’s time for the final touches and clean-up. This step is crucial for achieving a seamless finish and ensuring that your paint job looks professional and polished.
Blending Touch-up Paint
Once the tape is removed and any paint bleed is fixed, examine the area for any minor inconsistencies in color or texture. To address any imperfections, use a small brush or roller to carefully blend touch-up paint with the surrounding area. Take your time and apply the paint in thin layers to achieve a seamless integration.
Removing Tape Residue
After allowing the paint to dry completely, it’s important to tackle any tape residue that may be left behind. Use a gentle adhesive remover or rubbing alcohol to carefully remove any sticky residue left from the painter’s tape. Apply the solution to a clean cloth and gently dab the affected areas, being careful not to damage the freshly painted surface.

Long-term Preventive Measures
Paint bleed under tape can be frustrating to deal with, but implementing long-term preventive measures can help you avoid this issue in the future.
Maintaining Tape Quality
Choose high-quality painter’s tape to prevent paint bleed. Low-quality tapes tend to allow paint to seep through, resulting in messy edges.
Developing Best Practices
- Ensure surfaces are clean and dry before applying tape
- Press down firmly on the edges of the tape to create a tight seal
- Remove the tape at a 45-degree angle to prevent paint from peeling off
Frequently Asked Questions On How To Fix Paint Bleed Under Tape
What To Do When Paint Bleeds Under Tape?
To fix paint bleeding under tape, gently score the edge of the tape with a utility knife before removing it. Use a fine artist’s brush to touch up any areas where the paint has bled. If the bleeding is severe, sand down the affected area and repaint it carefully.
How Do You Remove Paint Bleeding?
To remove paint bleeding, use painter’s tape for clean edges. Apply a small amount of paint along the tape edge to seal it. Gently remove the tape while the paint is still wet for sharp lines. Touch up any imperfections carefully with a small brush.
How Do You Fix Paint Removed By Tape?
To fix paint removed by tape, sand the area gently and apply a primer before repainting. Smooth edges and blend colors for a seamless finish.
How Do You Stop Paint From Bleeding Under Tape Reddit?
To prevent paint from bleeding under tape when painting, make sure the tape is firmly pressed down and the edges are sealed. You can also try applying a thin coat of clear sealer over the tape before painting. This helps create a barrier and prevents paint from seeping underneath.
Conclusion
In mastering the art of preventing paint bleed, attention to detail is key. Practice makes perfect, so keep refining your technique. With these tips, you’re on your way to achieving clean, crisp lines in your painting projects. Remember, patience and precision will yield professional-looking results every time.