
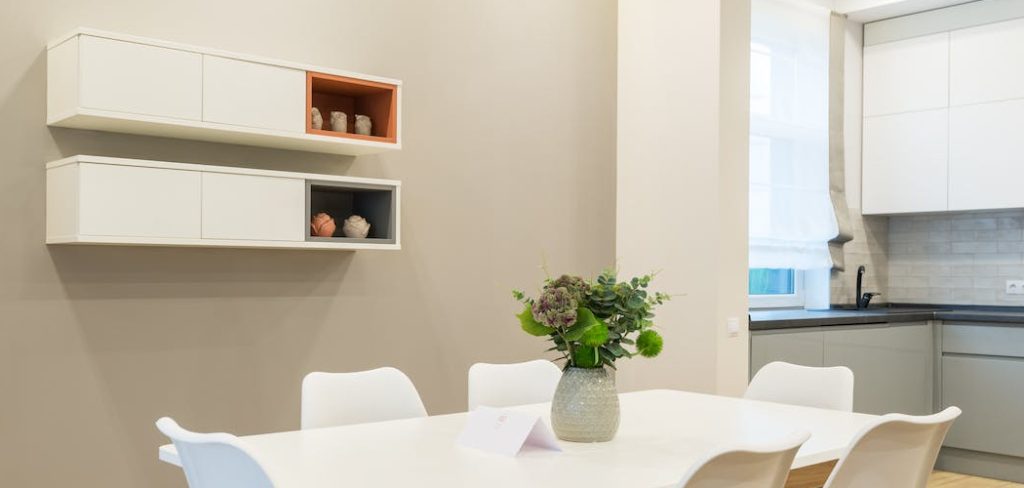
Are you looking for a way to add a touch of personality and style to your dining room? Decorating shelves is an easy and cost-effective way to transform the look of your space. Not only can it give off some serious visual impact, but it’s also practical – giving you extra storage options in an otherwise crowded area.
Whether you have minimalist tastes or favor something more ornate, there are plenty of creative ways to decorate shelves in your dining room that will suit any budget and be sure to impress. Read on for inspiring ideas on how to decorate shelves in dining room!
Needed Tools and Materials
Given below are the tools and materials you will require to decorate shelves in your dining room:
- Paint (Optional)
- Hammer/Screwdriver
- Nails/Screws
- Wall Anchors
- Picture Hanging Kit
- Wallpaper or Contact Paper (Optional)
- Bookends (Optional)
- Shelving Kits/Individual Shelves
11 Step-by-step Guidelines on How to Decorate Shelves in Dining Room
Step 1: Measure Your Wall Space
Before you get started, measure the dimensions of your wall space to determine how many shelves will fit in the area. It’s best to sketch out your idea first so you can visualize the finished product and ensure all measurements are accurate. If you’re using shelving kits, take into account the width of each shelf, which will need to be subtracted from your wall space. It’s also important to factor in the height of the shelves, as well as any adornments you plan on adding.
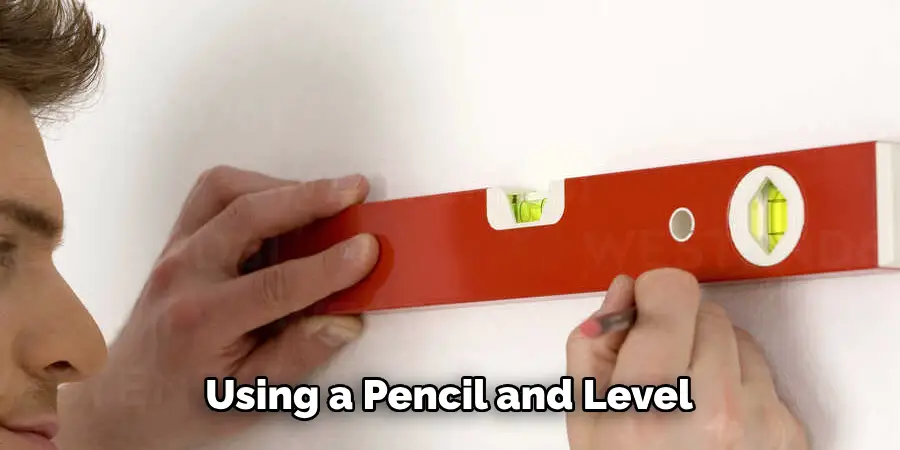
Step 2: Mark Where You Want Your Shelves to Go
Using a pencil and level, mark where you want your shelves to go. This will help you ensure that the shelves are hung evenly and straight when it comes time to install them. This is also a good time to decide how far apart the shelves should be spaced. If you plan on putting items of varying heights on the shelves, be sure to leave enough room in between for those items.
Step 3: Paint the Wall (Optional)
If you want to paint your wall first, now is the time to do so. Choose a color that complements both your shelving units and existing furniture in the dining room. Allow for plenty of drying time before continuing with installation. This step is optional; you can go directly to Step 4 if you prefer. You can also use wallpaper or contact paper to add some texture and character to the wall before hanging your shelf.
Step 4: Install the Shelves
Install your shelves according to the manufacturer’s instructions, taking care to ensure that they are level and attached securely. Use a hammer or screwdriver, nails/screws, and wall anchors as necessary. You may also want to use a picture hanging kit for extra security. This will help ensure that the shelves stay in place and are able to hold up whatever items you may be placing on them.
Step 5: Hang Pictures (Optional)
If you plan to hang pictures, use a picture hanging kit to ensure they are placed correctly. Make sure the frames are hung at eye level so that you can enjoy them without straining your neck. However, feel free to experiment with different heights and arrangements for a more creative look. It’s best to hang pictures in odd numbers, such as three or five.
Step 6: Add Wallpaper or Contact Paper (Optional)
If you want to spruce up the look of your shelves, try adding wallpaper or contact paper to the back of each shelf. This will add a pop of color and give the shelves a unique touch. It’s best to use a patterned or textured wallpaper for maximum effect. But you can also use a single color if you prefer. This step is optional, so skip it if you don’t want to take the extra time and effort.
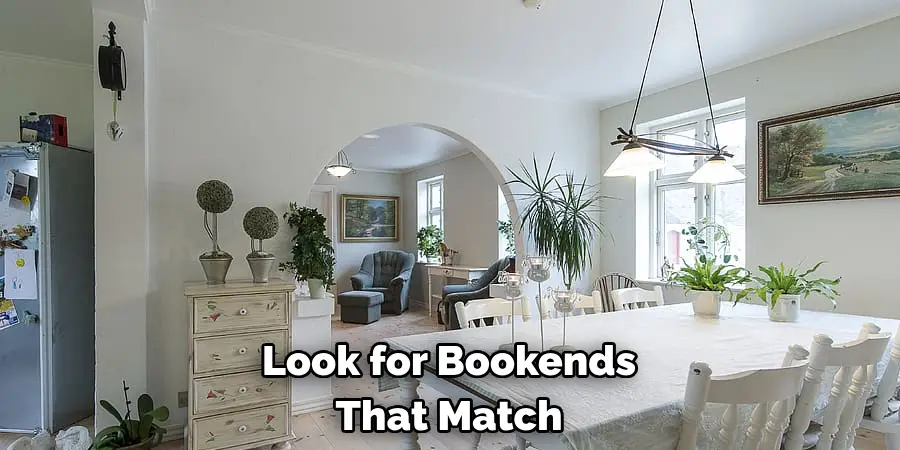
Step 7: Place Bookends (Optional)
Bookends can be used to hold up books or other items on your shelves while also adding an interesting element to your decor. Look for bookends that match both the style and color of your shelves to create a cohesive look. You can also mix and match different types of bookends for a more eclectic feel. It’s best to stick with books you already have or thrifted items for a more budget-friendly option.
Step 8: Place Books and Magazines
Books and magazines can be used as decorative pieces on the shelves, either alone or in combination with other items like vases and figurines. Bear in mind that these items will need to be dust-free for a neat appearance. But if you’re after a more lived-in look, then feel free to mix in some vintage finds or thrift items.
Step 9: Add Plants and Flowers (Optional)
Bring some life to your shelves with plants or flowers! Pick out ones that will thrive in the environment inside your dining room, such as succulents, spider plants or air plants. For an extra touch of freshness, clip a few stems from your garden to put on display. It’s best to place them in small vases or planters to keep them looking neat. If you don’t have a green thumb, you can always opt for faux plants instead.
Step 10: Showcase Memorabilia (Optional)
Memorabilia like family photos, travel souvenirs, and other items can be used to create an interesting display on your shelves. Arrange them in a way that looks aesthetically pleasing and allows you to reminisce fond memories at the same time. Whether it’s a photo of your grandparent’s wedding or a special souvenir from your favorite trip, these items will add an extra layer of sentiment and character to the shelves.
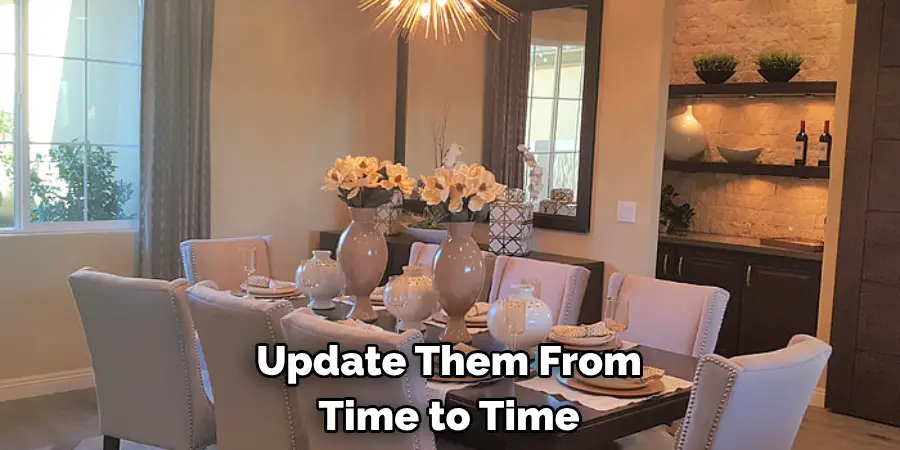
Step 11: Update Your Display
Once you’ve decorated your shelves, don’t forget to update them from time to time. This will keep the look of your dining room fresh and inviting. Rearrange items as necessary or try adding new elements like seasonal decorations for a festive touch. This is a great way to keep your shelves looking beautiful without spending too much.
With these 11 simple steps on how to decorate shelves in dining room, decorating shelves in your dining room is a breeze! With just a few tools and materials, you can create an eye-catching display that will transform the look and feel of your space. So what are you waiting for? Get started on decorating shelves in your dining room today. Don’t forget to take photos or videos along the way so you can share your handiwork with family and friends.
Do You Need to Use Professionals?
Although it’s possible to complete the above process on your own, you may want to consider hiring a professional if your project is complex or involves changes like painting and wallpapering. An experienced contractor will be able to guide you through the process and ensure that everything is installed properly.
There are plenty of ways to decorate shelves in your dining room, so let your imagination run wild and get creative! With a little effort and these helpful tips, you’ll be able to create an eye-catching display that will become the pride of your home. Good luck!
Frequently Asked Questions
Q1: What Types of Items Can I Put on My Shelves?
A1: You can put books, magazines, plants, flowers, memorabilia and other decorative pieces on your shelves. Try to create a visually pleasing display by grouping similar items together and adding a few statement pieces for contrast.
Q2: How Do I Hang Shelves?
A2: To hang shelves, you will need to use a hammer or screwdriver, nails/screws, wall anchors and a level. Follow the manufacturer’s instructions carefully when it comes to installation. If you’re not confident in your DIY skills, it’s best to consult a professional for assistance.
Q3: How Can I Make My Shelves Look More Interesting?
A3: To make your shelves look more interesting, try adding wallpaper or contact paper to the back of each shelf. You can also add bookends or hang up pictures for a unique touch. Plants and flowers bring life to shelves, and you can showcase memorabilia items too. Get creative with your display for an unforgettable look!
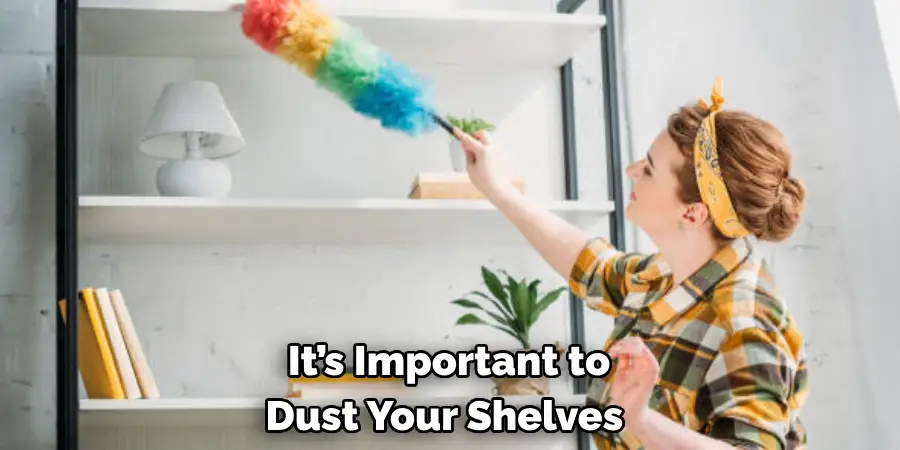
Q4: Do I Need to Dust My Shelves Regularly?
A4: Yes, it’s important to dust your shelves regularly in order to maintain a neat appearance. Pay extra attention to items like books and magazines that tend to accumulate dust quickly. This will help keep your shelves looking their best!
Conclusion
In conclusion on how to decorate shelves in dining room, when decorating shelves in a dining room, don’t forget to keep scale, contrast, and balance in mind. Play with textures and sizes to make the item look cohesive with the rest of the room. Consider highlighting one or two pieces or putting smaller objects on a tray for an intentional display.
Keep family photos larger than 4×6 inches on the walls—but don’t let that stop you from displaying meaningful photos on your shelves. Lastly, always have fun while styling your shelves however you may see fit; it’s your chance to express yourself and make this eating space uniquely yours! So go ahead and explore different color stories, artwork, plants, flowers or whatever else works for you. Now it’s time to get creative —happy decorating!