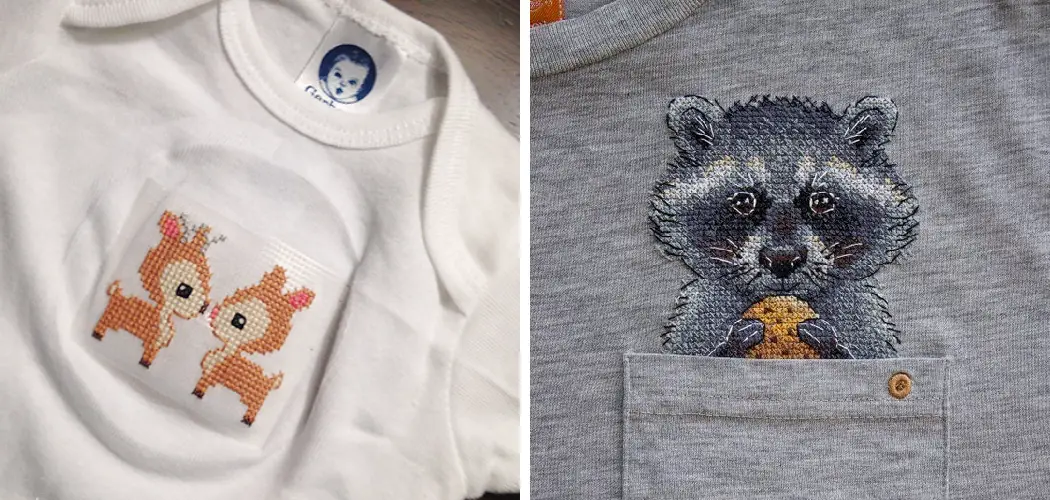
If you’ve ever tried cross-stitching, you know how intricate and gorgeous the designs can be. Now imagine seeing these beautiful patterns come alive when sewn onto clothes or fabric accessories!
Cross-stitching is a perfect way to express yourself through fashion while also incorporating your creative skills. Whether it’s on jeans, hats, skirts, or handbags – you now have the power to create unique items with interesting details that appeal to your own individual style. But doing so isn’t as easy as it sounds; this article will provide an in-depth guide on everything there is to know about how to cross stitch onto clothes safely and successfully.
So fasten your seatbelt: by the end of this post, you’ll have all the tips and tricks needed for the successful customization of all types of clothing items.
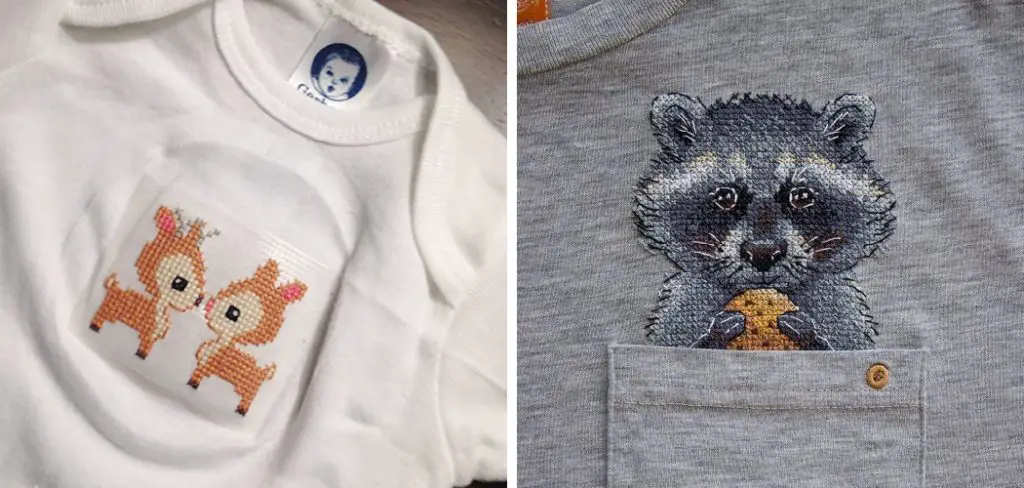
Getting Started
A. Materials Needed
- Fabric Types Suitable for Cross-Stitching on Clothes: To start, you will need a piece of clothing made from a fabric that’s suitable for cross-stitching. While you can technically cross-stitch onto any fabric, it’s easiest to work with even-weave fabrics like Aida or linen, which have a clear grid of holes that you can use to guide your stitches.
- Embroidery Floss and Needle Selection: Choose embroidery floss in colors that fit your design. For beginners, it’s recommended to start with a standard embroidery needle, which has a large eye for easy threading and a sharp point for piercing fabric.
- Hoops and Frames for Stabilizing the Fabric: Embroidery hoops or frames are essential tools to keep your fabric taut while stitching. This prevents puckering and helps to ensure even stitches.
B. Choosing the Right Pattern
- Simple Patterns for Beginners: If you’re a beginner, start with a simple, small pattern that uses a limited number of colors. As you become more comfortable with the technique, you can gradually move on to more complex designs.
- Customizing Patterns for Personalized Designs: Once you’ve mastered the basics, you can start personalizing your designs. This can be as simple as changing the colors in a pattern or as complex as designing your own cross-stitch patterns.
Can You Cross-Stitch onto Clothes?
Cross-stitching, an age-old form of embroidery, has seen a resurgence in popularity in recent years. It’s no wonder, given how easy it is to create incredibly unique and beautiful pieces with just a little bit of patience and skill. But can you cross-stitch onto clothes? The answer is a resounding yes!
Cross-stitching onto clothes is a great way to add a touch of personality to your wardrobe, create a custom gift for a loved one, or breathe new life into an old outfit. Whether you’re a seasoned cross-stitcher or just starting out, this fun and creative project is sure to add a little extra flair to your fashion game. So, grab your needle and thread and get ready to stitch your way to a one-of-a-kind wardrobe!
Why Should You Cross-Stitch onto Clothes?
Cross-stitching has been a popular hobby for many people for decades. As the fashion world evolves with each passing day, cross-stitching has also found its place in this industry. More and more fashion enthusiasts are trying to cross-stitch onto clothes for a good reason.
Cross-stitching allows you to add a unique touch to your clothes and express your personal style in a way that stands out. It’s a relatively easy and inexpensive way to transform your wardrobe and create something truly one-of-a-kind. Whether you’re aiming for a subtle accent or a bold statement piece, cross-stitching on clothes is the perfect activity for anyone looking to give their wardrobe a creative boost.
How to Cross Stitch onto Clothes: A Beginner’s Guide
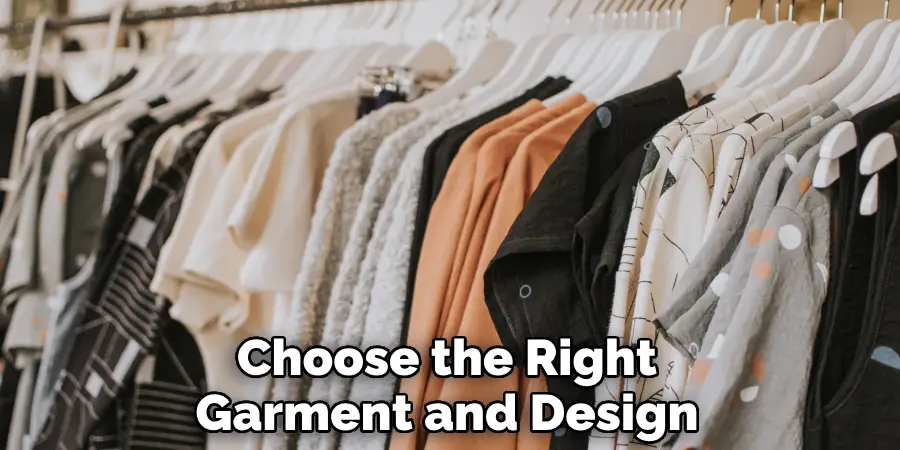
1. Choose the Right Garment and Design
Before you start cross-stitching onto clothes, you need to choose the right garment and design. It’s best to start with plain cotton fabric as it’s easier to stitch onto. You can also choose between a simple design or a more intricate one once you have the garment and design, wash and dry the fabric to prevent any shrinkage after stitching.
2. Gather Your Materials
You’ll need a few materials before you start cross-stitching your clothes. You’ll need a cross-stitch needle, thread, and a hoop. The hoop will keep the fabric taut and prevent bunching. When choosing thread, select a color that stands out against the fabric. You can also choose a metallic thread for added sparkle. Be sure to read through the pattern carefully to ensure you have all the colors and materials you need.
3. Prepare the Fabric
Before you start stitching your clothes, you must prepare the fabric. Tape the pattern onto the fabric and use a washable marker to trace the design. You can also use a water-soluble stabilizer to help keep the stitching even and prevent stretching of the fabric. Once you’ve traced the design, place the fabric in the hoop and tighten it until it’s taut.
4. Start Stitching
Now it’s time to start stitching! Follow the pattern carefully, starting with the center of the design. Use the cross-stitch needle to sew through the fabric and create the pattern. Be sure to make each stitch the same size and shape to ensure a neat and uniform design. Once you’ve completed a section, remove the hoop and stretch out the fabric to check for any mistakes before moving on to the next section.
5. Finish and Secure the Stitching
Once you’ve completed the design, it’s time to finish and secure the stitching. Tie off loose ends and cut the threads. If the fabric is showing through the stitching, you can use a fabric marker to color it in. If the design is intricate, you can use fabric glue to secure any loose threads. Finally, iron the finished garment on the reverse side to ensure any wrinkles or marks left by the hoop are removed.
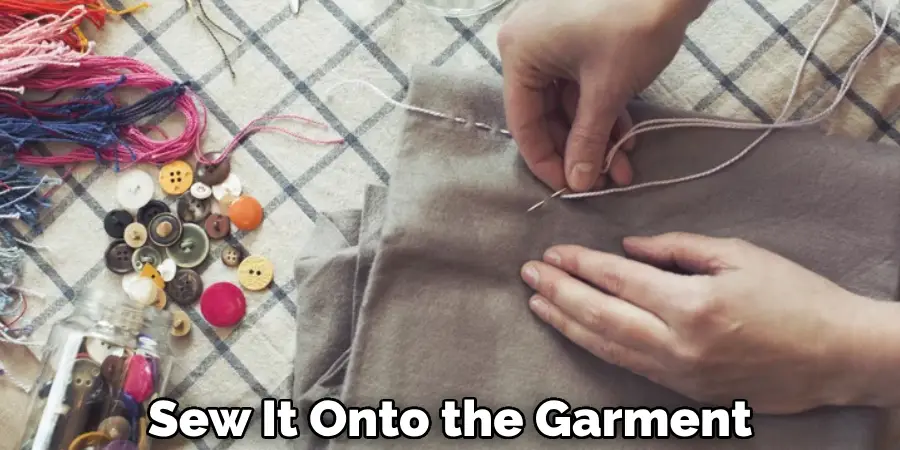
6. Sew on the Garment
Once you’re happy with the design, it’s time to sew it onto the garment. Use a needle and thread that match the fabric color and stitch around all edges of the design. Make sure to use small stitches so they don’t show through from the front side. Once you’ve completed sewing on the design, iron it again on the reverse side to make sure it’s securely attached.
7. Enjoy Your Creation
It’s time to step back and enjoy your handiwork! Cross-stitching onto clothes is a great way to add a unique touch of creativity and personality to any garment. Show off your custom-made garments with pride and have fun wearing your one-of-a-kind creation!
That’s it! You’ve now learned how to cross stitch onto clothes. With a bit of practice, you’ll be able to create beautiful and unique designs with ease. Happy stitching!
5 Considerations Things When You Need to Cross Stitch onto Clothes
1. The Type of Fabric
When deciding whether to cross stitch onto clothes, the first thing you need to consider is the type of fabric. Cross-stitching can be done on most types of fabric, but some are easier to work with than others. For example, cross-stitching on a cotton shirt will be much easier than cross-stitching on a leather jacket.
2. The Design
The next thing you need to consider is the design. If you’re cross-stitching a simple design, it will be much easier than if you’re trying to stitch a complex design. Additionally, you need to ensure that the design will fit onto the clothing item you’re using.
3. The Color of the Thread
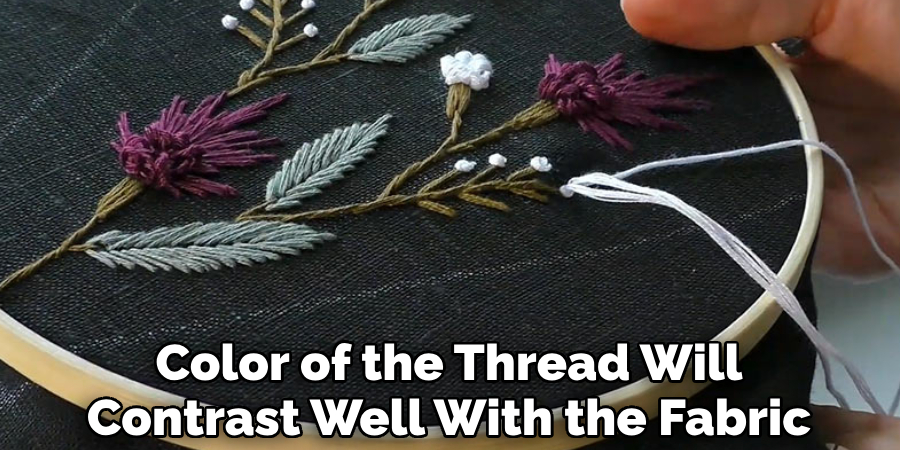
Another thing to consider is the color of the thread. You want to make sure that the color of the thread will contrast well with the fabric so that your stitches are visible. If you’re unsure about what color to use, it’s always a good idea to test out a few different colors before you start stitching.
4. The Size of the Needle
The size of the needle is another important consideration when you’re cross-stitching onto clothes. If you’re using a thin fabric, you’ll want to use a smaller needle so that your stitches don’t rip the fabric. Conversely, if you’re using a thick fabric, you’ll want to use a larger needle so that your stitches don’t get lost in the fabric.
5. The Type of Hoop
The last thing to consider is the type of hoop that you’ll use. There are two main types of hoops: inner hoops and outer hoops. Inner hoops are placed inside of the clothing item, while outer hoops are placed around the outside of the clothing item. Which type of hoop you use will depend on personal preference and the type of fabric that you’re using.
Considering these five things when you cross stitch onto clothes, you can ensure that your project will turn out how you want it to. Have fun and happy stitching!
Benefits of Cross Stitch onto Clothes
Cross stitch is a timeless and versatile embroidery technique that can be carried out on a variety of fabrics, including clothing. The benefits of cross stitch on clothes go beyond just aesthetics, as it adds a personal touch to your wardrobe that sets it apart from anyone else’s. It allows you to express your individuality and creativity in a fun and unique way.
Whether you choose to incorporate a small cross-stitched design on a pocket or go all out with a larger pattern, cross-stitching can be a great way to add personality to basic clothing items. Plus, with the ability to customize and personalize your pieces, cross-stitch clothing can also make for one-of-a-kind gifts for friends and family. So why not try your hand at cross-stitching on a piece of clothing today and see just how much fun it can be?
Troubleshooting Common Issues
1. Dealing with Uneven Stitches
Uneven stitches can often disrupt the appearance of your cross-stitch design. If you’re facing this issue, remember to maintain consistent tension. Too tight and your fabric may pucker; too loose and your stitches may look sloppy. Practice makes perfect, so don’t be discouraged if your first few stitches aren’t even.
2. Correcting Mistakes without Damaging the Fabric
Mistakes are common when cross-stitching, especially for beginners. If you make an error, carefully cut the stitch with a pair of small, sharp scissors and gently remove it. Avoid pulling or tugging, as this can damage the fabric. Use a needle to lift the remaining thread out of the fabric and then re-stitch the area.
3. Tips for Handling Thread Tangles and Knots
Tangles and knots can be frustrating and can slow down your progress. To avoid this, try not to use a thread length of more than 18 inches at a time. Regularly let your needle and thread hang freely to unwind. If a knot does occur, use a needle to gently loosen it and smooth out the thread. If the knot is particularly stubborn, it may be best to cut your losses and start with a fresh piece of thread.
Some Common Mistakes People Make When Trying to Cross Stitch onto Clothes
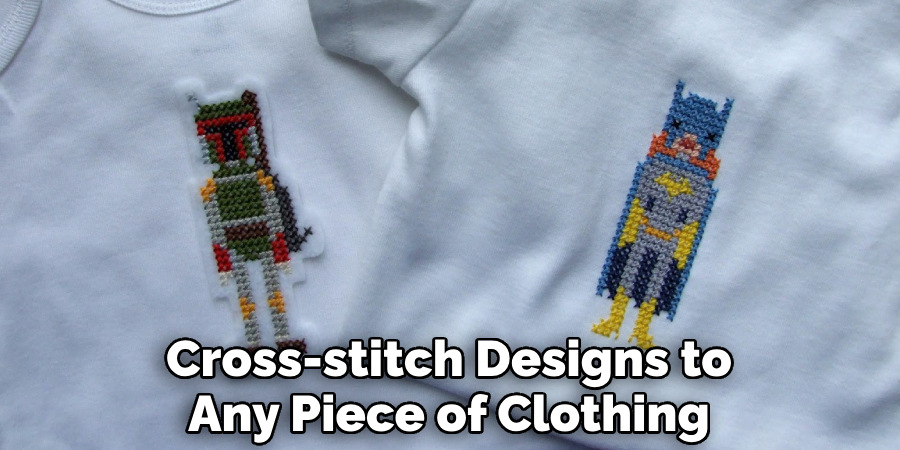
Beginning cross-stitch enthusiasts often encounter difficulties when attempting to add their stitches to clothing. Common mistakes include starting in a corner, stitching too tightly, using the wrong type of thread, and not properly anchoring the thread before starting. These mistakes can lead to uneven or messy stitching and can ultimately ruin the look of an otherwise lovely garment. However, with some practice and attention to detail, anyone can successfully add cross-stitch designs to any piece of clothing or accessory. It just takes patience, a steady hand, and a willingness to learn from mistakes along the way.
Can I Wash My Garment After I’ve Done a Cross Stitch Design on It?
One of the most rewarding aspects of cross-stitching is that you can create beautiful designs on a variety of fabrics. However, once you’ve completed your project, you might start to wonder: can I wash it? The answer to this question depends on a few factors, such as the type of cloth, the type of floss or thread used, and the age of the garment. But don’t worry, washing your cross-stitched garment is possible! With proper care and attention, you can preserve your cross-stitch design for years to come. Read on to learn more about how to care for and launder your treasured cross-stitch pieces.
Conclusion
Cross-stitching onto clothes is a great way to add a personal touch to your wardrobe. With the right garment, design, and materials, you can easily create beautiful and unique patterns on your clothes. Just remember to take your time, be patient and have fun! Thanks for reading our post about how to cross stitch onto clothes.

