

Are you fed up with constantly replacing battery-operated lights throughout your home? If so, you’ll be delighted to learn that converting your existing lighting fixtures from battery-powered models into plug-in lighting is possible.
Plugging in your light fixtures provides numerous advantages: not only do the batteries no longer need changing regularly, but also, plugging in a unit will ensure its brightness remains constant versus dimming as the battery’s power output decreases.

In this blog post, we’ll precisely describe how to convert battery operated lights to plug in. We’ll discuss why this conversion makes sense and uncover the tools and skills needed for wiring a range of light fitting types.
What Will You Need?
To complete this conversion, you’ll need to have access to the following:
- An appropriate power supply/transformer with the correct voltage and wattage for your lights (this will usually be written on the fixture, or check the manufacturer’s instructions)
- Wire cutters & strippers
- Electrical tape
- Screwdriver
You’re ready to get started once you’ve gathered all the necessary items!
8 Easy Steps on How to Convert Battery Operated Lights to Plug in
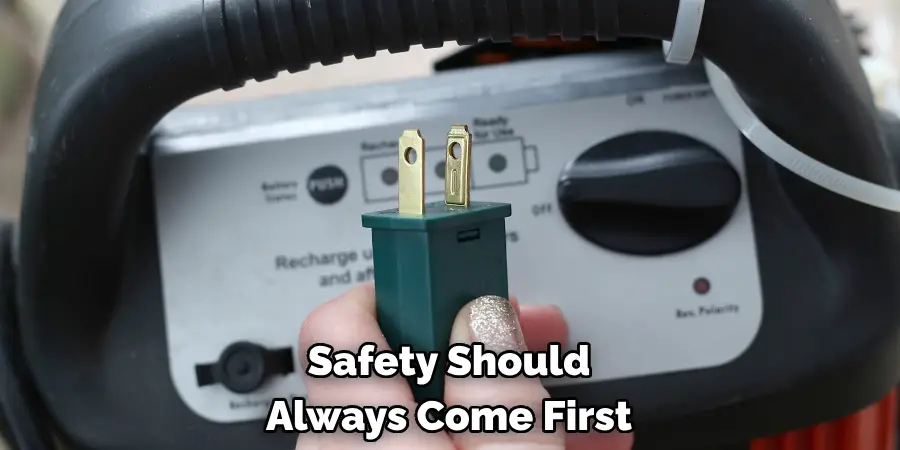
Step 1: Safety First
Safety should always come first before you begin any type of electrical work. Ensure that all devices are powered off and unplugged. Clear your workspace of any unnecessary items that might obstruct or distract you. If possible, wear protective gear such as gloves and safety glasses. Remember, a little precaution can go a long way when working with electricity.
Step 2: Identify Battery Wires
The next step is identifying the wires attached to the battery holder. Typically, there will be two wires – a positive wire (usually red) and a negative wire (usually black). You will need to cut these wires, but before you do, make a note or take a picture to remember which wire is positive and which is negative. This will be crucial when connecting your light to the new power supply. Always remember that handling wires carefully is essential for a successful conversion from battery operated lights to plug-in.
Step 3: Cut and Strip the Wires
Snip the wires connecting the light to the battery holder using your wire cutters. Ensure you leave enough wire attached to the light to work comfortably. Once cut, use your strippers to bare the ends of both the positive and negative wires ( typically, about half an inch of wire should be stripped). Be careful not to damage the wire inside. Remember, converting battery operated lights to plug-in requires meticulous attention to detail for a flawless execution.
Step 4: Prepare the new Power Supply
Now it’s time to prepare your new power supply or transformer. It will have two output wires, and similar to the light’s wires, one is positive (typically red), and the other is negative (usually black). Cut the wires to the desired length, ensuring they’re long enough to reach your outlet from the position of your light.
Use your wire strippers to expose about half an inch of the wire on each end. It’s important to verify the polarity of your power supply wires before proceeding with the conversion of your battery operated lights to plug in.

Step 5: Connecting the Wires
Once you have prepared both sets of wires, it’s time to connect them. Match the positive wire from the light (usually red) to the positive wire from the power supply. Similarly, connect the light’s negative wire with the power supply’s negative wire.
Ensure you have a secure connection between the corresponding wires. You can twist the bare ends of the wires together, then secure them using electrical tape or a wire nut. You mustn’t let the positive and negative wires touch each other; this could lead to a short circuit.
Step 6: Testing
Before sealing everything up, it’s important to test your connection. Plug your new power supply into an outlet and switch it on. Your light should illuminate as it did when powered by batteries. If it doesn’t, double-check your connections and ensure the wires are matched correctly – positive to positive, negative to negative. Also, ensure the power supply’s voltage and wattage are appropriate for your light fixture. Successful testing is crucial in the process of converting battery operated lights to plug-in.
Step 7: Insulate and Secure the Wires
Once you’re confident that your light is working correctly, insulating and securing the wires is time. Cover each wire connection with a piece of heat shrink tubing or electrical tape. This will prevent any possible short circuits. After this, wrap both wires with another layer of electrical tape to create a single, tidy cable. Your conversion from battery operated lights to plug in is nearly complete.
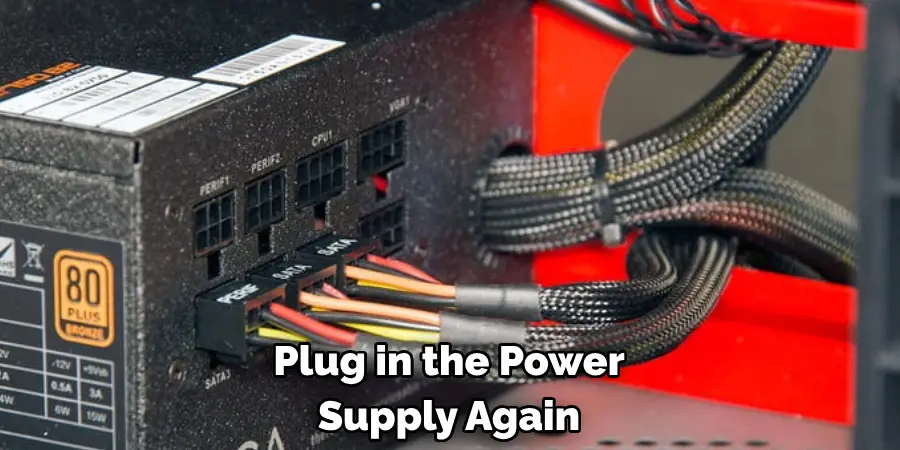
Step 8: Final Check and Clean-up
The final step in the conversion process is to tidy your workspace and ensure your newly converted plug-in lights are working properly. Plug in the power supply again and check the light’s functionality to see if everything is in order. Congratulations! You have successfully converted your battery operated lights to plug in. Remember to keep your workspace clean and store your tools safely.
Following these eight simple steps, you should have no problem converting battery operated lights to plug-in. Not only will this save time and money on replacing batteries often, but it also guarantees a safe and secure connection. All it takes is the right tools, knowledge, and patience, and you’ll be able to convert your battery-operated lights easily.
5 Additional Tips and Tricks
- Always make sure your workspace is clean and clear of any obstructions.
- Before handling the wires, make a note or take a picture to remember which wire is positive and which is negative.
- When connecting the wires, always ensure that the positive and negative wires are matched correctly – positive to positive, negative to negative.
- Once the connections have been made, properly insulate each wire with heat shrink tubing or electrical tape to prevent any possible short circuits.
- Before plugging in the power supply, check to ensure your light works correctly and both positive and negative wires are connected appropriately.
With these five tips and tricks, you can successfully convert your battery operated lights to plug-in.
5 Things You Should Avoid
- Avoid rushing the process: Converting battery operated lights to plug in is a meticulous task. Rushing through the process may result in incorrect connections, which can be dangerous. Reserve adequate time for the task to ensure a safe and successful conversion.
- Only work with proper tools: Having the right tools is essential. Working without proper tools, like wire strippers or a multimeter, can lead to inaccurate connections and potential hazards.
- Avoid working in a cluttered workspace: A clean and organized workspace can help prevent accidents and misplacements. Before you begin, ensure your workspace is clear of any unnecessary items.
- Avoid neglecting safety measures: Always ensure you’re wearing suitable protective clothing and gear, such as gloves and safety glasses, before beginning your work. Additionally, ensure your work area is well-lit to prevent any mishaps.
- Avoid skipping the testing phase: Testing your connections before finalizing the conversion process is crucial. Skipping this step might lead to potential errors and damage to your light fixture.
These five things should always be avoided when converting battery operated lights to plug-in. Following the above guidelines will ensure a safe and successful conversion of your battery operated lights to plug in.
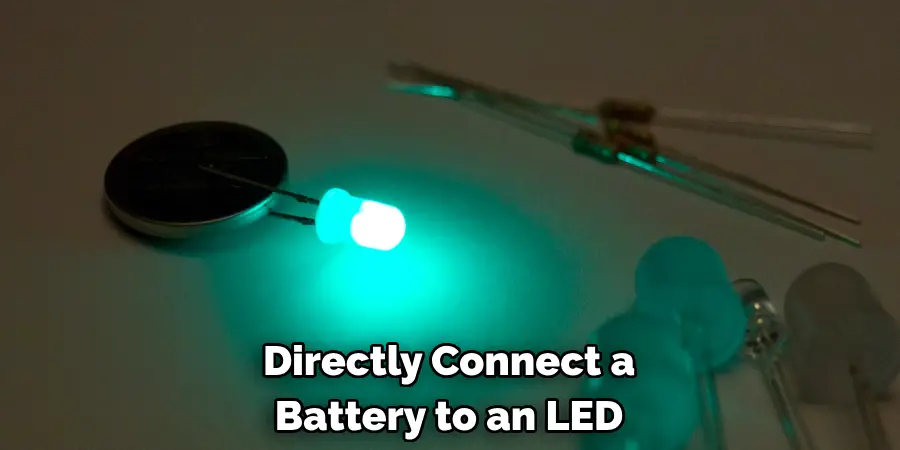
What Happens When Battery is Directly Connected to the Led?
It is not recommended to directly connect a battery to an LED, as this can lead to potential hazards. When connecting a battery directly to the LED, the current in the circuit will be higher than usual. This can damage your LED light and cause it to malfunction or even explode. In addition, due to the low voltage of most batteries, they might not be able to provide enough power for the LED, resulting in a dim light. Furthermore, connecting a battery directly to the LED can create a lot of heat and cause a fire.
For these reasons, it is highly recommended to use an appropriate power supply when converting your battery operated lights to plug in. This will ensure the current flow is within the safe limits and provide enough power for the LED. Following all safety measures and guidelines when converting your battery-operated lights to plug in will help keep you safe and guarantee a successful conversion.
Conclusion
Overall, how to convert battery operated lights to plug in is relatively easy. By following the above steps, you can save money and energy by turning your once battery-operated lights into ones powered by electricity.
If you are looking for an easy and creative option for converting your lights, plugging them in is a great choice. What’s more is that you now know to make this conversion yourself without spending extra on a professional installation.
So take advantage of these new green energy sources and give your home a more efficient lighting solution! Why pay when you can DIY? The next time you need some light at night, get powered with energy saving plug-in lights instead of using batteries that need to be disposed of correctly. You’ll be helping your wallet and helping the planet!