
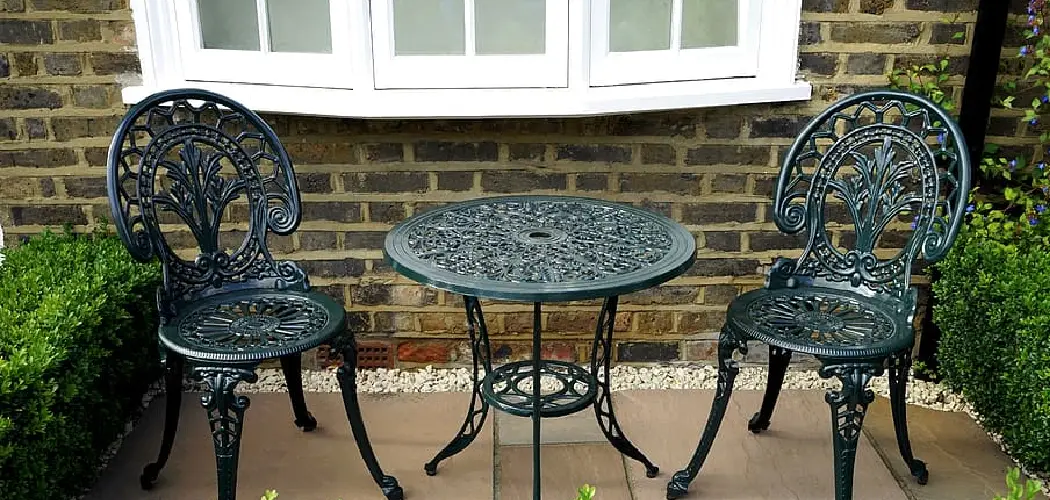
Are you looking to refresh the look of an old piece of wooden furniture? Or have you just moved into a new space and want to choose the perfect color palette for your home décor? Whether you want to add some vibrancy or something neutral, customizing your furniture with paint can be an easy and transformative way to make any room feel more inviting.
Wooden furniture has a timeless appeal and is versatile enough to be incorporated into any interior design style. But sometimes, the current color of your wooden furniture may not match your desired aesthetic, or you may want to give it a personal touch.
In this blog post, we’ll show you how to change color of wooden furniture so that you can design a room that speaks directly to your style.
What Will You Need?
Before you start, ensure you have all the necessary tools and materials to complete this project. You will need:
- Wooden furniture piece
- Sandpaper or electric sander
- Primer
- Paint of your choice (acrylic or latex)
- Paintbrushes
- Protective gear (gloves, mask, goggles)
- Drop cloth or old newspaper
- Soft cloth for wiping
- Clear coat (optional)
Now, let’s get started on transforming your wooden furniture!
10 Easy Steps on How to Change Color of Wooden Furniture
Step 1. Sanding
The first step in changing the color of wooden furniture is to sand it down. This removes any existing finishes and imperfections in the wood, allowing for a smooth surface that can be easily painted or stained. Start by using a medium-grit sandpaper to remove any existing paint or varnish, then use a finer grit to create a smooth surface. Wear protective gear such as goggles and gloves when sanding to protect yourself from dust and debris.
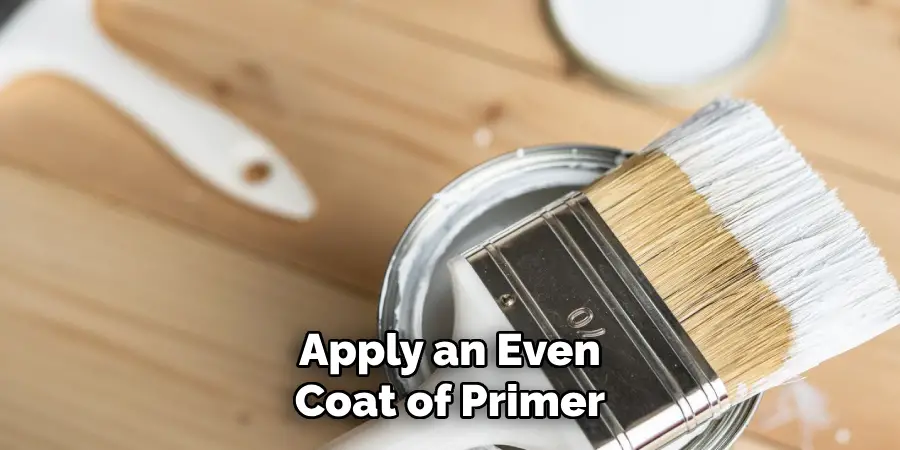
Step 2. Priming
Once the furniture has been sanded, it should be primed before painting or staining. Primer helps ensure that the paint or stain adheres properly to the wood and prevents it from chipping or peeling off over time. Apply an even coat of primer with a brush and allow it to dry completely before continuing to the next step.
Step 3. Painting/Staining
Finally, you can begin painting or staining your furniture depending on what look you are trying to achieve. Use high-quality paint or stain explicitly designed for wood surfaces and apply several thin coats rather than one thick coat for an even finish. Allow each coat of paint or stain to dry completely before applying another until you have achieved your desired color and finish.
Step 4. Sealing
After the paint or stain has fully dried, and you’re satisfied with the new color, it’s time to seal your wooden furniture. This step is essential to protect your furniture from wear and tear and to maintain its new look. Apply a clear coat sealer, using a clean brush, following the grain of the wood. Depending on your preference, this can be a varnish, lacquer, or polyurethane finish. Allow the sealer to dry thoroughly before using the furniture. Now, you have successfully changed the color of your wooden furnishings, giving it a fresh and personalized look.
Step 5. Maintenance
After successfully changing the color of your wooden furniture, it is essential to maintain its look. Clean the piece periodically with a cloth dampened in a mild detergent solution or use a dry duster to avoid dust build-up. Avoid placing hot or wet items directly on the surface, which could cause discoloration or damage. Regular maintenance will ensure the longevity of your newly colored furniture, helping it to stay fresh and vibrant for years to come.
Step 6. Regular Touch-ups
Due to daily wear and tear, your furniture might show signs of chipping or scuffing over time. In such cases, having the same paint or stain you used to change the color initially will benefit touch-ups. Use a small brush to cover the chipped or scuffed areas carefully, let it dry thoroughly, and then apply the clear coat sealer for an even finish.

Step 7. Protect from Sunlight
Prolonged exposure to direct sunlight can cause the color of your wooden furniture to fade over time. To prevent this, try to position your furniture where it won’t be in the direct path of sunlight. If that’s not possible, consider using UV-protective window treatments or covers for your furniture when the sun is at its strongest.
Step 8. Avoid Harsh Chemicals
When maintaining your furniture, avoid using harsh chemicals on the surface as they can strip the color and damage the wood. Always opt for gentle cleaning solutions specifically designed for wooden surfaces. Remember, a little care goes a long way in keeping your furniture looking new and vibrant.
Step 9. Rotate Furniture
Rotating your furniture can be beneficial if certain parts are exposed more to wear and tear or sunlight. By changing its position periodically, you can ensure an even distribution of any fading or aging, helping the furniture retain its color for longer. You can also consider rotating cushions or removable parts to ensure even use.
Step 10. Educate Others
Now that you have successfully changed the color of your wooden furniture and know how to maintain it, you can pass on this knowledge. Help others learn how they can transform their furniture pieces. Not only does this promote creativity and self-reliance, but it also contributes to sustainability by extending the life of existing furniture rather than replacing it. Sharing your experience can inspire others to take on similar projects and discover the joy of personalizing their space.
With these easy steps, you can confidently change the color of your wooden furniture and create a unique and personalized look for your home or workspace. Remember to have fun with the process, be bold and experiment with different colors and finishes.
5 Additional Tips and Tricks
Tip 1: Testing Colors
Before committing to a specific color, it’s always a good idea to test it on a small, inconspicuous furniture area. This will give you an idea of how the color will look on the entire piece and allow you to make any necessary adjustments before fully committing.
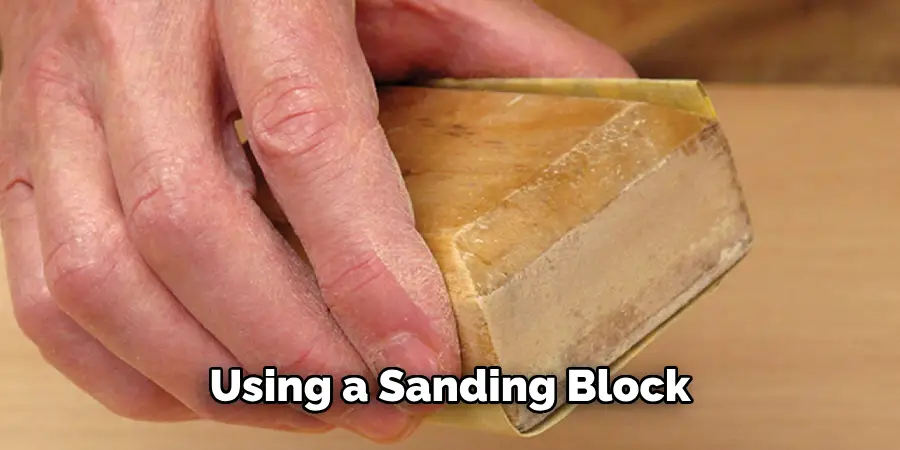
Tip 2: Use a Sanding Block
Using a sanding block rather than just your hand when sanding the furniture will give you better control and help you achieve a smoother finish.
Tip 3: Protect Your Work Area
When sanding, painting, or staining your furniture, cover and protect the surrounding area to avoid any accidental spills or damage.
Tip 4: Use a Natural or Synthetic Brush
When applying paint or stain, using a high-quality natural or synthetic brush will help you achieve a smooth and even finish.
Tip 5: Consider Different Techniques
Instead of just painting the furniture one solid color, consider experimenting with different techniques such as distressing, layering colors, or creating an ombre effect for a unique and eye-catching look. Be creative and have fun with it!
By following these additional tips and tricks, you can ensure an even better outcome when changing the color of your wooden furniture and adding your personal touch to the process.
5 Things You Should Avoid
Avoid 1: Skipping Sanding
Never skip the sanding process. Sanding prepares the surface for the paint or stain, allowing it to adhere better. Ignoring this step could lead to an uneven finish or the paint peeling off prematurely.
Avoid 2: Using Low-Quality Supplies
Avoid using low-quality paints, stains, or brushes. These can affect the finish of your furniture, leaving brush marks, streaks, or a color that doesn’t last. It’s worth investing in high-quality supplies for a better result.

Avoid 3: Not Allowing Enough Drying Time
Never rush the drying process. Not allowing enough time for each coat of paint or sealer to dry can lead to smudging or an uneven finish. Patience is vital in changing the color of your wooden furniture.
Avoid 4: Ignoring Safety Measures
Pay attention to safety measures. Always work in a well-ventilated area when painting or staining to avoid inhaling fumes. Also, consider wearing protective gear such as gloves and safety glasses.
Avoid 5: Neglecting Regular Maintenance
Avoid neglecting regular maintenance. The new color of your furniture can only be maintained with regular cleaning and touch-ups. Failing to keep the furniture can cause it to lose its new vibrant color and finish faster.
By avoiding these common mistakes, you can ensure a smooth process and a long-lasting finish when changing the color of your wooden furniture.
Conclusion
All in all, changing the color of wood furniture is a simple and cost-effective way to give old furniture a fresh look. With a few basic supplies and patience, you can transform wooden furniture from dull to delightful! You don’t have to be an experienced do-it-yourselfer to complete this project—anyone with the right tools and knowledge can do it. You’ll quickly become proud of your newfound talent when you show off your new creation.
Hopefully, the article on how to change color of wooden furniture has inspired you to take on this fun and rewarding project. Remember, these steps can also be applied to other types of wooden items, such as shelves, picture frames, or even outdoor furniture.
Be bold and take on this task: get creative with color, experiment, and have fun! Your audience will surely be impressed by the transformation of your old wooden furniture into something that looks brand new.