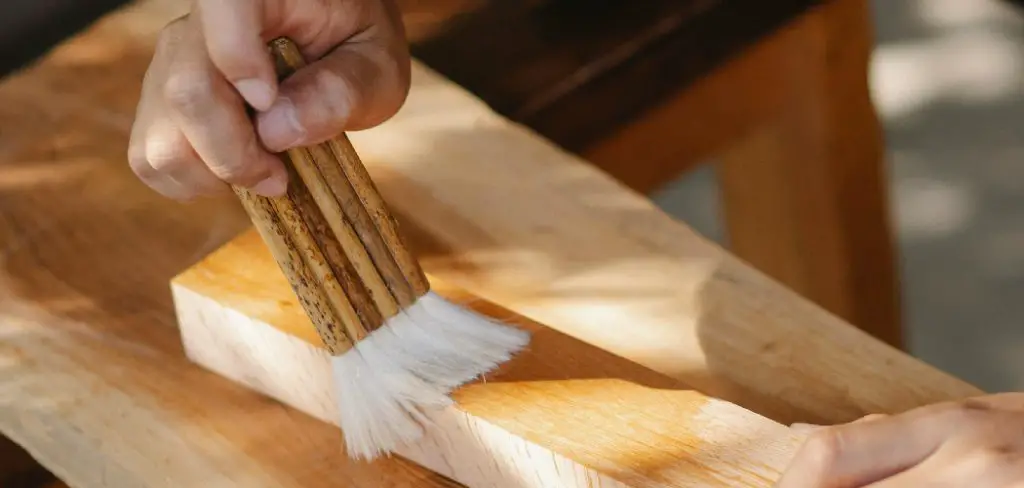
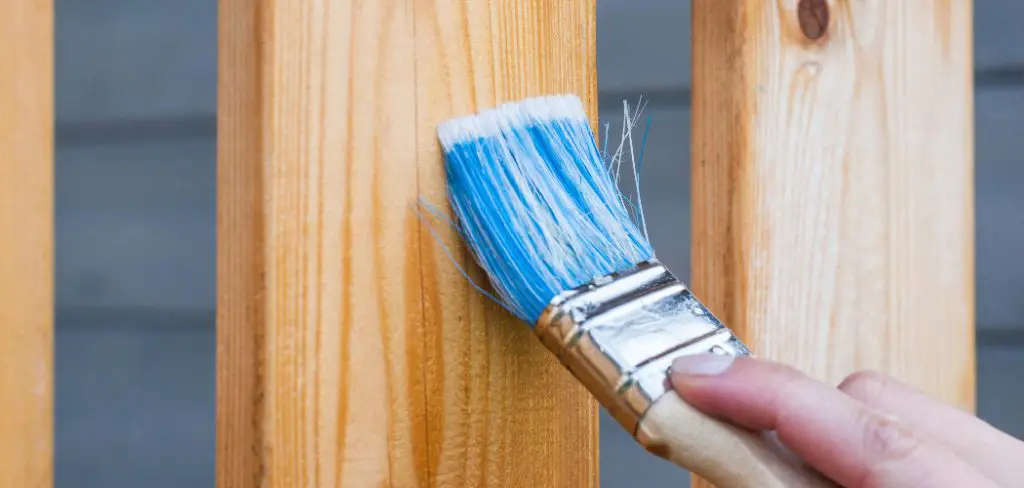
To apply varnish without brush marks, use long, even strokes and remove any excess product after each application. Varnishing is a popular way to protect and enhance the appearance of wood furniture, floors, or cabinets.
However, achieving a smooth and flawless finish can be challenging due to the presence of brush marks. These unsightly streaks can diminish the overall aesthetic appeal of the varnished surface. Fortunately, there are techniques you can employ to apply varnish without brush marks.
By using long, even strokes and removing excess varnish after each application, you can achieve a professional-looking finish. We will explore the steps involved in applying varnish without brush marks, ensuring a smooth and even coating for your woodworking projects.

Preparing The Surface
Before applying varnish on a wooden surface, it’s crucial to properly prepare the surface. This step is important to ensure a smooth finish without any brush marks. To achieve this, you need to focus on sanding the surface, using a sanding sealer, and filling any imperfections.
Sanding The Surface
Sanding the surface is the first step to achieving a flawless varnish application. Start by using a medium-grit sandpaper, such as 120 grit, to remove any rough spots, bumps, or unevenness. Sanding the surface not only prepares it for varnishing but also helps the varnish adhere better to the wood.
To avoid brush marks, sand the surface in the direction of the wood grain. This helps to create a smooth, even finish. Be sure to sand the entire surface and pay extra attention to any high-traffic areas or areas that will be highly visible.
Using A Sanding Sealer
After sanding the surface, it’s beneficial to use a sanding sealer. A sanding sealer is a thin coat applied to the wood that helps to seal the pores, minimize absorption, and promote a smoother finish. It also helps prevent the varnish from being absorbed unevenly, which can lead to brush marks.
Before applying the sanding sealer, ensure the surface is clean and free from any dust or debris. Apply a thin and even coat of sanding sealer using a brush or a clean cloth. Follow the manufacturer’s instructions on drying time, as this may vary depending on the product.
Filling Any Imperfections
To achieve a flawless varnish application, it’s crucial to fill any imperfections on the surface. This includes cracks, dents, or gaps. Filling these imperfections not only creates a more even surface but also prevents the varnish from pooling in these areas, leading to brush marks.
There are different types of wood fillers available, such as putty or epoxy-based fillers. Choose the appropriate one for your specific needs. Apply the filler using a putty knife and ensure it is level with the surface. Allow the filler to dry completely before sanding it smooth.
By following these steps in preparing the surface, you can ensure a varnish application without brush marks. Sanding the surface, using a sanding sealer, and filling any imperfections will help create a smooth and flawless finish that enhances the natural beauty of the wood.
Choosing The Right Varnish
Achieve a flawless varnish finish without brush marks by following these simple steps. Learn how to apply varnish smoothly and evenly, eliminating any streaks or imperfections for a professional result.
Understanding Different Types Of Varnish
Before you can apply varnish without brush marks, it is essential to have a good understanding of the different types of varnish available. Varnish comes in various formulations, each with its own unique attributes and application techniques. By familiarizing yourself with these options, you can select the most suitable varnish for your project, ensuring a smooth and flawless finish.
Selecting The Appropriate Varnish For Your Project
Choosing the right varnish for your project is crucial to achieving a brush mark-free finish. Consider the following factors when selecting your varnish:
- Type: Determine if you need a water-based or oil-based varnish, based on the type of wood or surface you are working with. Water-based varnishes dry quickly and have low odor, while oil-based options provide a more durable finish.
- Gloss Level: Consider the desired level of glossiness for your project. Varnishes are available in various levels of sheens, such as high-gloss, semi-gloss, satin, or matte. Choose according to your personal preference and the look you want to achieve.
- Application Method: Consider the application method you plan to use. Some varnishes are suitable for brushing, while others work better when sprayed. Ensure the varnish you select is compatible with your chosen method to help minimize brush marks.
- Drying Time: Take into account the drying time of the varnish you choose. Some varnishes dry quickly, allowing for multiple coats in a shorter span of time, while others require longer drying periods. Selecting a varnish with a drying time that matches your project timeline can contribute to a smoother application process.
By taking these factors into account and carefully choosing the appropriate varnish, you can significantly reduce the chances of brush marks appearing in your final finish. Remember, preparation is key, so ensure you have properly sanded and cleaned the surface before applying the varnish. With the right varnish and proper techniques, you can achieve a professional-looking, brush mark-free result.
Applying The Varnish
Varnishing wood surfaces can be a tricky task, especially when it comes to avoiding brush marks. However, with the right techniques and tools, you can achieve a flawless and smooth finish that will enhance the beauty of your woodwork. In this section, we will explore the key steps to apply varnish without brush marks, ensuring a professional-looking result every time.
Using The Right Brush
When applying varnish, the type of brush you use plays a crucial role in preventing brush marks. Opt for a high-quality brush with synthetic bristles, designed explicitly for varnish application. These brushes are usually smooth and flexible, allowing for a more even distribution of varnish on the surface. Avoid using cheap brushes with coarse bristles, as they may leave unsightly streaks and brush marks on your woodwork.
Applying Thin Coats
To achieve a seamless finish, it’s important to apply varnish in thin coats. Thick coats of varnish tend to dry more slowly, increasing the chances of brush marks and drips. Instead, use a brush to apply a thin, even layer of varnish, allowing it to dry completely before applying subsequent coats. This method allows the varnish to spread evenly and minimizes the likelihood of visible brush marks.
Working In Small Sections
When varnishing larger surfaces, such as tabletops or cabinets, working in small sections is essential. This approach prevents the varnish from drying too quickly, enabling you to evenly distribute it and smooth out any brush marks that may occur. Divide your surface into manageable sections, applying varnish to one section at a time before moving on. This technique ensures a consistent and polished finish.
Avoiding Overbrushing
Overbrushing is a common mistake that can lead to visible brush marks on your woodwork. When applying varnish, avoid repeatedly brushing over the same area once the varnish has started to dry. Instead, make your brush strokes in one direction, following the grain of the wood, and then leave it undisturbed to dry. This technique prevents brush marks caused by overworking the varnish and ensures a smooth and pristine finish.
By following these techniques, you can confidently apply varnish without brush marks, transforming your woodwork into a stunning masterpiece. Remember to always use the right brush, apply thin coats, work in small sections, and avoid overbrushing for a flawless and professional-looking result.
“`html
NOTE:
To apply the varnish without brush marks, remember these key steps:
1. Use the right brush: Choose a high-quality brush with synthetic bristles to ensure even distribution.
2. Apply thin coats: Avoid thick coats, as they take longer to dry and increase the chances of brush marks.
3. Work in small sections: Divide larger surfaces into manageable sections to achieve an even application.
4. Avoid overbrushing: Once the varnish has started to dry, refrain from repeatedly brushing over the same area.
By following these steps, you can achieve a smooth and flawless finish without any brush marks on your woodwork.
“`

Sanding Between Coats
When it comes to applying varnish to wood, one of the most common issues DIY enthusiasts face is the dreaded brush marks. These unsightly streaks and lines can ruin an otherwise beautiful finish. But fret not! There is a solution – sanding between coats. The process of sanding between coats allows you to achieve a smooth, flawless finish that will leave your project looking professional.
Why Sanding Between Coats Is Important
Sanding between coats is crucial for several reasons. Firstly, it helps to remove any imperfections, such as brush marks or drips, from the previous coat. Secondly, it creates a roughened surface, which improves the adhesion of the subsequent coat, ensuring better coverage and durability. Lastly, sanding between coats helps to smooth out the varnish, resulting in a polished and professional finish.
Using Fine-grit Sandpaper
When sanding between coats, it is important to use the right grit sandpaper. Opt for a fine-grit sandpaper, such as 220 grit. This finer grit will remove any roughness or brush marks without damaging the underlying layers of varnish. It will create a smooth surface for the next coat to adhere to, ensuring a flawless finish.
Removing Dust Before Applying The Next Coat
Prior to applying the next coat of varnish, it is crucial to remove any dust or debris that may have settled on the surface. Failure to do so can result in a bumpy, uneven finish. To remove the dust, use a clean, lint-free cloth or a tack cloth designed specifically for removing dust particles. Gently wipe the surface, ensuring that no dust remains. This simple step will help to guarantee a smooth and professional finish.
In conclusion, sanding between coats is a vital step in achieving a flawless varnish finish. It not only helps to eliminate brush marks and imperfections but also improves adhesion and creates a polished appearance. By using fine-grit sandpaper and removing any dust before applying the next coat, you can ensure each layer of varnish is smooth and seamless. So, don’t let brush marks ruin your beautiful woodwork – follow these tips and enjoy a professional-looking finish every time!
Finishing Touches
Achieve a flawless finish when applying varnish without brush marks using these expert techniques. Follow our step-by-step guide to ensure a smooth and professional outcome with no visible streaks or imperfections. Increase the longevity and beauty of your woodwork with these essential finishing touches.
Buffing The Final Coat
After applying varnish to your project, you may notice some slight brush marks or imperfections on the surface. This is where the process of buffing comes into play. Buffing the final coat of varnish will create a smooth, flawless finish that will leave your project looking professional and high-quality.
To begin, gather a piece of 400-grit sandpaper and lightly sand the surface of the varnish. Make sure to sand in the direction of the wood grain to avoid any further damage or scratches. Once you have sanded the entire surface, wipe away any dust or debris with a clean, damp cloth.
Next, grab a soft cloth or a buffing pad and apply a small amount of polishing compound. Gently rub the compound onto the varnish using circular motions. Be sure to cover the entire surface to achieve an even finish. Continue buffing until the brush marks and imperfections are no longer visible and the varnish has a smooth, glossy appearance.
Applying A Top Coat For Added Protection
In addition to creating a flawless finish, it is important to apply a top coat to your varnish for added protection against wear and tear. The top coat will act as a barrier, shielding your project from scratches, stains, and moisture.
Before applying the top coat, make sure the final coat of varnish is completely dry. Use a clean, dry cloth to remove any dust or debris that may have settled on the surface. Once the surface is clean, choose a clear, high-quality top coat and apply it using a clean brush or rag. Follow the manufacturer’s instructions for drying time and re-coating, ensuring you apply a sufficient number of coats for optimal protection.
Once the top coat has dried, inspect the surface for any remaining brush marks or imperfections. If necessary, lightly sand the surface with fine-grit sandpaper and repeat the buffing process to achieve a smooth, flawless finish. Finally, wipe away any dust or debris with a clean, damp cloth to reveal a beautifully coated project.
Frequently Asked Questions Of How To Apply Varnish Without Brush Marks
How Can I Apply Varnish Without Brush Marks?
To apply varnish without brush marks, make sure to sand the surface properly, use high-quality brushes, and apply thin, even coats. Work in a well-ventilated area and keep the brush strokes in one direction. Avoid overbrushing and allow each coat to dry completely before applying the next.
What Causes Brush Marks When Applying Varnish?
Brush marks when applying varnish can be caused by using low-quality brushes, applying too much pressure, not sanding the surface properly, or not using the right technique. Poor ventilation or working in a dusty environment can also contribute to brush marks.
Can You Apply Varnish With A Roller Instead Of A Brush?
Yes, you can apply varnish with a roller instead of a brush. However, it is important to use a foam roller specifically designed for varnish application. Roll the varnish on in thin, even coats, and be mindful of the direction of the roller strokes to avoid creating any visible texture or roller marks.
Conclusion
If you want a flawless varnish application without any annoying brush marks, follow these simple tips and techniques. By preparing your surface properly, choosing the right varnish, using the correct tools, and applying it with smooth, even strokes, you can achieve a professional finish that is free from any unwanted imperfections.
Remember to take your time, be patient, and practice these methods, and you’ll be rewarded with a beautifully smooth and seamless varnish finish. Happy varnishing!

