

Are you tired of your old, boring shower doors? Want to spruce them up a bit with something new and exciting? Sheer curtains are the perfect way to do just that! Not only are they beautiful and stylish, but sheer curtains can also create privacy for those wanting more than just a clear curtainless window.
But what if you want to change the color of your curtains after they’ve already been hung up? Can you dye sheer curtains? Find out in this blog post as we explore the wonders of decorating shower doors with sheer curtains and discuss everything related to dying linen!
Here, we will cover from the basic knowledge of sheer curtains to dying them. We’ll also discuss some tips and tricks on how to keep your newly dyed sheer curtains looking fresh and vibrant for as long as possible.
Understanding Sheer Curtains
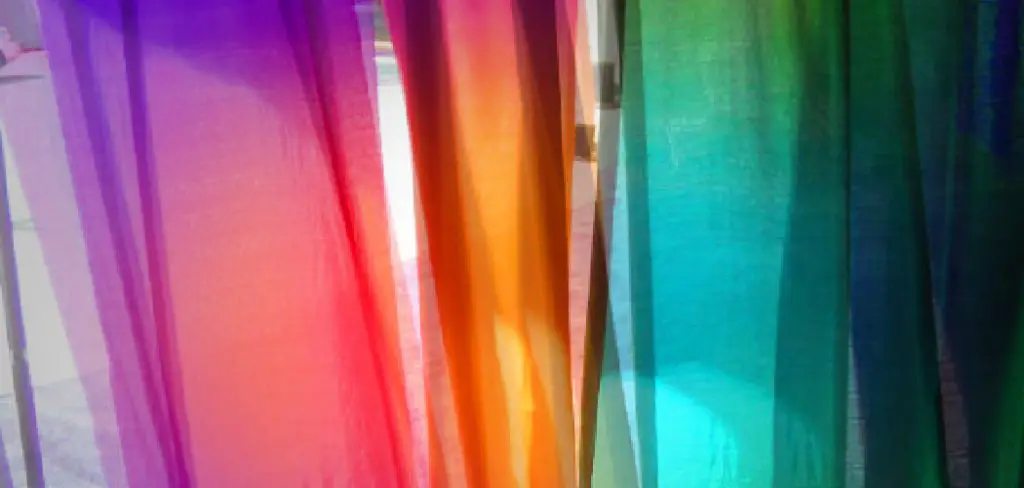
Sheer curtains are a versatile and appealing window treatment that can transform the aesthetic of a room. The translucency of the fabric creates a delicate interplay of light and shadow that can add depth and intrigue to your living space. They are lightweight, offer softness, and allow a significant amount of light to seep into the room, creating a warm and inviting ambiance. Furthermore, sheer curtains provide a level of privacy without completely blocking the view of the outdoors.
Fabric Matters
Different fabrics react differently to dye, so identifying the material of your sheer curtains is crucial. Natural fabrics such as linen and silk are generally excellent at absorbing dye due to their porous nature. However, they can tricky to work with as they may shrink or lose their texture after a dye bath. Synthetic fabrics like polyester, on the other hand, are resistant to dye due to their non-porous nature. Dying synthetic fabrics requires special types of dye and more heat, but they are more durable and less likely to shrink.
Weave and Weight
The weave and weight of the fabric can also play a significant role in how the dye is absorbed and the final appearance of the curtain. Voile and voile-batiste have an open weave, allowing them to absorb dye more readily, resulting in richer colors. Georgette, with its tighter weave, might result in a more muted color payoff. Lighter fabrics will have a softer drape and might take up dye more quickly, while heavier fabrics might require a longer dyeing time but can offer a more luxurious drape.
Pre-Dye Considerations
Before beginning the dyeing process, it is important to check the fabric content and washing instructions of your curtains. These factors can influence the dyeing process and its outcomes. Consider potential colorfastness issues that might result in the dye not adhering properly or fading quickly. It’s always recommended to do a pre-test on a small, hidden piece of the curtain to understand how the fabric will react to the dye. This step can prevent any unwelcome surprises and ensure a successful dyeing experience.
Is It Possible?
First things first, the big question: can you dye sheer curtains? The answer is yes! You can dye sheer curtains to match your bathroom décor or give them a new look. However, some important factors must be considered before diving into the dying process.
Additionally, it’s important to note that not all sheer curtains are made from the same fabric. Some may be 100% polyester, while others may have a blend of cotton or linen. This means that the dyeing process and final result may vary for each type of sheer curtain.
What Will You Need?
To dye your sheer curtains, you will need the following:
- Sheer curtains
- Fabric dye (specifically made for synthetic fabrics)
- Large plastic tub or bucket
- Hot water
- Salt (for cotton or linen blends)
- Rubber gloves
- Tongs or large spoon for stirring
Once you have gathered all your materials, you can start the dyeing process!
9 Easy Steps on How Can You Dye Sheer Curtains
Step 1. Prep Your Workspace:
Before you begin the dyeing process, preparing your workspace properly is crucial to avoid any potential mess or staining. Choose a work area that can handle spills, such as a laundry room, garage, or even outdoors if the weather permits. Cover the area with a plastic drop cloth or old sheets to protect it from any dye splashes. Make sure you have a sink or water source nearby for rinsing and cleaning purposes. Remember to wear old clothes or an apron that you don’t mind getting stained, and have your rubber gloves ready to protect your hands from the dye.

Step 2. Prepare the Curtains:
Before dying, the curtains need to be cleaned and dampened. Wash your sheer curtains gently in warm water to remove any dirt or dust particles that could inhibit the dyeing process. Do not dry them! The fabric should be damp when you apply the dye. To ensure even application of the dye, unfold the curtains completely and get rid of any wrinkles or folds. This will assist the dye in penetrating evenly throughout the fabric, leading to a much more uniform color.
Step 3. Prepare the Dye Bath:
Mix the fabric dye in the large plastic tub or bucket according to the instructions on the package. Each dye brand might have slightly different instructions, so it’s important to read them carefully. Generally, you must dissolve the dye in hot water and stir until it’s fully dissolved. If you’re dyeing cotton or linen-blend curtains, add salt to the dye bath. The salt is a fixative, helping the dye adhere to the fabric more effectively. Once the dye bath is ready, you can proceed to the next step.
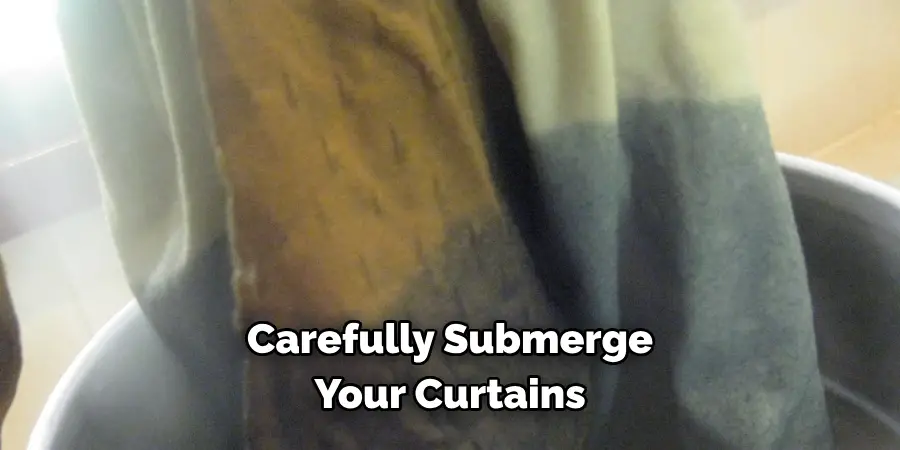
Step 4. Dye the Curtains:
Now that your dye bath is ready, it’s time to dye your curtains. Carefully submerge your curtains in the dye bath, making sure the dye fully covers them. You can use tongs or a large spoon to maneuver the fabric around, ensuring the dye reaches every part of the curtains. The duration your curtains need to stay in the dye bath will depend on the brand of dye you’re using and the intensity of the color you desire. Typically, it ranges from 30 minutes to an hour. Remember to stir the fabric occasionally to achieve an even color.
Step 5. Rinse the Curtains:
Once the curtains have been dyed to your satisfaction, carefully remove them from the dye bath. Rinse the curtains with warm water, gradually decreasing the temperature until the water runs clear and cold. This process removes any excess dye from the fabric, ensuring the color doesn’t bleed onto other items in the wash. Be patient, as this step may take a while, but it’s essential for the longevity and vibrancy of your dyed sheer curtains.
Step 6. Wash the Curtains:
After rinsing, it’s time to wash your dyed sheer curtains. Place them in the washing machine on a gentle cycle with mild detergent. This will help to remove any residual dye and will also aid in setting the color further. Avoid washing your dyed curtains with other laundry to prevent color transfer. Once the wash cycle is complete, inspect the curtains to ensure the color is even and to your satisfaction. Be sure to clean your washing machine promptly to avoid staining your next load of laundry.
Step 7. Dry the Curtains:
After washing, it’s time to dry your dyed sheer curtains. You can air dry them or use a tumble dryer on a low setting. If you choose to air dry, avoid direct sunlight, as it can cause the color to fade. Instead, hang your curtains in a shaded, well-ventilated area. If you use a tumble dryer, remove the curtains while they’re still slightly damp to prevent wrinkles. Once the curtains are dry, you can iron them on a low setting, if needed, to eliminate any remaining wrinkles. Remember to clean the lint filter in your dryer to remove any residual dye.
Step 8. Hang the Curtains:
Now that your curtains are clean and dry, they can be hung back up. Before you hang them, give them a quick once-over to ensure the dye is even, and there are no noticeable spots or stains. If everything looks good, carefully hang them back up on their rods. The freshly dyed curtains will give your room a new and refreshing look. Enjoy the satisfaction of a job well done, knowing that you successfully dyed your sheer curtains.
Step 9. Post-Dyeing Care:
Now that your curtains have been successfully dyed and hung, it’s important to take steps to maintain the color vibrancy. Always wash dyed curtains separately from other laundry to prevent color bleeding. Use a mild detergent and opt for a gentle wash cycle. For drying, air dry the curtains out of direct sunlight or tumble dry on a low setting. Proper post-dyeing care will ensure your newly dyed sheer curtains keep their fresh, vibrant color for a long time.
Following these nine easy steps, you can successfully dye your sheer curtains and give them a new lease on life. Remember to experiment with different dye colors for a unique look, and always read the instructions carefully before starting the process.
How to Dye Curtains with Natural Dyes
Step 1. Gather Materials:
To prepare natural dyes, you will need the following materials:
- Natural dye material (e.g., turmeric, avocado skins, berries)
- Water
- Large pot
- Salt or vinegar
- Spoon for stirring
- Strainer
Step 2. Pre-Wash Fabric:
Before dyeing your curtains, pre-wash them with mild detergent to remove any dirt or oils that might interfere with dye absorption. You can also use a color remover to eliminate any existing dye and ensure a clean base for the natural dyes.
Step 3. Prepare Dye Bath:
Fill a large pot with enough water to cover your curtains and bring it to a boil. For every pound of fabric, add ½ cup of salt or vinegar to the water. Then, add your natural dye material and let it simmer for at least an hour.
Step 4. Strain Dye Bath:
After an hour, strain the dye bath to remove any particles from the natural dye material.
Step 5. Add Fabric to Dye Bath:
Add your pre-washed curtains to the dye bath and stir them gently to ensure even color distribution. Let the curtains simmer in the dye bath for at least an hour, stirring occasionally.
Step 6. Rinse and Dry Curtains:
Once you achieve your desired color, remove the curtains from the dye bath and rinse them with cold water until the water runs clear. Then, air dry or tumble dry the curtains on a low setting.
Step 7. Post-Dyeing Care:
Follow the same post-dyeing care tips mentioned earlier to maintain the color vibrancy of your natural dyed sheer curtains. With these simple steps, you can add a unique touch of nature to your home decor while reducing your carbon footprint. Experiment with different natural dye materials to create a variety of colors and patterns on your curtains.
So, there you have it, a comprehensive guide on how to dye sheer curtains at home. Whether you choose to use traditional or natural dyes, always remember to take precautionary measures and properly care for your dyed curtains for long-lasting color.
Troubleshooting Common Issues
Sometimes, despite our best efforts, we might encounter a few hiccups in the dyeing process. Here’s a breakdown of the most common issues and how to overcome them:
Uneven Dyeing:
Uneven dyeing can occur due to a variety of reasons such as improper pre-washing, fabric inconsistencies, or insufficient dye bath circulation. If the fabric wasn’t cleaned properly before dyeing, dust and oils could interfere with dye absorption leading to patchiness. Fabric inconsistencies like variations in thickness or material composition might also cause uneven coloration. Lastly, insufficient movement in the dye bath might result in uneven dye distribution. To rectify uneven dyeing, you could try re-dyeing the fabric, ensuring proper pre-washing and thorough stirring in the dye bath this time. Color correction techniques, such as spot-dyeing areas of lighter color, could also be employed. Alternatively, consider using gradation or ombre dyeing methods to turn the uneven coloration into a design element.
Bleeding and Color Transfer:
Bleeding happens when the dye isn’t properly fixed to the fabric, causing it to leach out when washed. This can also lead to color transfer onto other items. To prevent this, ensure proper dye fixation by using the recommended amount of salt or a commercial fixative. When washing dyed sheer curtains, it’s best to wash them separately with a mild detergent on a gentle cycle to minimize color transfer. Cold water washes can also help maintain color vibrancy.
Fading and Lightfastness:
Sunlight exposure can lead to fading of dyed sheer curtains. This is due to the UV radiation breaking down the dye molecules, reducing their color intensity. Factors affecting lightfastness include dye type, color depth, and fabric material. To protect dyed curtains from fading, consider lining them with a UV-resistant fabric or use UV-resistant dyes. Regularly rotating the curtains to ensure even exposure can also help maintain color consistency. Remember, proper care and protective measures can increase the longevity of your dyed sheer curtains, keeping them vibrant and fresh for a long time.
5 Additional Tips and Tricks
- Test First: Before diving into the dyeing process for your sheer curtains, try the dye on an inconspicuous area or a small piece of similar fabric. This helps ensure the color turns out as expected.
- Look for Quality Dyes: Investing in high-quality dyes is important if you plan to dye your sheer curtains. Cheaper dyes may not give the desired results and could potentially damage the fabric.
- Use Salt: Adding salt to the dye bath can help intensify the color. This is especially helpful when dyeing lighter sheer curtains.
- Rinse Thoroughly: After the dyeing process, rinse your curtains thoroughly until the water runs clear. This removes any excess dye and helps prevent color bleed in the future.
- Air Dry: Let your curtains air dry rather than using a dryer. This helps set the dye and reduces the risk of shrinkage.
With these additional tips and tricks, you can achieve beautiful and vibrant sheer curtains without worrying about any mishaps.
5 Things You Should Avoid
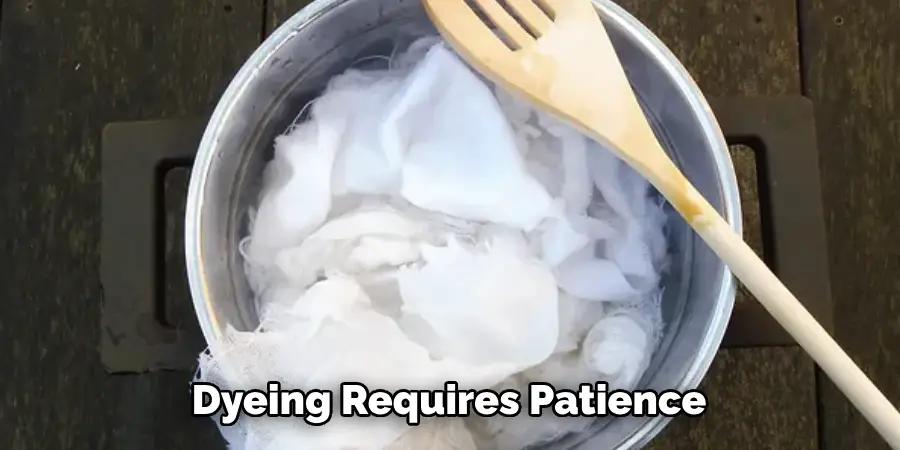
- Rushing the Process: Dyeing requires patience. Rushing through the steps may lead to uneven color and other unexpected results.
- Skipping the Pre-Wash: It’s important to pre-wash your curtains before dyeing them. This removes any dirt or oils that could interfere with the dye’s ability to penetrate the fabric evenly.
- Using the Wrong Temperature: Always follow the temperature guidelines on your dye packaging. Using too hot or too cold water can affect the dye’s effectiveness.
- Not Stirring Enough: During dyeing, stirring the fabric regularly ensures even color distribution. Lack of stirring can result in patchy dye uptake.
- Ignoring Safety Precautions: Dyeing can be messy and potentially hazardous. Protect your work area and yourself by wearing gloves and old clothes that you don’t mind staining. Remember to work in a well-ventilated area as well.
By removing these common pitfalls, you can ensure the best possible outcome when dyeing your sheer curtains.
Conclusion
All in all, the possibility of dyeing sheer curtains is a great way to change the look of your room without shelling out too much money. You can make a dramatic statement with minimal effort by using colors and fabrics that already exist in your home. Adding dyes to your curtains is also a great way to add texture and depth. Taking the time to experiment with different types of dyes can yield some stunning results, allowing you to customize any window treatment.
Planning before beginning projects involving dying sheer fabrics is important, as wrong combinations or procedures can ruin the desired effect. Still, when done right, it’s worth it!
Hopefully, the article on can you dye sheer curtains has provided you with the information and tips to embark on your next DIY project confidently. So unleash your creativity, and give your sheer curtains a new look!
You can check it out to Hang Curtains on Windows With Crown Molding